

A loose lever door handle can be an annoying issue that affects the functionality and aesthetics of your door. Over time, regular use can cause the screws or components within the door handle to loosen, leading to a wobbly or ineffective mechanism.

Fortunately, fixing a loose lever door handle is a straightforward task that requires just a few basic tools and minimal expertise. This guide on how to fix a loose lever door handle will walk you through the necessary steps, enabling you to restore your door handle to perfect working condition quickly and efficiently.
Why is a Loose Lever Door Handle a Problem?
A loose lever door handle may seem like a minor inconvenience, but it can actually pose several problems. Here are some reasons why you should address this issue as soon as possible:
Impaired Functionality:
A wobbly or loose door handle can make it difficult to open and close the door smoothly. This can impact your daily routine, especially if you have multiple doors with loose handles in your home.
Security Concerns:
A loose door handle can also compromise the security of your home. A weak or unstable door handle can be easily broken into, making your home an easy target for intruders.
Wear and Tear:
If a door handle is not fixed in time, it can lead to further damage to the mechanism. Loose components may rub against each other, causing friction and hastening wear and tear.
Tools Required
To fix a loose lever door handle, you will need the following tools:
Screwdriver:
Depending on the type of screws used in your door handle, you may need a Phillips or flathead screwdriver.
Allen Key:
Some lever door handles have an Allen key or hex wrench as part of their assembly. Make sure to check if this is required before beginning the repair process.
Pliers:
If the door handle has any loose components that require tightening, pliers can come in handy for a better grip and leverage.
6 Step-by-step Guidelines on How to Fix a Loose Lever Door Handle
Step 1: Remove the Door Handle
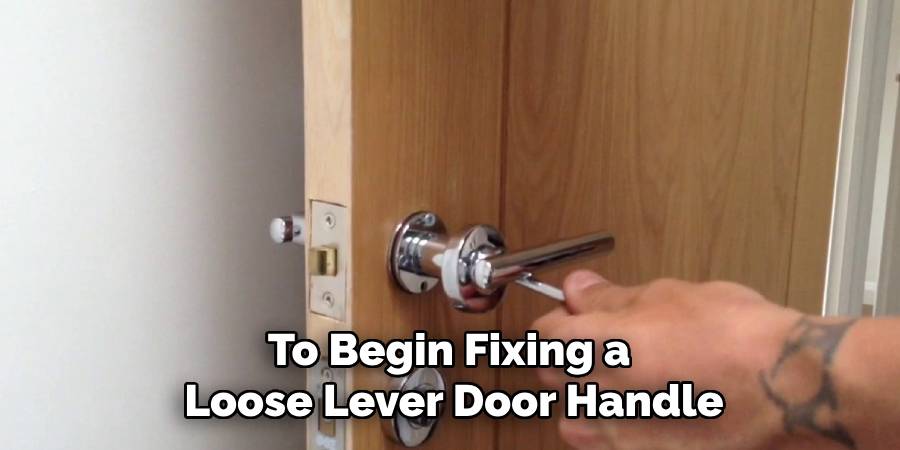
To begin fixing a loose lever door handle, you first need to remove the door handle. Follow these steps to ensure a smooth and safe removal process:
Locate the Screws:
Identify the screws holding the door handle in place. These are usually found on the faceplate of the handle or beneath a decorative cover that can be gently pried off.
Unscrew the Handle:
Using the appropriate screwdriver (Phillips or flathead), carefully remove the screws. Hold onto the door handle as you do this to prevent it from falling once the screws are out.
Detach the Handle:
Once the screws are removed, gently pull the door handle away from the door. If the handle has an Allen key or hex screw, use an Allen key to loosen the screw and then proceed to remove the handle.
Inspect the Handle and Mechanism:
With the door handle removed, take a moment to examine the inner mechanism and check for any worn or damaged parts that may need replacement.
By carefully removing the door handle and inspecting its components, you can ensure that you have a clear understanding of what needs to be tightened or repaired.
Step 2: Tighten the Screws
Once the door handle is removed and you have inspected the inner mechanism, the next step is to tighten the screws. Follow these detailed instructions:
Identify the Loose Screws:
Examine the screws within the door handle mechanism to identify which ones are loose. These screws often hold the internal components together and secure the handle to the door.
Use the Appropriate Tool:
Depending on the type of screws, use either a Phillips screwdriver, flathead screwdriver, or an Allen key. Ensure the tool fits snugly in the screw head to avoid stripping the screw.
Tighten the Screws:
Carefully tighten each identified screw by turning it clockwise. Apply steady pressure, but be cautious not to over-tighten, as this can strip the screw or damage the threads.
Check the Stability:
After tightening the screws, check the stability of the mechanism by gently wiggling it. If it feels secure, you have successfully tightened the screws. If it still feels loose, ensure all screws are fully tightened and that no screws are missing.
By properly tightening the screws, you can ensure that the internal components of the door handle are secure, setting the stage for reassembling the handle and restoring its functionality.
Step 3: Replace Worn or Damaged Components
If the door handle is still loose after tightening the screws, it may be due to worn or damaged components. In this case, follow these steps to replace any faulty parts:
Identify the Faulty Component:
Examine the inner mechanism and identify which part needs replacement. Commonly replaced components include springs, washers, and spindle bars.
Remove the Old Component:
Using pliers if necessary, remove the old component from the door handle mechanism.
Replace with New Component:
Insert the new component in place of the old one, ensuring a snug fit.
Reassemble the Door Handle:
Once all worn or damaged components have been replaced, reassemble the door handle by following the reverse steps used to remove it in Step 1.
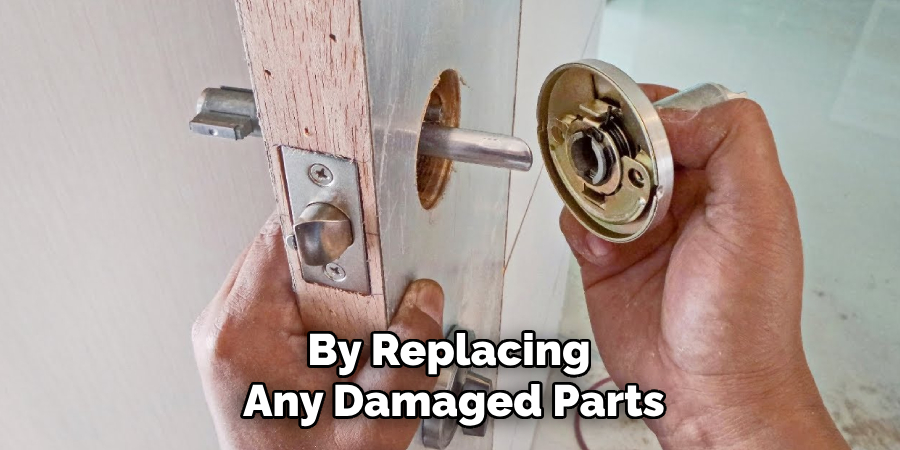
By replacing any damaged parts, you can ensure that your door handle is functioning at its best and will not cause any further issues.
Step 4: Lubricate Moving Parts
Over time, the moving parts within a door handle mechanism can become dry and create friction. This can lead to wear and tear and cause the handle to become loose. To prevent this, follow these steps to lubricate the moving parts:
Disassemble the Door Handle:
Remove the door handle following the steps in Step 1.
Apply Lubricant:
Use a silicone-based lubricant or graphite powder to lightly coat all moving parts within the mechanism. This will reduce friction and make it easier for the handle to operate smoothly.
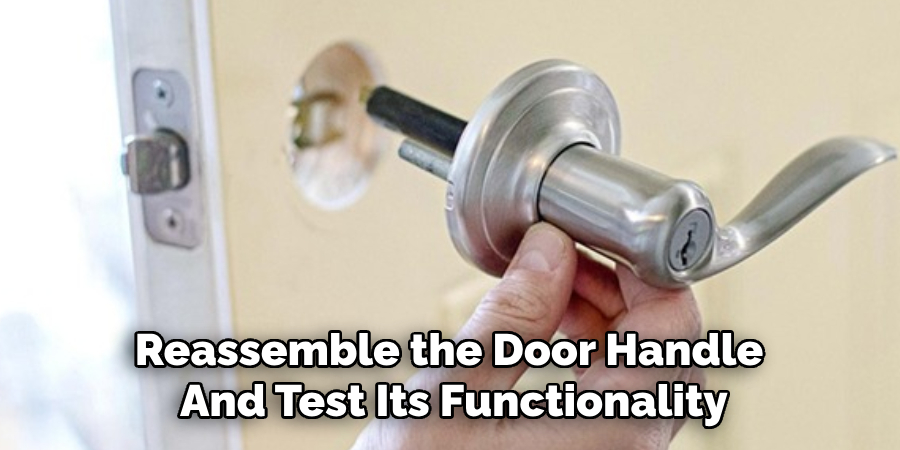
Reassemble and Test:
Once you have applied lubricant, reassemble the door handle and test its functionality. If done correctly, it should feel smoother and more stable than before.
By regularly lubricating your door handle, you can prevent wear and tear from occurring prematurely, ensuring its longevity and preventing future repairs.
Step 5: Use a Spare Part Kit
If you have followed all the previous steps and your door handle is still loose, you may need to use a spare part kit. These kits are available at most hardware stores and contain various screws, washers, and other components that can be used to replace any damaged parts within the mechanism.
Identify the Spare Parts Needed:
Use the instructions provided in the kit to identify which spare parts will be needed for your specific door handle.
Replace with New Parts:
Follow the instructions provided in the kit to replace any damaged or worn components with the new ones provided.
Reassemble and Test:
Once all replacement parts have been installed, reassemble the door handle and test its functionality. It should now feel stable and secure.
By using a spare part kit, you can easily replace any damaged components without having to purchase a whole new door handle mechanism.
Step 6: Seek Professional Help
If none of the above steps have successfully fixed your loose lever door handle, it may be time to seek professional help. A trained locksmith or handyman will have the expertise and tools needed to diagnose and fix any underlying issues with your door handle. They may also be able to suggest alternative solutions, such as replacing the entire door handle mechanism.
By seeking professional help, you can ensure that your loose lever door handle is fixed correctly and will continue to function properly in the future.
Following these steps on how to fix a loose lever door handle, you can effectively tighten and repair a loose lever door handle. Regular maintenance, including lubricating moving parts and checking for wear and tear, can help prevent the handle from becoming loose in the future.
Frequently Asked Questions
Q: How Do I Know Which Screws to Tighten?
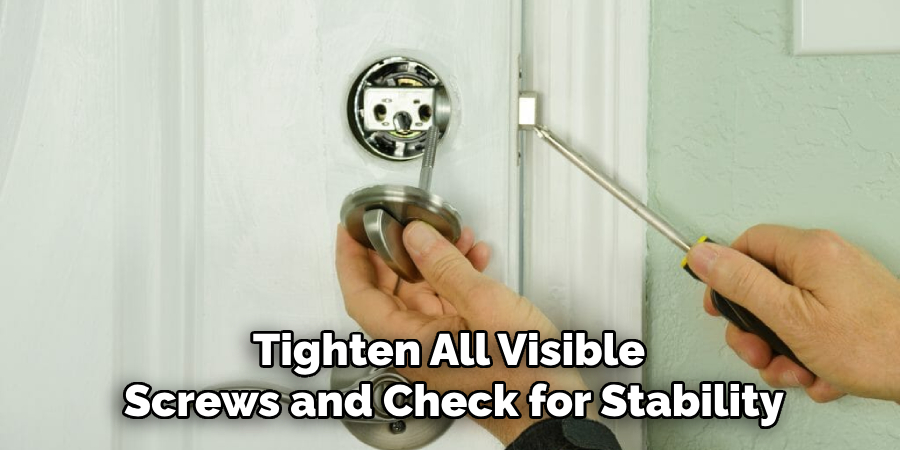
A: Generally, the screws holding the internal components together and securing the handle to the door are the ones that need to be tightened. If in doubt, tighten all visible screws and check for stability.
Q: Can I Use Any Type of Lubricant?
A: A silicone-based lubricant or graphite powder specifically designed for door handles is recommended. Avoid using oil-based lubricants, as they can attract dust and debris over time.
Q: How Often Should I Lubricate My Door Handle?
A: It is recommended to lubricate your door handle at least once every 6 months to prevent wear and tear. However, if you notice any signs of friction or difficulty operating the handle, it may need to be lubricated more frequently. So, it is important to keep an eye on your door handle’s functionality and lubricate accordingly.
Conclusion
A loose lever door handle may seem like a minor inconvenience, but it can lead to more significant problems if left unrepaired. By following these steps on how to fix a loose lever door handle, you can easily fix a loose door handle and potentially prevent any further issues from occurring.
Remember to regularly inspect and maintain your door handles for optimal functionality and longevity. So, don’t wait until it’s too late – take action now and fix that loose lever door handle! Happy DIY-ing!