

A functional garage door opener keypad is crucial for both security and convenience. It allows you to access your garage without needing a physical key or remote, adding a layer of safety and ease. Common reasons for keypad replacement include malfunctions that prevent the keypad from sending signals to the opener, upgrades to more advanced or secure models, and physical damage from weather exposure or accidental impacts.
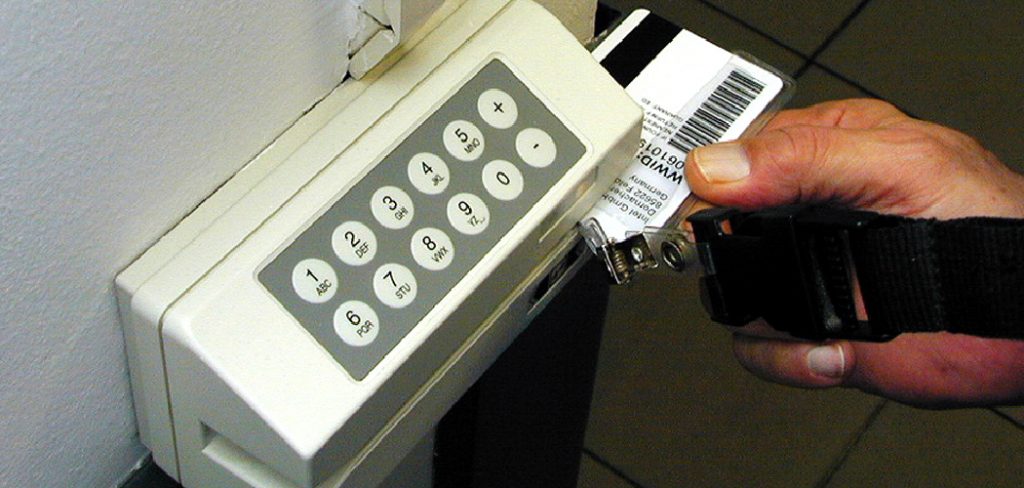
Understanding how to replace garage door opener keypad ensures that you can quickly restore functionality and security to your garage. This guide will walk you through the replacement process, from removing the old keypad to programming the new one, ensuring a seamless transition and optimal performance.
Tools and Materials Needed
Replacing a garage door opener keypad requires a few essential tools and materials to ensure a smooth process. You’ll need a screwdriver, a drill, and a measuring tape to handle the mechanical aspects of the installation.
It’s crucial to have a new keypad, batteries, and the appropriate mounting screws to complete the setup effectively. Additionally, consider having a wireless signal extender on hand, especially if your garage has connectivity issues, to guarantee a strong and reliable signal between the keypad and the opener unit.
Removing the Old Keypad
Safety Precautions
Before you begin the process of removing the old keypad, it is essential to take several safety precautions to ensure your well-being. First, make sure the garage door is fully closed to prevent any accidental openings while you work. Next, unplug the garage door opener from the power source to eliminate any risk of electric shock.
Wearing protective gear such as gloves and safety glasses is highly recommended; gloves will protect your hands from sharp edges, and safety glasses will shield your eyes from dust and debris. By following these safety measures, you can minimize the risk of injury during the removal process.

Detaching the Keypad
Once you’ve taken the necessary safety precautions, you can detach the old keypad from its mounting surface. Start by locating the mounting screws that secure the keypad in place. Using a screwdriver, carefully unscrew these mounting screws. Keep the screws in a safe place, as you may need them for the new keypad installation.
After removing the screws, gently pull the keypad away from the wall or surface. Be mindful of any wires that might be connected to the keypad. If there are wires, carefully detach them by loosening any clips or connectors. It’s important to note the wiring configuration, as this will help when installing the new keypad.
Cleaning the Mounting Area
With the old keypad removed, take a moment to clean the mounting area. Use a damp cloth or a mild cleaning solution to wipe down the surface, removing any dirt, dust, or debris that may have accumulated over time.
Ensuring a clean surface is vital for the new keypad installation, as it provides a secure and stable base for mounting. A clean surface will also improve the effectiveness of the adhesive if your new keypad requires adhesive mounting strips.
How to Replace Garage Door Opener Keypad: Installing the New Keypad
Choosing the Installation Location
Selecting the right location for your new garage door opener keypad is crucial for both functionality and convenience. Choose a spot that is easily accessible yet secure enough to prevent tampering. It’s advisable to place the keypad at a comfortable height, typically around shoulder level, ensuring that all users can reach it comfortably.
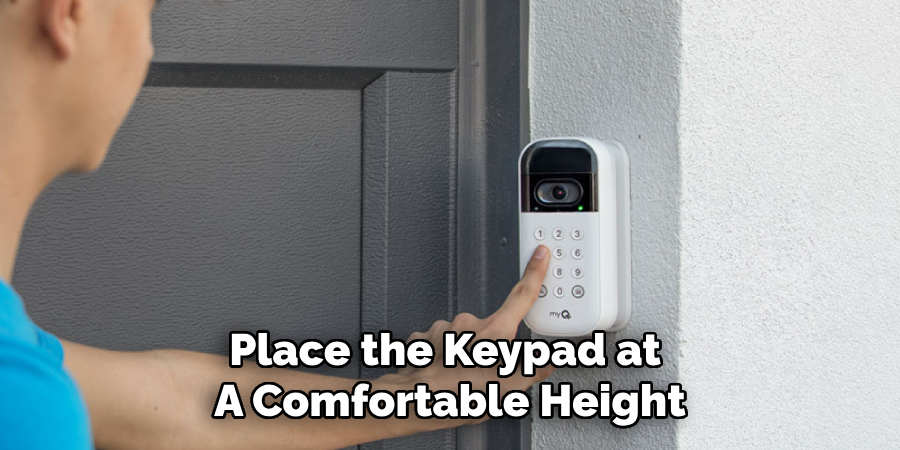
Additionally, ensure the selected location is within the operational range of the garage door opener to facilitate a strong and reliable signal. Avoid placing the keypad behind any obstacles or in areas where weather exposure could cause potential damage.
Mounting the Keypad
After choosing the optimal location, use a measuring tape to mark the positions for the mounting holes, ensuring they align with the holes on the back of the keypad. Double-check the alignment to guarantee a level installation. If the surface is hard, such as brick or concrete, drilling pilot holes may be necessary. Choose the appropriate drill bit size corresponding to the wall anchors you’ll be using. Carefully drill the pilot holes at the marked positions.
Now, place the keypad against the wall, aligning it with the drilled holes. Secure the keypad to the wall using screws, tightening them just enough to hold the keypad firmly in place without over-tightening, which could crack the casing. If your keypad kit includes any adhesive strips for additional support, apply them as the manufacturer recommends.
Wiring and Powering the Keypad
Once the keypad is securely mounted, it’s time to connect any necessary wires and power up the device. Begin by identifying the wires from your garage door opener that need to be connected to the keypad.

If the new keypad requires wiring, gently strip the ends of the wires and connect them to the corresponding terminals on the keypad, usually marked with labels such as “Common” or “Power.” Ensure that you avoid confusion and follow the color-coded wiring scheme outlined in the manufacturer’s instructions.
For keypads that function wirelessly or are battery-operated, open the keypad’s battery compartment and insert the required batteries, ensuring they are placed in the correct orientation as indicated. Some models may also be able to connect to the main power supply. In such cases, ensure the power source is life and connect the power adapter to the keypad, securing any loose wires to prevent them from dangling.
After completing the wiring or battery installation, double-check all connections to ensure they are secure and correct. Finally, refer to the manufacturer’s instructions for any specific wiring requirements or configuration steps needed to finalize the installation. Following these instructions closely is essential to avoid any potential malfunctions or operational issues. Once everything is in place, your new keypad is ready to be programmed and tested.
Programming the Keypad
Programming the keypad is straightforward. It involves synchronizing the new keypad with your garage door opener. This ensures seamless operation and enhances security by allowing you to set a personalized access code. Follow these steps to program the keypad efficiently.
Accessing the Garage Door Opener’s Learning Mode
To start programming the new keypad, you must first access the learning mode on your garage door opener unit. The learn button is generally situated on the back or side of the motor unit.

Depending on the model, you might need to remove the light cover to reveal the learn button. Look for a small, often red or yellow, button that is labeled “Learn” or “Program.” Consult your garage door opener’s manual if you encounter difficulty locating this button.
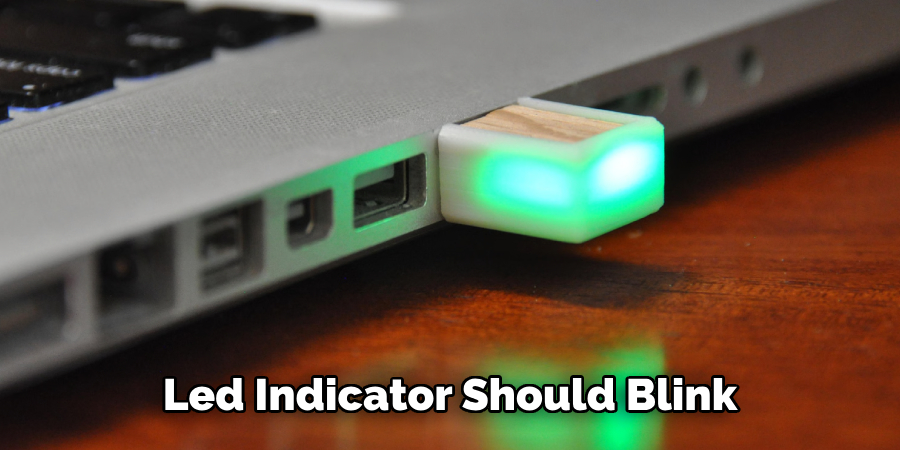
Once you have found the learn button, press it lightly until the LED indicator next to it starts to blink or remains steadily lit. This signifies that the opener is now learning and ready to accept a new device. Be cautious not to hold the button for too long, as this might erase all programmed remotes and keypads, requiring you to reprogram them.
Entering the Keypad Code
With the garage door opener in learning mode, you can now proceed to input your desired code on the new keypad. To ensure security, choose a code that is easy for you to remember but difficult for others to guess. Most standard keypads allow for four—to six-digit codes.
Begin by pressing and holding the * and # buttons simultaneously until the keypad lights up. This indicates that it is ready to accept a new code. Enter your chosen code, followed by the enter button. Depending on the model of your keypad, you may need to press the enter button twice. Immediately afterward, press the key corresponding to your garage door opener’s channel or number if it supports multiple doors.
To complete the programming, press the enter button once more or follow any additional prompts specific to your keypad model. The garage door opener’s light or LED indicator should blink or turn off, signaling that the keypad has successfully synchronized with the opener.
Testing the Keypad
Now that the keypad has been programmed, the final step is to test its operation. Stand a few feet away from the garage door and enter the new code you programmed into the keypad. Press the enter button and observe the garage door’s response.
The garage door should start to open or close smoothly, demonstrating that the keypad is correctly programmed and functioning. If the door does not respond, recheck the code and ensure that you followed each step accurately. Verify that the batteries are correctly installed and that the keypad is within the operational range of the garage door opener.
If the keypad still does not work correctly, consult the troubleshooting section of your keypad’s manual. Common issues may include weak battery power, incorrect wiring, or interference from nearby electronic devices. Follow the troubleshooting steps to resolve the problem and ensure the reliable operation of your new garage door opener keypad.
Maintaining the Keypad
Regular Inspection and Cleaning
Periodically checking the keypad for wear and tear ensures its longevity and reliable operation. Inspect the keypad for any signs of damage or malfunction, particularly around the buttons and wiring. Cleaning the keypad to prevent dirt buildup is crucial; use a soft, dry cloth to wipe the surface and buttons gently. This practice ensures button functionality and maintains the overall appearance of the keypad.
Replacing Batteries
Monitoring battery life is vital to ensure uninterrupted keypad functioning. Depending on usage, check the batteries every few months and replace them as necessary. Using high-quality batteries can enhance performance and extend the keypad’s operational life.
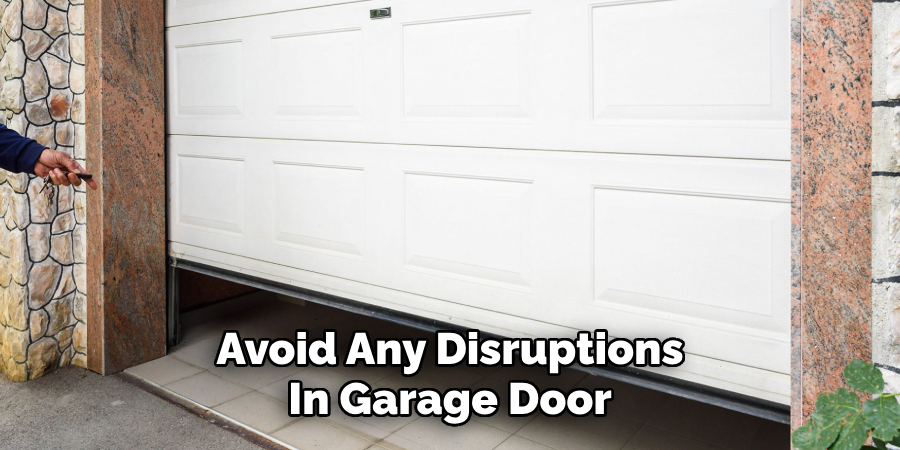
If the keypad shows signs of weak power or delayed response, replace the batteries immediately to maintain optimal functionality and avoid any disruptions in garage door operation.
Professional Help and When to Seek It
In certain situations, it is prudent to seek professional assistance to ensure your garage door keypad is installed and functioning correctly. Call a professional if you encounter persistent issues during installation or programming, such as unresponsive buttons, malfunctioning garage door openers, or complex wiring setups.
Garage door professionals typically offer services, including keypad installation, troubleshooting, and comprehensive maintenance checks. The cost of professional installation varies depending on the complexity and region but generally ranges from $100 to $200. Professional services can save you time and provide peace of mind by ensuring your garage door system operates efficiently and safely.
Conclusion
In conclusion, replacing a garage door opener keypad involves several straightforward steps: accessing the opener’s learning mode, entering the desired code, and testing the keypad’s functionality.
Proper installation is crucial for ensuring security and smooth operation, emphasizing the need for regular maintenance, such as inspecting for wear and replacing batteries. By following the outlined process, you can confidently achieve a secure and functional garage door system.
Remember, knowing how to replace garage door opener keypad enhances convenience and fortifies your home’s safety. Ensure each step is executed carefully for optimal performance.
About
Safety Fic is a distinguished figure in the world of Diy design, with a decade of expertise creating innovative and sustainable Diy solutions. His professional focus lies in merging traditional craftsmanship with modern manufacturing techniques, fostering designs that are both practical and environmentally conscious. As the author of diy, Safety Fic delves into the art and science of Safety Fic-making, inspiring artisans and industry professionals alike.
Education RMIT University
(Melbourne, Australia) Associate Degree in Design (Safety Fic) Focus on sustainable design, industry-driven projects, and practical craftsmanship. Gained hands-on experience with traditional and digital manufacturing tools, such as CAD and CNC software.
Nottingham Trent University
(United Kingdom) Bachelor’s in diyfastly.com and Product Design (Honors) Specialized in product design with a focus on blending creativity with production techniques. Participated in industry projects, working with companies like John Lewis and Vitsoe to gain real-world insights.
Publications and Impact
In diy, Safety Fic his insights on indoor design processes, materials, and strategies for efficient production. His writing bridges the gap between artisan knowledge and modern industry needs, making it a must-read for both budding designers and seasoned professionals.