

A functioning gate latch is paramount for both security and convenience. It ensures that gates remain securely closed, preventing unauthorized access and keeping children and pets safely within a property. Common scenarios that necessitate the replacement of a gate latch include damage from weather exposure, wear and tear over time, or the desire to upgrade to a more secure or aesthetically pleasing model.
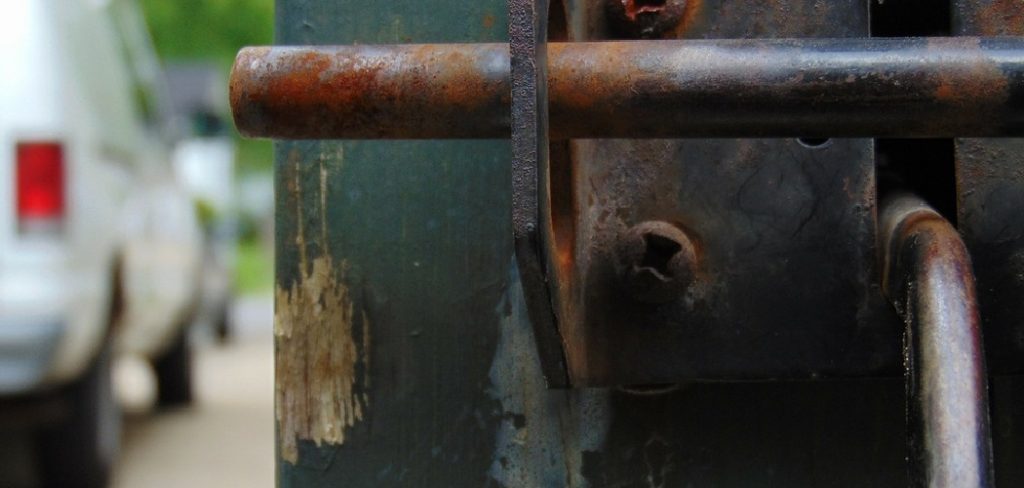
Understanding how to replace a gate latch can save homeowners from potential safety risks and enhance the longevity of their gate structures. The replacement process involves a series of straightforward steps: removing the old latch, preparing the gate for the new hardware, positioning and installing the new latch, and finally, testing and making adjustments for proper functionality.
By mastering this task, one can ensure both the security and ease of use of their gates, making it a valuable skill for property maintenance.
Tools and Materials Needed
List of Tools
You will need a few essential tools to successfully replace a gate latch. Firstly, a screwdriver with both flathead and Phillips attachments is necessary for different screw types. A drill, along with a set of drill bits, will be crucial for creating pilot holes and driving screws efficiently. A measuring tape is needed to ensure precise alignment of the new latch components.
Additionally, a pencil or marker will help with marking the positions for screw holes. Lastly, a level is indispensable for ensuring that the latch is installed straight and functions correctly.
Materials
The materials required to replace a gate latch depend on the type of gate and latch you are working with. A new gate latch that matches the material and size of your existing gate is essential. Screws are usually provided with the latch, but ensure you have extras that are appropriate for outdoor use.
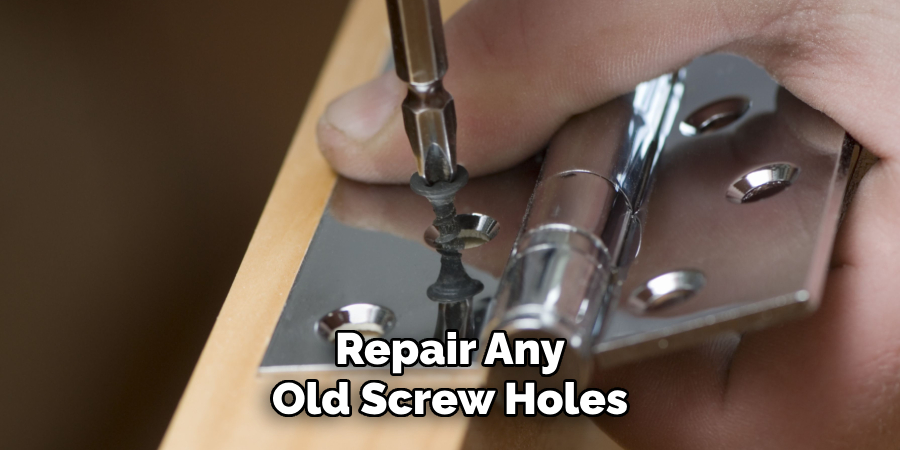
If the old hinges are also worn out, replacement hinges should be on hand. For wooden gates, the wood filler may be necessary to repair any old screw holes or damaged areas before installing the new latch, ensuring a stable and durable installation.
How to Replace a Gate Latch: Removing the Old Gate Latch
Preparation
Before you begin removing the old gate latch, it’s essential to prepare the area around your gate. Start by clearing any obstacles, such as garden tools, pots, or other items that may be in your way, ensuring that you have ample space to work. This will provide you with easy access to the latch and help prevent any accidental damage or injuries.
Ensure the gate is securely closed and supported to prevent it from shifting or sagging as you work. You can use a piece of wood or a sturdy object to prop up the gate, keeping it steady during the latch replacement process.
Unscrewing the Old Latch
To remove the old latch, begin by locating all screws or bolts that attach the latch components to the gate and post. Use the appropriate screwdriver – flathead or Phillips – to carefully unscrew each fastener. If the screws or bolts are particularly tight or difficult to turn, applying a penetrating oil like WD-40 can help loosen them. Allow the oil to sit for a few minutes to penetrate and make it easier to unscrew the hardware.
In some cases, screws may be rusted or stuck due to prolonged exposure to outdoor elements. If you encounter rusted screws, use a wire brush to clean off as much rust as possible before attempting to unscrew them again. For extremely stubborn screws, employing a pair of pliers for extra leverage can be effective.
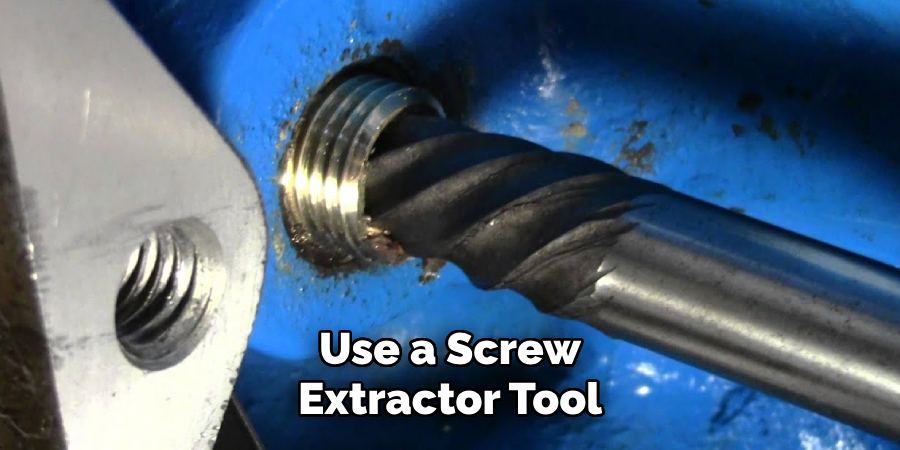
Alternatively, you may need to use a screw extractor tool, which is designed to remove damaged or rusted screws. Ensure you work patiently and carefully to avoid stripping the screws or causing further damage to the gate.
Removing the Latch Components
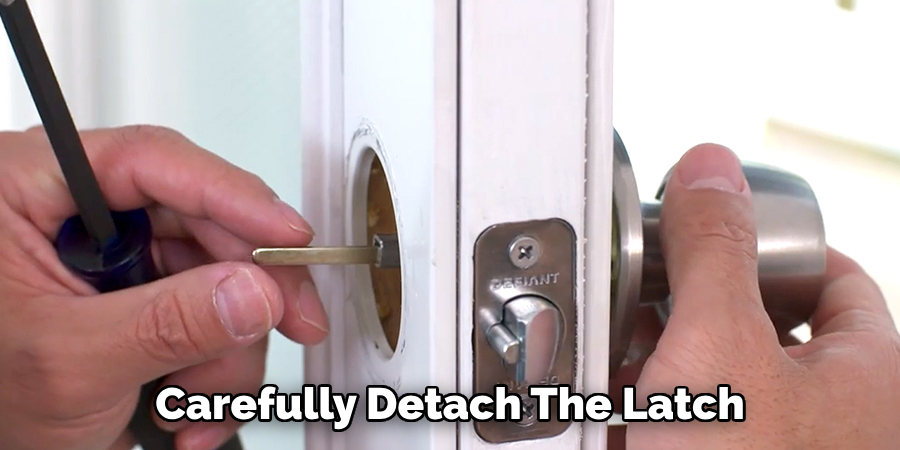
Once all screws or bolts have been successfully removed, carefully detach the latch from the gate and the post. Gently pull the latch components away, ensuring that they do not damage the gate’s surface. If the latch has multiple parts, it’s helpful to remember the order in which they are removed, as this will assist during the installation of the new latch.
Additionally, remove any extra hardware that might be present, such as a strike plate. The strike plate is typically installed on the post opposite the latch and serves as the catch for the latch mechanism. Unscrew and detach the strike plate or any other related components, ensuring that the surface is ready for the new hardware. If you encounter any old residue or remnants from the previous installation, clean the area thoroughly to provide a smooth and even surface for mounting the new latch.
How to Replace a Gate Latch: Installing the New Gate Latch
Positioning the New Latch
Positioning the new latch involves aligning it either with the placement of the old latch or deciding on a new position if necessary. Start by holding the new latch against the gate at the desired spot. Ensure that it’s at a height and position that is ergonomic and functional, both for ease of use and for effective security. For optimal results, align it with the latch’s previous placement, as this often corresponds with the best structural integrity of the gate.
Once you have determined the ideal position, use a pencil or marker to mark the spots for the new screw holes. It’s essential to verify that the latch and its components sit flush against the gate’s surface and that all parts are properly aligned before marking. Double-check these markings to ensure accuracy because any misalignment at this stage can compromise the functionality and security of the latch.
Drilling Pilot Holes
Drilling pilot holes for the screws is crucial to ensure proper alignment and to prevent splitting the gate’s material. Using the pencil marks as a guide, select a drill bit that is slightly smaller in diameter than the screws you will be using. This will help the screws grip the wood or metal effectively without causing any unnecessary damage.
Carefully drill into each marked spot to create pilot holes, making sure to hold the drill perpendicular to the gate’s surface for straight holes. This preparatory step helps to ensure that the screws will fit snugly and that the latch will function correctly, minimizing the chances of misalignment.
Attaching the Latch Components
With the pilot holes drilled and aligned, you can begin attaching the latch components to the gate and the post. Start by positioning the main latch part over the drilled pilot holes. Use the screws that came with the latch, or ensure you have outdoor-appropriate screws if replacements are needed. Begin securing the latch by driving in the screws slowly, ensuring that each one fits snugly, and pulling the latch component flush against the gate.

As you proceed, periodically check that the latch remains level and correctly aligned. It may be helpful to use a level during this step, placing it on various parts of the latch to ensure it’s straight. Any misalignment can affect the latch’s operation, so adjustments should be made as necessary before fully tightening the screws.
Next, attach the strike plate or catch on the opposite side, aligning it with the latch mechanism. Ensure it is positioned correctly by closing the gate and marking where the latch meets the post. Once aligned, drill pilot holes for the strike plate’s screws, then secure the strike plate using the provided screws or appropriate extras.
Double-check that the latch operates smoothly and securely closes with the strike plate or catch in place, making any final adjustments for optimal functionality. This comprehensive approach ensures the new gate latch is robust, safe, and easy to use.
Testing and Adjustments
Testing the Latch
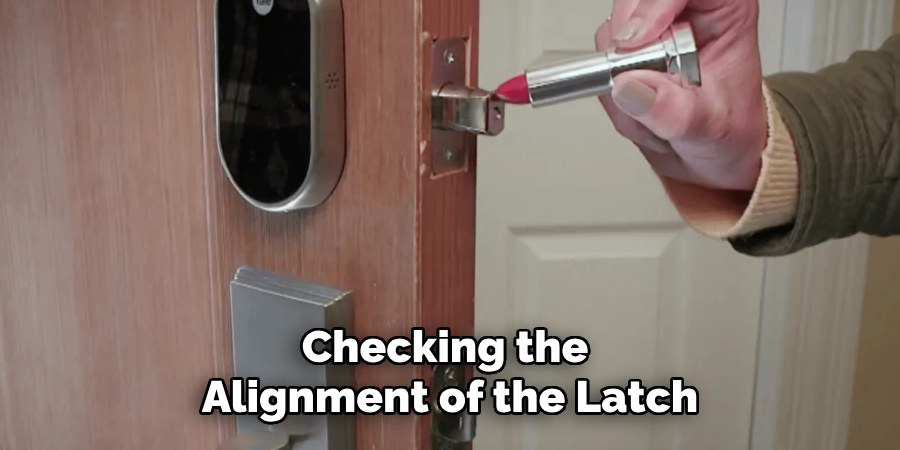
After installing the new gate latch, testing its functionality is essential to ensure it operates smoothly. Begin by repeatedly opening and closing the gate, observing how well the latch engages and disengages. Pay close attention to the alignment between the latch and the strike plate, ensuring that the latch fits securely into the strike plate without resistance.
Listen for any abnormal sounds that might suggest misalignment or loose components. This initial testing phase will help identify any immediate issues that need to be addressed to ensure the latch operates correctly and provides the necessary security.
Making Adjustments
If the gate doesn’t close properly or the latch mechanism feels stiff, it may be necessary to make some adjustments. Start by checking the alignment of the latch with the strike plate. If they are misaligned, loosen the screws and gently adjust either component until they align properly.
Tighten the screws once the proper alignment is achieved. If the latch or strike plate remains misaligned or wobbly, consider drilling new pilot holes to reposition the screws for a better fit. Additionally, ensure that no screws are over-tightened, as this can strip the screw holes or warp the latch component, affecting its functionality.
After making these adjustments, test the latch again by opening and closing the gate multiple times. It should engage and disengage smoothly without requiring excessive force. Make any final minor adjustments as needed until you achieve a smooth and reliable operation. Patience at this stage ensures long-term security and ease of use.
Finalizing the Installation
Once all adjustments are made, ensure that all components are securely fastened. Double-check that there is no unnecessary movement or looseness in the latch and strike plate. Test the overall operation of the gate a few more times to confirm that it opens and closes smoothly, ensuring that the latch provides reliable security.
Conclusion
Replacing a gate latch involves several detailed steps, each critical to ensuring a secure and functional result. Begin by assessing the alignment for the new latch, drilling precise pilot holes, and attaching the latch components with care.
Testing the latch and making necessary adjustments will ensure a smooth operation. Proper installation is vital to avoid issues such as misalignment and excessive wear. Understanding how to replace a gate latch correctly can extend the life and reliability of your gate. Regular inspections and maintenance of the latch are crucial, helping to identify and correct wear or damage early on and ensuring the latch continues to function as intended.
By following these steps and maintaining the latch, you can enjoy the peace of mind that comes with a securely and efficiently operating gate.
About
Safety Fic is a distinguished figure in the world of Diy design, with a decade of expertise creating innovative and sustainable Diy solutions. His professional focus lies in merging traditional craftsmanship with modern manufacturing techniques, fostering designs that are both practical and environmentally conscious. As the author of diy, Safety Fic delves into the art and science of Safety Fic-making, inspiring artisans and industry professionals alike.
Education RMIT University
(Melbourne, Australia) Associate Degree in Design (Safety Fic) Focus on sustainable design, industry-driven projects, and practical craftsmanship. Gained hands-on experience with traditional and digital manufacturing tools, such as CAD and CNC software.
Nottingham Trent University
(United Kingdom) Bachelor’s in diyfastly.com and Product Design (Honors) Specialized in product design with a focus on blending creativity with production techniques. Participated in industry projects, working with companies like John Lewis and Vitsoe to gain real-world insights.
Publications and Impact
In diy, Safety Fic his insights on indoor design processes, materials, and strategies for efficient production. His writing bridges the gap between artisan knowledge and modern industry needs, making it a must-read for both budding designers and seasoned professionals.