

Adjusting the tension of your gate hinges can make a significant difference in how smoothly your gate opens and closes. Whether your gate is sagging, sticking, or not aligning properly, knowing how to adjust the hinge tension is key to restoring functionality and enhancing security.
In this guide, we’ll explore step-by-step instructions on how to adjust gate hinge tension effectively. From identifying the type of hinge to understanding the right adjustments for different issues, our easy-to-follow tips will help you maintain a well-functioning gate that adds both beauty and functionality to your property.
Importance of Adjusting Gate Hinge Tension
Adjusting the tension of your gate hinges is crucial for several reasons. Firstly, properly adjusted hinges allow your gate to open and close smoothly, reducing wear and tear on both the gate and the hinges themselves. This not only extends the lifespan of the gate but also minimizes the need for costly repairs or replacements. Secondly, the correct tension ensures that the gate remains aligned, preventing sagging or dragging that can damage your pathway or garden.
Additionally, a gate with properly adjusted hinges significantly enhances security by providing a tight fit, making it more difficult for intruders to gain access. Finally, a well-functioning gate contributes to the overall aesthetic appeal of your property, creating a welcoming entrance that complements your landscape and home.
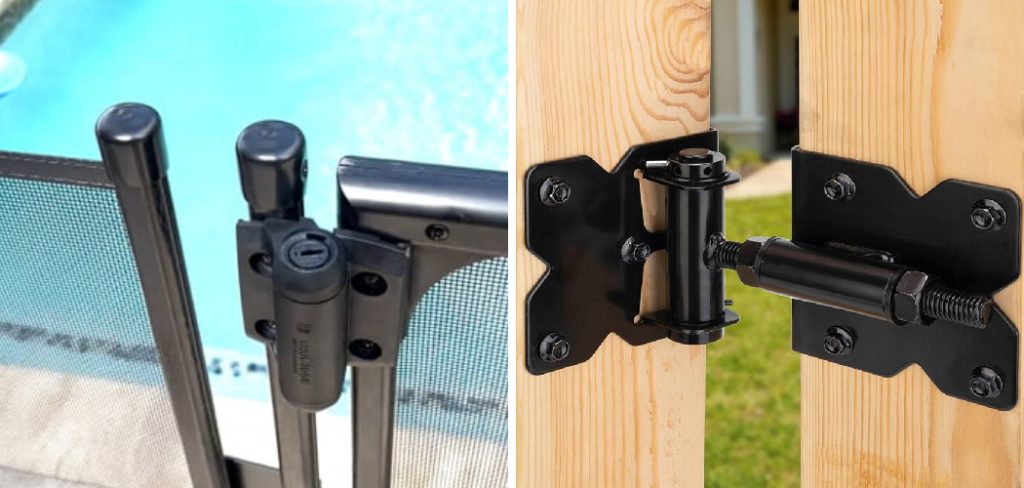
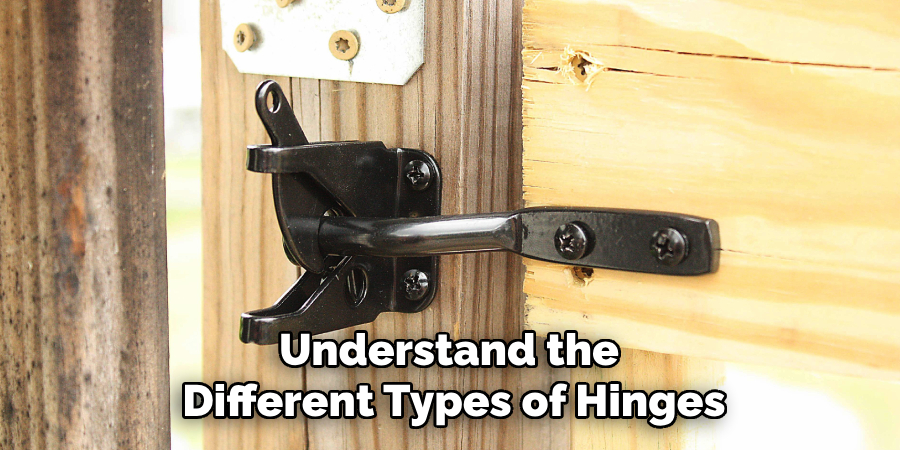
Understanding Gate Hinge Types and Functions
Before you can adjust the tension of your gate hinges, it is essential to understand the different types of hinges and their functions. There are several common types of gate hinges, each designed for specific applications and offering distinct advantages.
Butt Hinges
Butt hinges are one of the most widely used types. They consist of two identical leaves, which are joined together by a central pin. These hinges are ideal for lightweight gates and offer a simple, effective solution for many residential applications.
Strap Hinges
Strap hinges feature long, narrow leaves that provide additional support for heavier gates. They are often used on wooden gates and doors, offering both functionality and a rustic aesthetic. The long leaves distribute weight more evenly, reducing the chances of sagging.
Tee Hinges
Tee hinges combine the features of strap hinges and butt hinges. One leaf is shaped like a strap hinge, while the other is T-shaped. These hinges are commonly used for garden gates and shed doors, providing sturdy support and ease of installation.
Spring Hinges
Spring hinges are designed to automatically close gates and doors after they have been opened. These hinges contain a spring mechanism that applies tension to ensure the gate closes securely. They are particularly useful for security purposes, as they minimize the chances of leaving the gate open accidentally.
10 Methods How to Adjust Gate Hinge Tension
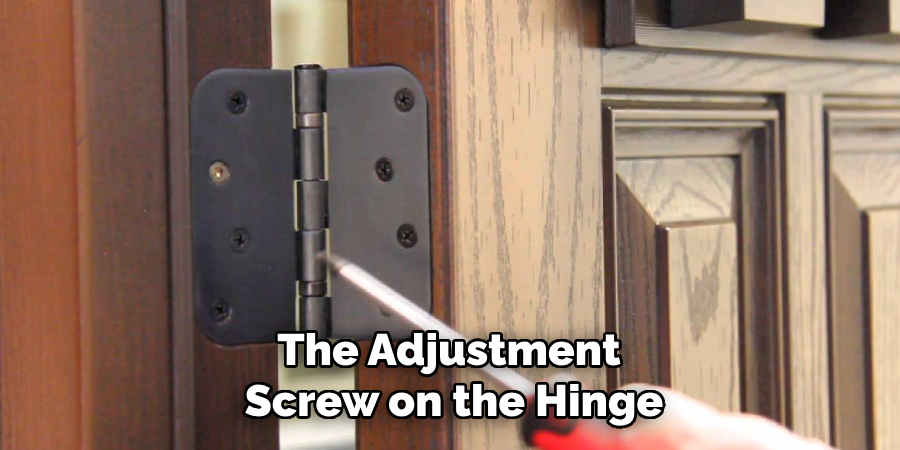
Method 1: Using an Allen Wrench
One of the most common ways to adjust gate hinge tension is by using an Allen wrench. Most gate hinges have a tension adjustment mechanism that involves a hex screw, which can be turned using an Allen wrench. Start by locating the adjustment screw on the hinge.
Insert the appropriate size Allen wrench into the screw and turn it clockwise to increase tension or counterclockwise to decrease it. Make small adjustments and test the gate’s movement after each turn to achieve the desired tension. This method is straightforward and effective, allowing precise control over the gate’s tension, ensuring it closes smoothly and securely without slamming.
Method 2: Adjusting Tension Pins
Some gate hinges are equipped with tension pins that can be adjusted to modify the tension. These pins are typically located on the side of the hinge and are used to set the spring tension. To adjust the tension, you will need to insert a tension rod (often provided with the hinge) into the pin hole.
Turn the pin to increase or decrease the tension as needed. Once you have achieved the desired tension, secure the pin in place by inserting it into the nearest locking hole. This method is particularly useful for self-closing gates, as it allows for easy and precise adjustments to ensure the gate closes at the right speed and force.
Method 3: Using a Hinge Tension Tool
For more specialized adjustments, a hinge tension tool can be used. This tool is designed specifically for adjusting gate hinge tension and provides better leverage and control. To use the hinge tension tool, insert it into the adjustment hole on the hinge.
Turn the tool to increase or decrease the tension. This method is especially effective for heavy-duty gates or those with larger, more robust hinges. By using a dedicated tension tool, you can make more accurate adjustments and ensure the gate operates smoothly. This tool is often included with the purchase of certain gate hinges or can be bought separately.
Method 4: Replacing Worn Springs
Over time, the springs in your gate hinges may wear out, leading to reduced tension and improper gate operation. If adjusting the tension using traditional methods does not achieve the desired result, it may be necessary to replace the springs.
To do this, remove the hinge from the gate and carefully disassemble it to access the springs. Replace the old springs with new ones, ensuring they are the correct size and tension rating for your gate. Reassemble the hinge and reinstall it on the gate.
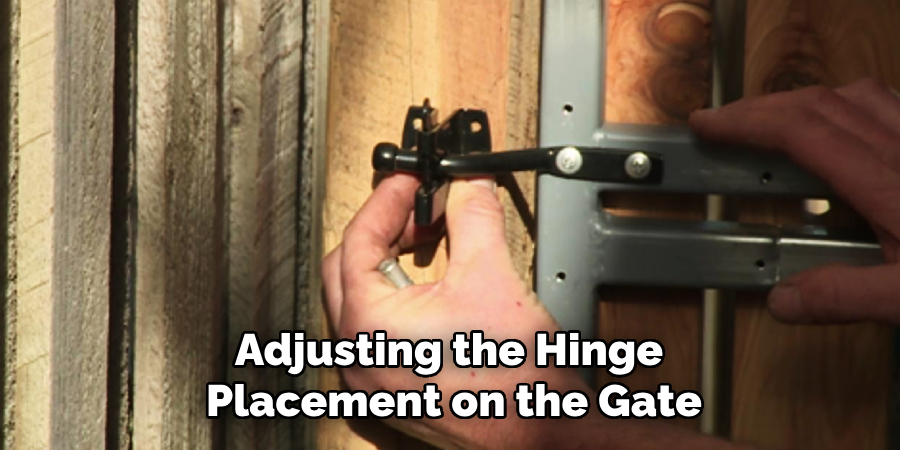
Method 5: Adjusting the Hinge Placement
Sometimes, adjusting the hinge placement on the gate and the post can affect the overall tension and alignment. If the hinges are not aligned correctly, the gate may not close properly or may exert uneven pressure on the hinges. To adjust the hinge placement, first, loosen the screws or bolts securing the hinges to the gate and post. Adjust the position of the hinges slightly, ensuring they are perfectly aligned and level. Retighten the screws or bolts and test the gate’s movement.
Method 6: Using Tension Adjusting Bolts
Some gate hinges come with tension adjusting bolts that allow for easy modification of the spring tension. These bolts are usually located at the top or bottom of the hinge. To adjust the tension, use a wrench to turn the bolts clockwise to increase tension or counterclockwise to decrease it. Make incremental adjustments and test the gate after each adjustment to achieve the desired tension.
Method 7: Installing Additional Support Hinges
If adjusting the existing hinges does not provide adequate tension, consider installing additional support hinges. Adding extra hinges can help distribute the weight of the gate more evenly and reduce strain on each individual hinge. To install additional hinges, measure the spacing between the current hinges and mark the positions for the new ones. Drill pilot holes and attach the new hinges using screws or bolts. Adjust the tension on all hinges as needed to ensure balanced operation.
Method 8: Tightening or Loosening Hinge Screws
The screws securing the hinges to the gate and post can also affect the overall tension and alignment. Over time, these screws may loosen, causing the gate to sag or the tension to decrease. To address this issue, check all the screws and tighten them as needed.
If the screws are already tight, you may need to loosen them slightly and adjust the hinge position before retightening. This method helps maintain proper hinge alignment and tension, ensuring smooth and reliable gate operation. Regularly checking and tightening the screws can prevent future issues and prolong the life of your gate hinges.
Method 9: Lubricating the Hinges
Proper lubrication is essential for maintaining optimal hinge tension and preventing friction-related issues. Over time, dirt, rust, and debris can accumulate on the hinges, causing them to stick and reducing their effectiveness. To lubricate the hinges, clean them thoroughly using a brush and a mild solvent.
Once clean, apply a high-quality lubricant, such as silicone spray or graphite powder, to the moving parts of the hinge. Lubricate both the pivot points and the tension adjustment mechanisms. This method reduces friction and ensures smooth operation, allowing the hinges to maintain proper tension and function effectively.
Method 10: Consulting a Professional
If you have tried all the above methods and still cannot achieve the desired tension, it may be time to consult a professional. A qualified technician can inspect your gate hinges and provide expert advice on adjusting or replacing them. They have the tools and experience to diagnose complex issues and ensure the hinges operate at optimal tension.
Professional maintenance can also identify potential problems early, preventing more significant issues down the line. This method ensures that your gate hinges are correctly adjusted and maintained, providing peace of mind and reliable performance.
Conclusion
Maintaining the proper tension in your gate hinges is essential for ensuring smooth and reliable operation. Whether you choose to adjust the tension using specialized tools, replace worn springs, align the hinges correctly, or add extra support, each method provides a solution to common gate issues.
Regular lubrication and tightening of hinge screws can prevent premature wear and extend the life of your gate. If all else fails, consulting a professional can provide the expertise needed to address more complex issues. Thanks for reading, and we hope this has given you some inspiration on how to adjust gate hinge tension!
About
Safety Fic is a distinguished figure in the world of Diy design, with a decade of expertise creating innovative and sustainable Diy solutions. His professional focus lies in merging traditional craftsmanship with modern manufacturing techniques, fostering designs that are both practical and environmentally conscious. As the author of diy, Safety Fic delves into the art and science of Safety Fic-making, inspiring artisans and industry professionals alike.
Education RMIT University
(Melbourne, Australia) Associate Degree in Design (Safety Fic) Focus on sustainable design, industry-driven projects, and practical craftsmanship. Gained hands-on experience with traditional and digital manufacturing tools, such as CAD and CNC software.
Nottingham Trent University
(United Kingdom) Bachelor’s in diyfastly.com and Product Design (Honors) Specialized in product design with a focus on blending creativity with production techniques. Participated in industry projects, working with companies like John Lewis and Vitsoe to gain real-world insights.
Publications and Impact
In diy, Safety Fic his insights on indoor design processes, materials, and strategies for efficient production. His writing bridges the gap between artisan knowledge and modern industry needs, making it a must-read for both budding designers and seasoned professionals.