

Maintaining a storm door closer is crucial for ensuring smooth operation and extending its longevity. By regularly caring for this mechanism, you can avoid common issues such as squeaking, slow closing, and resistance that often indicate the need for maintenance.
These signs are a clear signal that it is time to learn how to lubricate storm door closer. The lubrication process itself is relatively straightforward and involves identifying key parts to lubricate, cleaning them thoroughly, and applying the appropriate lubricant. This guide will walk you through each step to ensure that your storm door closer functions efficiently and remains in good condition for years to come.
Tools and Materials Needed
Before you begin the process of lubricating your storm door closer, it is important to gather the necessary tools and materials. You will need a screwdriver to access the closer’s components and a rag for cleaning dirt and debris. Recommended lubricants for this task include silicone spray, light machine oil, and WD-40, each offering effective lubrication for different parts of the closer. Optional items you might consider having on hand include new screws and replacement parts for the closer in case you find any components that are worn out or damaged during your inspection.
Preparing for Lubrication
Safety Precautions
Before you start lubricating your storm door closer, it is essential to take some safety precautions to prevent any injuries. First, ensure the door is securely closed or propped open so it does not swing unexpectedly while you are working. This step is crucial to avoid any accidental pinching or trapping of fingers. Additionally, gloves are highly recommended to protect your hands from coming into direct contact with grease and lubricant. This not only keeps your hands clean but also reduces the risk of skin irritation. By following these safety measures, you can ensure a smoother and safer lubrication process.
Cleaning the Closer
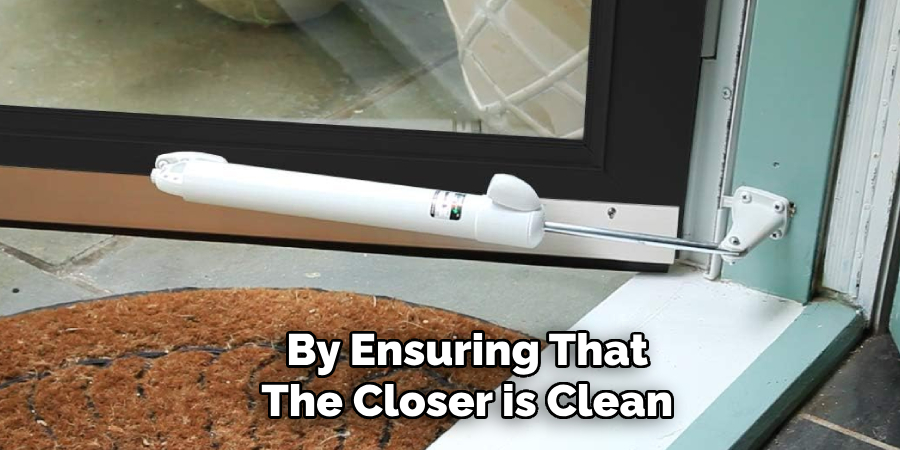
The first step in preparing your storm door closer for lubrication is thoroughly cleaning it. Begin by wiping down the closer using a rag to remove any dirt, dust, and debris that may have accumulated over time. This is an important step because a clean surface allows the lubricant to adhere better and work more effectively. Pay special attention to removing any grime or buildup from the key components of the door closer. By ensuring that the closer is clean, you set the stage for a more efficient and long-lasting lubrication process, which will enhance the overall performance of your storm door closer.
How to Lubricate Storm Door Closer: Lubricating the Storm Door Closer
1.Identifying Key Parts to Lubricate
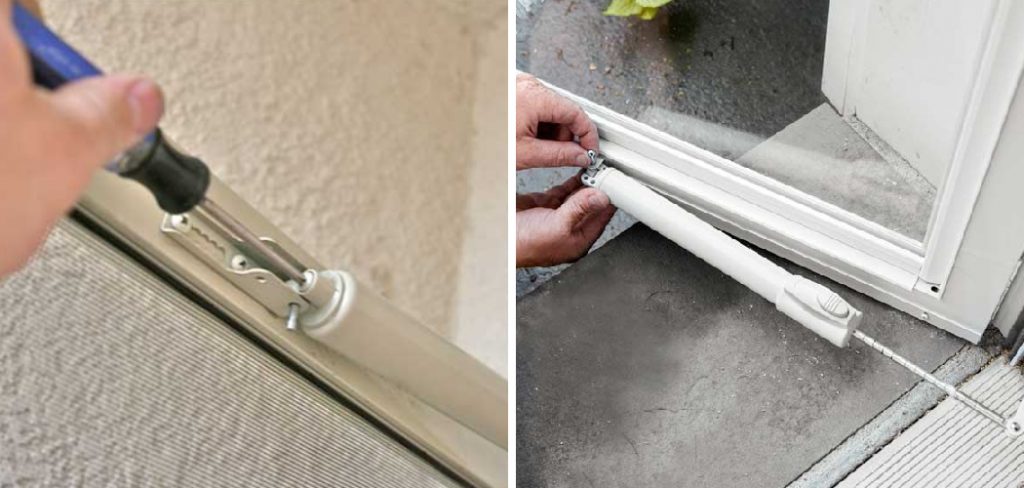
The first step in effectively lubricating your storm door closer is to identify the key components that need attention. These primary parts include the hinges, the piston, and the adjusting screws. The hinges are crucial for the smooth pivoting of the door, while the piston plays a significant role in controlling the speed and tension of the door’s movement. The adjusting screws allow you to fine-tune the operation of the closer.
Examine the hinge area where the door meets the frame to locate these parts. You will typically see one or more hinges that enable the door to swing open and shut. Next, look for the piston, which is often a cylindrical component located along the top edge of the storm door closer. This part might be concealed inside a casing, which can be opened using a screwdriver. Lastly, identify the adjusting screws, generally found near the connection points of the piston. These screws can be turned to alter the closing speed and tension of the door. Understanding the locations of these significant parts is essential for a thorough and effective lubrication process.
2.Applying Lubricant to the Hinges and Pivots
Lubricating the door hinges and pivots is straightforward. Select a suitable lubricant, such as silicone spray or light machine oil. First, make sure the door is slightly open to expose the hinges. Then, spray a small amount of lubricant directly onto the hinge pins. If you are using a liquid lubricant, apply a few drops where the pin meets the hinge, ensuring that the oil penetrates into the moving parts.
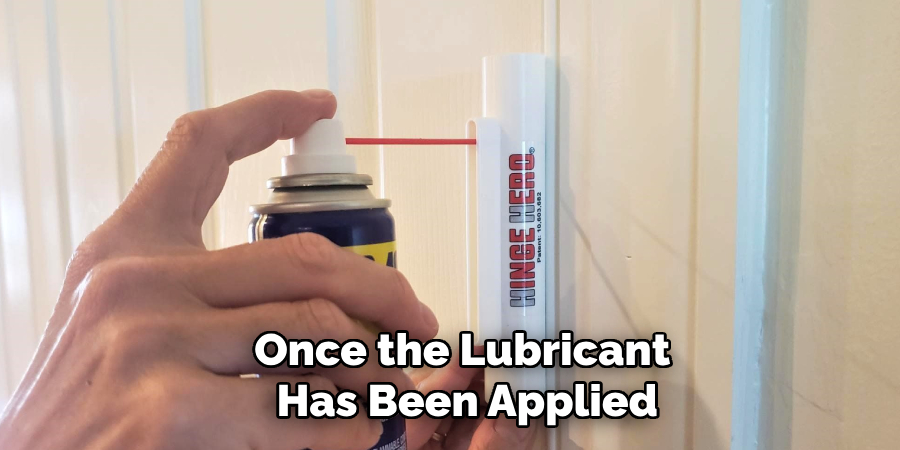
Once the lubricant has been applied, swing the door back and forth several times to distribute it evenly. This action helps the lubricant to work its way into the crevices, reducing friction and facilitating smoother movement. Be careful not to over-apply the lubricant, as excess amounts can attract dirt and lead to buildup over time. Ensuring an even application is key to maintaining optimal performance and extending the life of your storm door closer.
3.Lubricating the Piston and Cylinder
To lubricate the piston and cylinder, first locate this component closer to the top edge of the storm door. Using a suitable lubricant such as light machine oil or silicone spray, apply a modest amount to the exposed sections of the piston. For hard-to-reach areas, consider using a spray lubricant with a straw attachment to target specific sections precisely.
After applying the lubricant, open and close the door multiple times to allow the lubricant to spread evenly within the piston and cylinder. This action helps ensure a thorough coverage, allowing the piston to move freely within the cylinder and enhancing the door closer to overall operation. If the piston is hidden within a casing, you may need to remove the cover temporarily to access it. Ensuring comprehensive lubrication of this component reduces resistance and minimizes wear, contributing to prolonged functionality and smoother door operation.
Adjusting and Testing the Closer
Adjusting the Speed and Tension
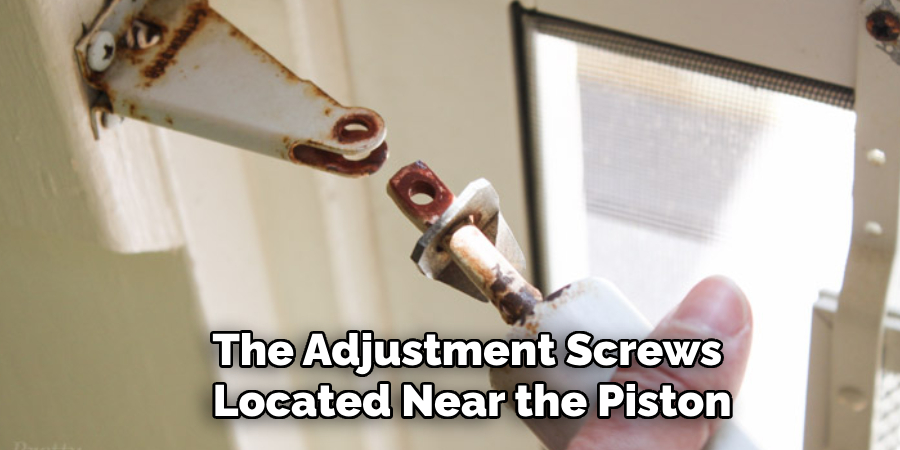
After lubricating the key components, the next step is to adjust the speed and tension of the storm door closer for optimal performance. This can be done using the adjustment screws located near the piston. Begin by using a screwdriver to turn the adjustment screws slowly. Turning the screws clockwise generally increases the closing speed, while turning them counterclockwise reduces it. It’s important to make small incremental adjustments and test the door’s operation after each turn to avoid over-tightening or loosening.
Finding the right balance is crucial for smooth and controlled door movement. The door should close firmly but gently without slamming shut or lingering excessively. If the door closes too quickly, it can cause damage or injury. Conversely, if it closes too slowly, it may not latch properly, compromising security. Taking the time to fine-tune these settings ensures that your storm door operates efficiently and safely.
Testing the Door Operation
With the lubrication and adjustments complete, it’s time to test the door’s operation. Begin by opening and closing the door several times to gauge the effectiveness of the lubrication and adjustments. Pay attention to how smoothly the door moves and whether it closes securely without hesitation or unnecessary force. Observing these actions helps identify any remaining issues that may need further attention.
If the door closes smoothly and at the desired speed, the lubrication and adjustments have been successful. However, additional fine-tuning may be necessary if any resistance or irregularities in movement persist. Testing the door operation thoroughly ensures that the lubrication and adjustments made are effective, enhancing the overall performance and longevity of your storm door closer.
Reapplying Lubricant if Necessary
If the door is still not operating smoothly after initial lubrication and adjustments, it may be necessary to reapply lubricant to specific areas. Start by checking the hinges, pivots, and pistons for any sections that may have been missed during the initial application. Apply a modest amount of lubricant to these areas, ensuring it penetrates into the moving parts.
Open and close the door repeatedly to allow the newly applied lubricant to spread evenly. This helps to further reduce friction and improve the smoothness of the door movement. If the problem persists, inspect the adjusting screws and fine-tune them as needed. Reapplying lubricant and making additional adjustments as necessary ensures that your storm door closer functions optimally, providing smooth and effortless operation.
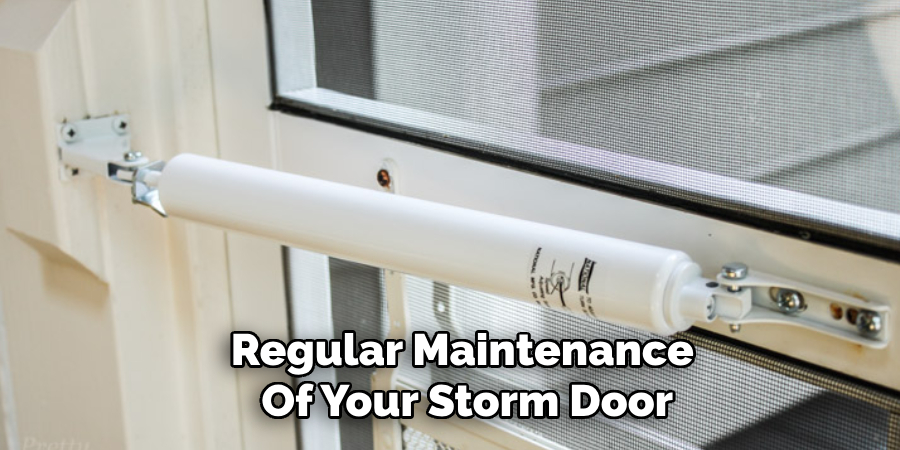
Maintaining the Storm Door Closer
Regular maintenance of your storm door closer is crucial for ensuring its longevity and reliable performance. Proper maintenance involves periodic inspections, regular lubrication, and promptly addressing any issues to prevent further damage. Simple steps like wiping down the closer to remove dust and dirt can significantly reduce wear on the moving parts. Additionally, paying attention to how the door operates daily can help you identify any changes in performance that may require intervention.
Regular Inspection and Lubrication Schedule
Regular inspection and lubrication are essential in maintaining the storm door closer. Ideally, you should inspect and lubricate the closer every six months. This schedule helps keep the components moving smoothly and can prevent minor issues from escalating into major repairs. During each inspection, check for signs of wear, leaks, or unusual noises that may indicate the need for lubrication or adjustment.
Preventive Measures
Taking preventive measures is key to avoiding common issues with your storm door closer. Keep the closer clean by regularly wiping it down to remove accumulated dust and debris. Avoid hanging heavy objects on the door or slamming it shut, as this can strain the closer. Additionally, address any issues promptly; tackling minor problems early can prevent significant damage and costly repairs. Following these tips can ensure that your storm door closer remains in optimal condition and continues functioning smoothly for years.
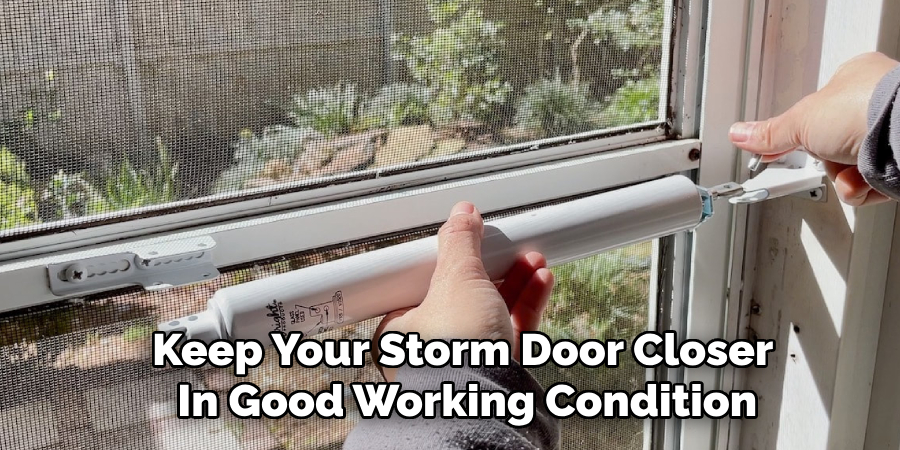
Professional Help and When to Seek It
While regular maintenance and minor adjustments can keep your storm door closer in good working condition, there are instances when seeking professional help is advisable. If the door is not closing properly despite multiple adjustments, or if there are visible signs of damage like leaks or broken parts, it’s time to call in a professional. Door maintenance professionals typically offer services such as thorough inspections, advanced lubrication, part replacements, and comprehensive repairs. The cost and time involved in professional lubrication and repair vary but generally range from $50 to $150, with most services being completed within a couple of hours.
Conclusion
Maintaining your storm door closer involves several essential steps to ensure smooth and reliable operation. First, understanding how to lubricate storm door closer mechanisms is crucial. Begin by cleaning the key components, applying lubricant to the hinges, pivots, and piston, followed by adjusting the speed and tension using the adjustment screws.
Thorough testing of the door operation and reapplying lubricant, if necessary, completes the process. Regular maintenance, including periodic inspections and lubrication, plays a vital role in prolonging the lifespan of the door closer and preventing major issues. By following the outlined process, you can ensure your storm door closer operates seamlessly, providing security and convenience. Making these routine checks and adjustments a habit will help keep your storm door in optimal condition for years.
About
Safety Fic is a distinguished figure in the world of Diy design, with a decade of expertise creating innovative and sustainable Diy solutions. His professional focus lies in merging traditional craftsmanship with modern manufacturing techniques, fostering designs that are both practical and environmentally conscious. As the author of diy, Safety Fic delves into the art and science of Safety Fic-making, inspiring artisans and industry professionals alike.
Education RMIT University
(Melbourne, Australia) Associate Degree in Design (Safety Fic) Focus on sustainable design, industry-driven projects, and practical craftsmanship. Gained hands-on experience with traditional and digital manufacturing tools, such as CAD and CNC software.
Nottingham Trent University
(United Kingdom) Bachelor’s in diyfastly.com and Product Design (Honors) Specialized in product design with a focus on blending creativity with production techniques. Participated in industry projects, working with companies like John Lewis and Vitsoe to gain real-world insights.
Publications and Impact
In diy, Safety Fic his insights on indoor design processes, materials, and strategies for efficient production. His writing bridges the gap between artisan knowledge and modern industry needs, making it a must-read for both budding designers and seasoned professionals.