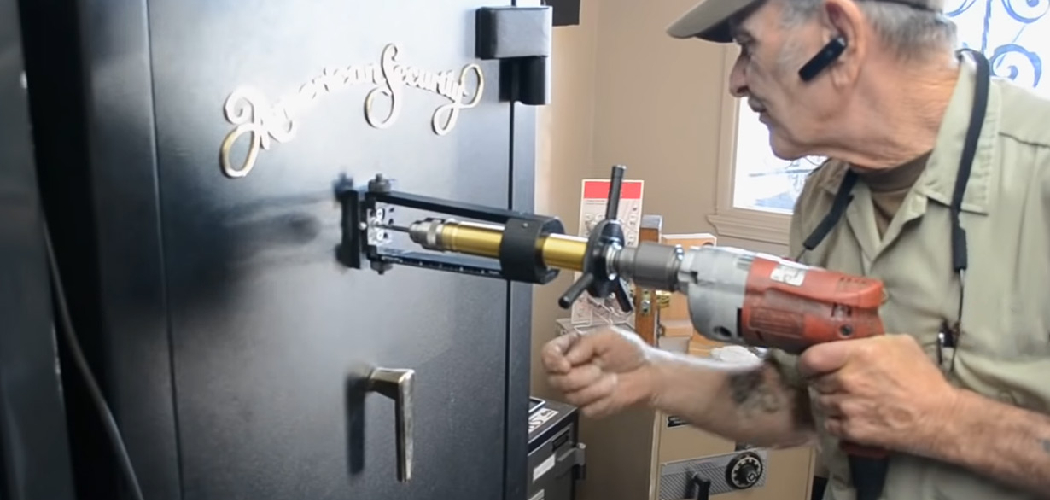
Understanding when and how to drill out a safe lock is crucial for those facing an urgent need to access their safe.
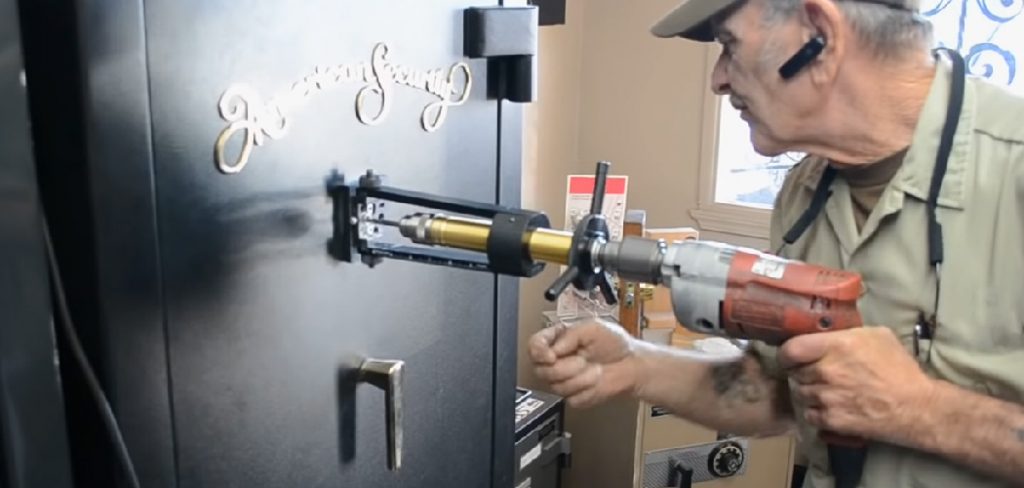
There are scenarios where drilling becomes necessary, such as lost keys, forgotten combinations, or malfunctioning locks. In these situations, drilling may be the only viable option to retrieve important documents or valuable items.
This article will walk you through the detailed steps to drill out a safe lock, beginning with assessing the need to drill, gathering the necessary tools and materials, and ensuring proper safety precautions.
We will then guide you through the exact drilling process, from choosing the drill location to removing the lock components, and conclude with securing the safe and exploring preventive measures.
Understanding these steps ensures that you can safely and effectively handle a lockout situation while also considering long-term solutions to avoid future issues.
Assessing the Need to Drill
Reasons for Drilling
There are several situations where drilling out a safe lock becomes necessary. Primary among these is the occurrence of lost keys or forgotten combinations—common issues that lock you out of your safe.
Additionally, safes can experience mechanical failures due to worn or damaged parts, making traditional unlocking methods ineffective.
While drilling might seem like a quick solution, exhausting all other possible methods first, such as using a lock-picking technique or contacting the safe manufacturer for assistance, is crucial. Drilling should be considered a last resort due to its potential to cause irreversible damage to the safe.
Understanding the Safe’s Structure
Before you begin drilling, it’s vital to understand the structure of the safe, particularly around the lock area. Safes are usually constructed from materials such as steel or composite alloys, with reinforcements around the locking mechanism to deter tampering.
The lock may include components like tumblers, bolts, and a locker—a secondary lock that activates when tampering is detected. Identifying the potential weak points or the optimal drilling locations requires a good grasp of the safe’s design.
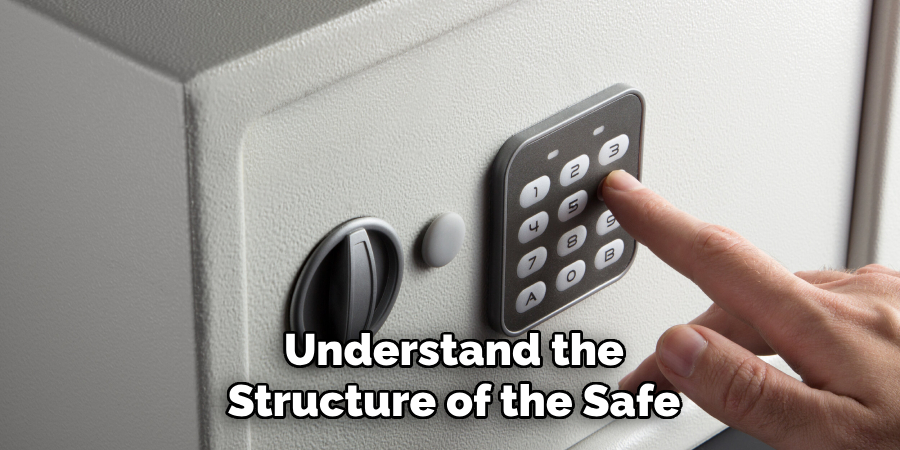
This understanding will help you effectively target the mechanism without compromising the safe’s structural integrity or damaging valuable contents.
Preparation and Safety
Gathering Necessary Tools and Materials
Before initiating the drilling process, gathering all the necessary tools and materials is essential to ensure a smooth and efficient operation. The primary tools required include a power drill and a set of drill bits of various sizes to accommodate the different stages of drilling through the lock.
It’s crucial to use high-quality drill bits suitable for the safe’s material, whether it is steel or a composite alloy, to minimize breakage and enhance effectiveness.
Additionally, a lubricant should be on hand to reduce heat and friction during the drilling process. Safety gear such as goggles and gloves is also vital to protect yourself from metal shards and debris.
Safety Precautions
Prioritizing safety precautions is of utmost importance when drilling out a safe lock. Always wear protective gear, including safety goggles and gloves, to safeguard against potential injuries from flying debris and metal fragments.
Conduct the drilling process in a well-ventilated area to mitigate the inhalation of any fine debris or potential fumes generated during drilling. Moreover, ensure that your work surface is stable to maintain control over the drill and prevent any accidental slips that could damage the safe or cause personal harm.
These precautions will help create a safe working environment and reduce the risk of injury during the drilling operation.
How to Drill out A Safe Lock: Steps to Drill Out a Safe Lock
Choosing the Drill Location
Choosing the precise location to drill is crucial for successfully bypassing the lock mechanism without causing unnecessary damage. Begin by locating the optimal drilling point near the lock mechanism.
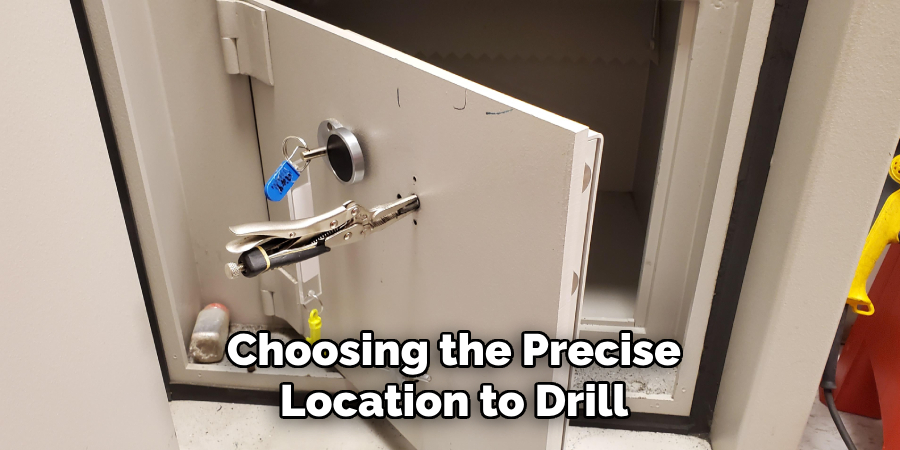
Depending on the lock’s design, this is typically near the center of the lock face or adjacent to the keyhole or combination dial. Avoid drilling into areas that could directly align with the contents of the safe, as this could inadvertently damage valuable items inside.
Additionally, be cautious to avoid structural components such as reinforced steel plates or lockers that could activate secondary locking mechanisms. Identifying the correct point helps ensure that you effectively target the lock while preserving the safe’s structural integrity.
Drilling Pilot Holes
Once pinpointing the optimal drill location, the next step is to create pilot holes to guide your drill bit through the lock mechanism. Begin with a small drill bit to make the initial pilot hole.
This helps ensure precision and makes it easier to control the drill during the process. Gradually increase the size of the drill bit in successive stages, expanding the pilot hole sufficiently to accommodate the size of the lock and its components.
Using multiple sizes of drill bits in progression not only makes the drilling process more efficient but also helps prevent damage to the drill bits and reduces the risk of the drill slipping and damaging other safe components.
Drilling Through the Lock Mechanism
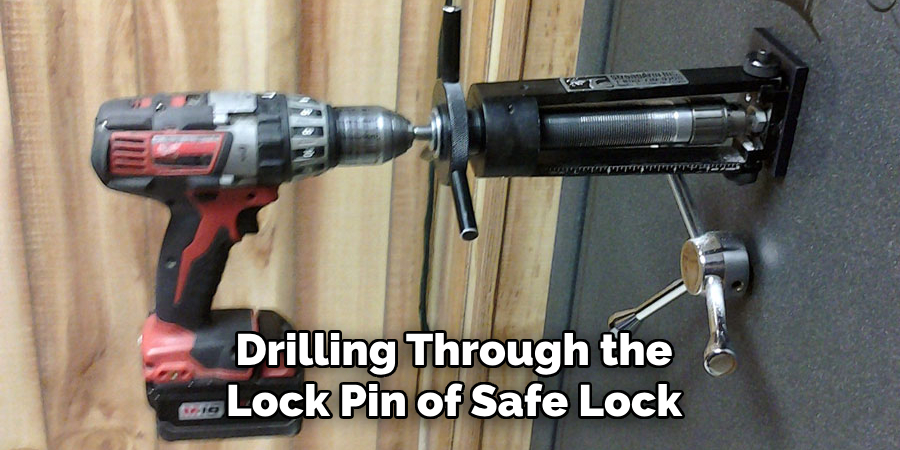
You are ready to drill through the lock mechanism with the pilot holes established. Apply steady, even pressure to the power drill, focusing on maintaining control and precision.
Drilling through the lock pins or mechanism requires patience; avoid forcing the drill, as this can cause the bit to break or become stuck. To mitigate the heat and friction generated during drilling, periodically apply lubricant to the drill bit.
This not only prolongs the life of the drill bit but also helps maintain a clean drilling channel, making the process smoother. Continue drilling until you can feel the resistance decrease, indicating that you have successfully penetrated the lock mechanism.
Removing Lock Components
After successfully drilling through the lock, the next step is to carefully extract the lock components. Use a pair of pliers or a small pair of tweezers to remove any remaining pins, tumblers, or other parts of the lock mechanism.
It’s crucial to ensure that no debris or metal shards remain inside the safe, as these could interfere with the operation of the new lock or potentially damage the safe contents. Use a small brush or a vacuum with a fine nozzle to remove any remnants from the drilling process.
Thoroughly inspecting and cleaning the drilled area will ensure it is ready for the next steps, such as securing the safe and planning for lockAn error occurred during generation. Please try again or contact support if it continues.
After Drilling Out the Lock
After successfully drilling out the lock and removing the lock components, it is important to proceed with securing the contents of the safe. First, thoroughly inspect the safe’s interior to ensure that no metal shards or debris from the drilling are present.
Use a small brush or vacuum with a fine nozzle to clean the area thoroughly. This will prevent any debris from interfering with the operation of a new lock or damaging the safe’s contents.
Once the area is clean, you can carefully remove any remaining lock mechanism parts using tweezers or pliers.
Securing the Safe
Place a temporary lock or robust seal on the drilled area to secure the safe. This measure ensures that the contents remain protected until a permanent solution is implemented.
Consider using a sturdy padlock or a strong adhesive seal to cover the hole effectively. This interim solution prevents unauthorized access and maintains the integrity of the safe’s contents until professional repairs can be made.
Planning for Lock Replacement or Repair
Once the immediate security of your safe is ensured, plan for a lock replacement or repair. Based on your skills and the complexity of the locking mechanism, evaluate whether to replace the lock yourself or consult a professional.
Scheduling this repair promptly is crucial to restoring the full security functions of your safe.
Contacting Professionals
Given the complexity and importance of a functional, safe lock, consider consulting a locksmith or safe technician for lock replacement.
These professionals possess the expertise and tools to effectively replace or repair the lock without compromising the safe’s security. Assessing the integrity of the safe and implementing future security measures, such as reinforcing the lock area, ensures that it continues to safeguard your valuables effectively.
Professional services provide the assurance that the safe will operate securely and reliably moving forward.
Preventive Measures
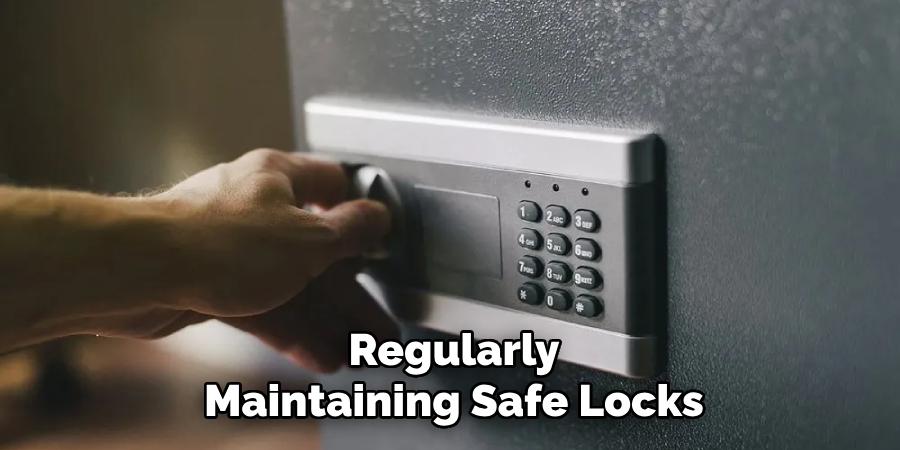
Regularly maintaining safe locks and testing access methods are essential steps to ensure the continued security of your safe and its contents. Periodically check the lock mechanism for wear and tear and ensure that the key or combination works smoothly.
This practice helps identify potential issues early on, allowing for timely repairs or replacements. Additionally, spare keys or combinations should be kept in a secure and separate location to prevent them from being locked out due to lost or forgotten access methods.
Finally, consider exploring electronic or biometric lock upgrades for added security. These advanced locking mechanisms offer enhanced protection and convenience, reducing the risk of unauthorized access.
By incorporating regular maintenance, secure storage of access methods, and modern lock upgrades, you can significantly bolster the security and reliability of your safe.
Conclusion
In summary, understanding how to drill out a safe lock as a last resort involves several meticulous steps. Start by drilling pilot holes to ensure accuracy and control, then proceed to drill through the lock mechanism itself with steady pressure and adequate lubrication.
After successfully penetrating the lock, carefully remove all components and clean the interior to prevent debris from interfering with a new lock. To secure the safe temporarily, use a robust padlock or adhesive seal, and plan for a permanent lock replacement or repair as soon as possible.
Emphasize safety precautions throughout the process, including the use of appropriate tools and protective gear. Consulting a professional locksmith ensures the expertise and precision needed to maintain your safe security.
Preventive measures, such as regular maintenance and considering advanced lock upgrades, can help avoid future lockouts. These steps collectively ensure your safety and continue to protect your valuables efficiently and securely.

