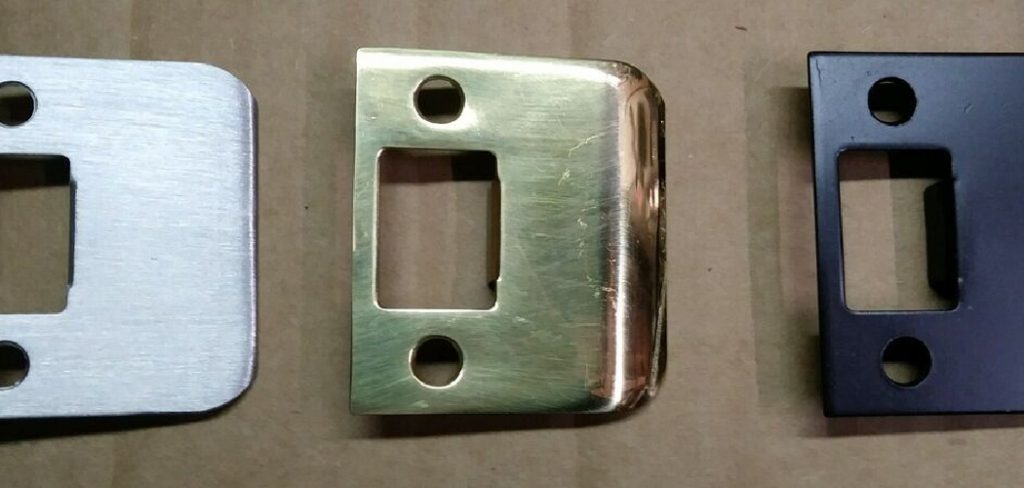
Installing a strike plate on a metal door frame is a crucial step in ensuring the security and functionality of your door’s locking mechanism.

Whether you’re replacing an old strike plate or installing a new one for added security, understanding the process can help you achieve a precise fit and reliable door operation.
In this guide, we’ll take you through how to install strike plate on metal door frame, from preparing the surface to aligning and securing the plate. With clear instructions and the right tools, you can enhance your door’s locking mechanism efficiently and effectively.
Importance of a Properly Installed Strike Plate for Door Security
A properly installed strike plate is fundamental to a door’s security and overall integrity. The strike plate is the metal piece that reinforces the door frame and holds the latch or bolt in place when the door is locked.
If it is not securely fastened or correctly aligned, the effectiveness of the door’s locking mechanism can be compromised, making it easier for potential intruders to force entry. A well-installed strike plate distributes the force exerted during an attempted break-in, reducing the likelihood of the door collapsing under pressure.
Additionally, it ensures that the door closes properly, maintaining the optimal function of both standard and deadbolt locks. By taking the time to install the strike plate correctly, you can significantly enhance the security of your home or office, offering greater peace of mind.
Tools and Materials Needed
Before beginning the installation of the strike plate on a metal door frame, gather all necessary tools and materials to ensure a smooth and efficient process. Here’s a list of what you’ll need:
- Strike Plate: Ensure you have the correct size and type for your door’s locking mechanism.
- Screws: Typically, strike plates come with the appropriate screws, but having extra screws of the right length and gauge can be beneficial.
- Drill: An electric drill with metal drill bits suitable for creating holes in a metal door frame.
- Screwdriver: A manual or electric screwdriver compatible with the screws you’ll be using.
- Chisel and Hammer: These are needed for any adjustments in the door frame if the strike plate doesn’t fit perfectly.
- Measuring Tape: To measure and mark the correct placement of the strike plate.
- Pencil or Marker: For marking drill points and alignment lines on the metal frame.
- Safety Goggles and Gloves: Essential for protection while drilling and handling tools.
- File or Sandpaper: To smooth out any rough edges after drilling.

Make sure to have these tools and materials readily available before you start, as having everything on hand will help you complete the task more efficiently and safely.
10 Methods How to Install Strike Plate on Metal Door Frame
Method 1: Gathering the Necessary Tools and Materials
Before you begin the installation process, it’s essential to gather all the necessary tools and materials.
For installing a strike plate on a metal door frame, you will need a measuring tape, a pencil, a drill with metal drill bits, screws suitable for metal, a screwdriver, a chisel or file, and the strike plate itself.
Having these tools and materials at hand ensures that the installation process goes smoothly and that you won’t have to stop midway to find additional items. It’s also helpful to have safety gear, such as safety glasses and gloves, to protect yourself during the installation.
Method 2: Marking the Strike Plate Position
Accurate marking is crucial for the successful installation of a strike plate on a metal door frame. Begin by closing the door and observing where the latch bolt (or deadbolt) contacts the door frame.
Use a pencil to mark the position of the latch bolt on the door frame. This mark will serve as the center point for the strike plate. Ensure that the mark is level and aligned with the latch bolt to guarantee that the strike plate will be properly positioned.
Taking precise measurements and marking accurately will help avoid misalignment issues during installation.
Method 3: Aligning the Strike Plate
Once you have marked the position of the latch bolt, align the strike plate over the mark on the door frame. Use a pencil to trace around the edges of the strike plate, creating an outline on the metal frame.
This outline will serve as a guide for cutting or chiseling out the recess where the strike plate will sit. Ensure that the strike plate is level and correctly aligned with the latch bolt mark to ensure a proper fit.

Proper alignment of the strike plate is essential for the latch bolt to engage smoothly and securely.
Method 4: Cutting the Recess for the Strike Plate
Creating a recess in a metal door frame requires precision and the right tools. Use a drill with a metal drill bit to drill holes along the outline you traced in the previous step.
Drill multiple small holes close together to weaken the metal within the outline. After drilling, use a chisel or a metal file to carefully remove the metal and create a recess that matches the thickness of the strike plate.
Take your time during this step to ensure that the recess is even and that the strike plate will sit flush with the door frame. Cutting an accurate recess ensures a secure fit for the strike plate.
Method 5: Drilling Screw Holes for the Strike Plate
With the recess cut, the next step is to drill holes for the screws that will secure the strike plate to the metal door frame. Position the strike plate in the recess and use a pencil to mark the screw hole locations on the door frame.
Remove the strike plate and use a drill with a metal drill bit to create pilot holes for the screws. Ensure that the pilot holes are straight and appropriately sized for the screws you will be using.
Drilling pilot holes helps prevent the screws from slipping or damaging the metal door frame during installation.
Method 6: Securing the Strike Plate
After drilling the pilot holes, position the strike plate in the recess and align the screw holes with the pilot holes. Insert the screws and use a screwdriver to secure the strike plate to the metal door frame.
Tighten the screws until the strike plate is firmly attached, but be careful not to overtighten, as this can strip the screw holes or damage the metal frame. Properly securing the strike plate ensures that it will stay in place and provide a solid anchor for the latch bolt.
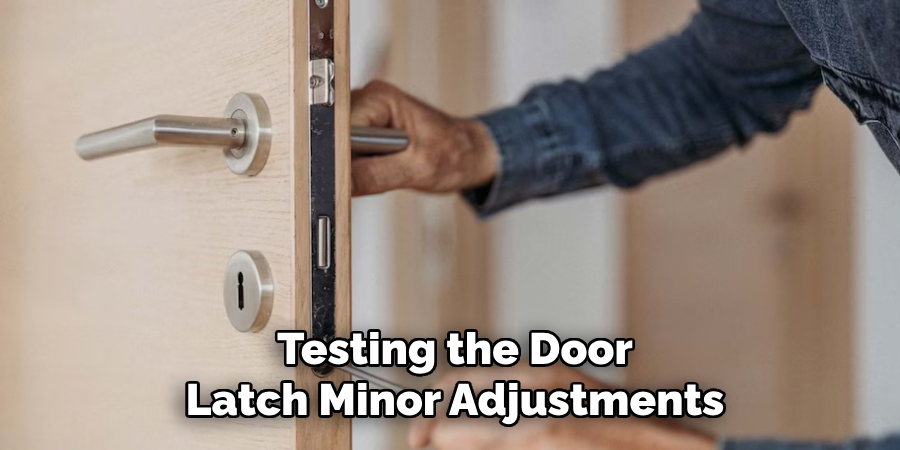
Method 7: Testing the Door Latch
Once the strike plate is installed, it’s important to test the door latch to ensure that it engages smoothly with the strike plate. Close the door and observe how the latch bolt interacts with the strike plate.

The latch bolt should enter the hole in the strike plate easily and without obstruction. If the latch bolt does not engage properly, you may need to make minor adjustments to the strike plate position or the recess. Testing the door latch ensures that the installation is successful and that the door will function correctly.
Method 8: Making Final Adjustments
After testing the door latch, you may find that minor adjustments are needed to achieve a perfect fit. If the latch bolt is not aligning with the strike plate, you can slightly adjust the position of the strike plate by loosening the screws and repositioning it.
If necessary, use a chisel or file to enlarge the recess or adjust the screw holes. Make small adjustments incrementally and test the latch after each adjustment. Taking the time to make final adjustments ensures that the strike plate and latch bolt align perfectly, providing a secure and functional door latch.
Method 9: Adding Reinforcement
For added security, you can reinforce the strike plate installation. Consider using longer screws that penetrate deeper into the door frame and wall studs for increased strength.
Alternatively, you can install a security strike plate, which is designed to withstand more force and provide better protection against forced entry. Reinforcing the strike plate installation enhances the security of your door, making it more resistant to break-ins and ensuring the longevity of the installation.
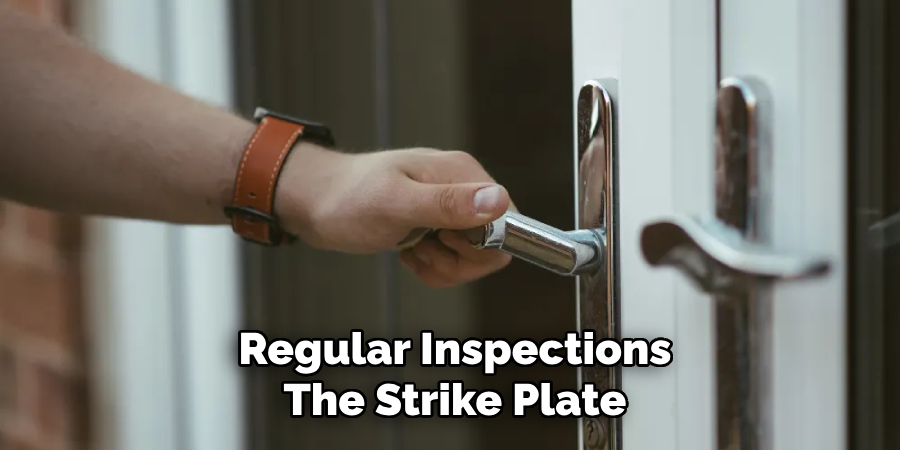
Method 10: Regular Maintenance and Inspection
After installing the strike plate, it’s important to perform regular maintenance and inspections to ensure it remains in good condition. Periodically check the screws to ensure they are tight and secure.
Inspect the strike plate for signs of wear or damage, such as bent metal or worn edges. Lubricate the latch bolt and strike plate with a silicone-based lubricant to maintain smooth operation.
Regular maintenance and inspection help identify potential issues early and ensure that the strike plate continues to function properly, providing security and ease of use for the door.

Conclusion
Installing a strike plate in a metal door frame may initially seem challenging, but with careful planning, the right tools, and precise execution, it becomes a manageable task.
By following the methods outlined in this guide, you can ensure a secure and functional installation that enhances the security of your door.
Remember that taking accurate measurements, carefully cutting the recess, and making necessary adjustments are crucial steps that contribute to the overall success of the installation.
Additionally, reinforcing the strike plate and performing regular maintenance can further increase the durability and effectiveness of your door latch system. By investing the time and effort into a proper installation, you can achieve peace of mind knowing that your property is well-protected.
Thanks for reading, and we hope this has given you some inspiration on how to install strike plate on metal door frame!
About
Safety Fic is a distinguished figure in the world of Diy design, with a decade of expertise creating innovative and sustainable Diy solutions. His professional focus lies in merging traditional craftsmanship with modern manufacturing techniques, fostering designs that are both practical and environmentally conscious. As the author of diy, Safety Fic delves into the art and science of Safety Fic-making, inspiring artisans and industry professionals alike.
Education RMIT University
(Melbourne, Australia) Associate Degree in Design (Safety Fic) Focus on sustainable design, industry-driven projects, and practical craftsmanship. Gained hands-on experience with traditional and digital manufacturing tools, such as CAD and CNC software.
Nottingham Trent University
(United Kingdom) Bachelor’s in diyfastly.com and Product Design (Honors) Specialized in product design with a focus on blending creativity with production techniques. Participated in industry projects, working with companies like John Lewis and Vitsoe to gain real-world insights.
Publications and Impact
In diy, Safety Fic his insights on indoor design processes, materials, and strategies for efficient production. His writing bridges the gap between artisan knowledge and modern industry needs, making it a must-read for both budding designers and seasoned professionals.
