

Are you tired of your door slamming shut every time you open it? Installing a door stopper hinge can solve this common problem easily and efficiently.
A door stopper hinge not only prevents your door from slamming but also protects your walls and furniture from potential damage. How to install door stopper hinge is a straightforward and practical solution to prevent your doors from damaging walls or furniture by opening too far.
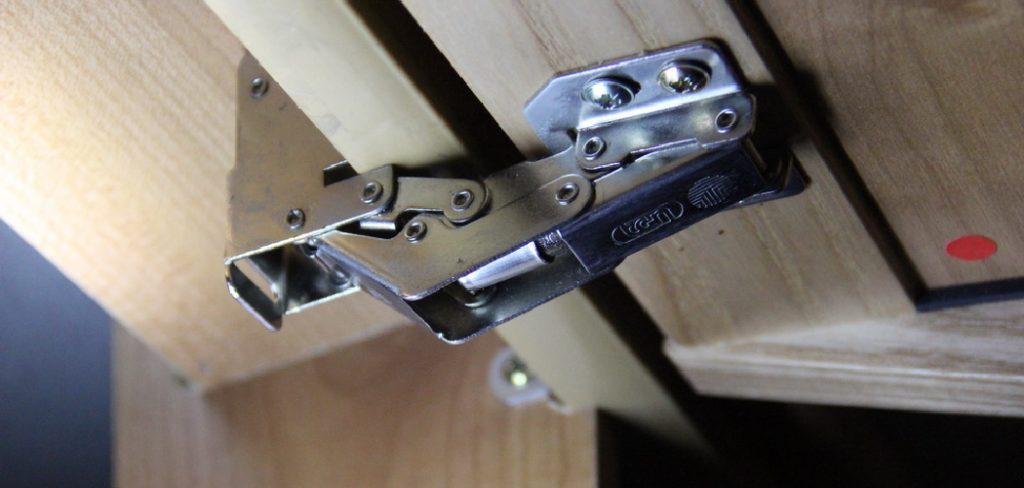
This handy device combines the traditional door hinge function with a built-in stopper, offering a cleaner and more integrated look than floor-mounted stoppers.
Whether you are a seasoned DIY enthusiast or a beginner, this process is simple and requires minimal tools and effort. Let’s get started!
What are the Benefits of a Door Stopper Hinge?
- Prevents door from slamming shut
- Protects walls and furniture
- Easy and efficient solution
- Integrated look compared to floor-mounted stoppers
- It can be installed on any door with hinges
These are just some of the benefits that a door-stopper hinge can provide. It is a cost-effective and practical solution to common door problems, making it a popular choice among homeowners.
What Will You Need?
Before installing a door stopper hinge, you must gather all the necessary tools and materials. These include:
- Door stopper hinge (available at most hardware stores)
- Screwdriver or power drill
- Screws (usually provided with the hinge)
- Measuring tape or ruler
- Pencil
Once you have these items, you are ready to start the installation process.
10 Easy Steps on How to Install Door Stopper Hinge
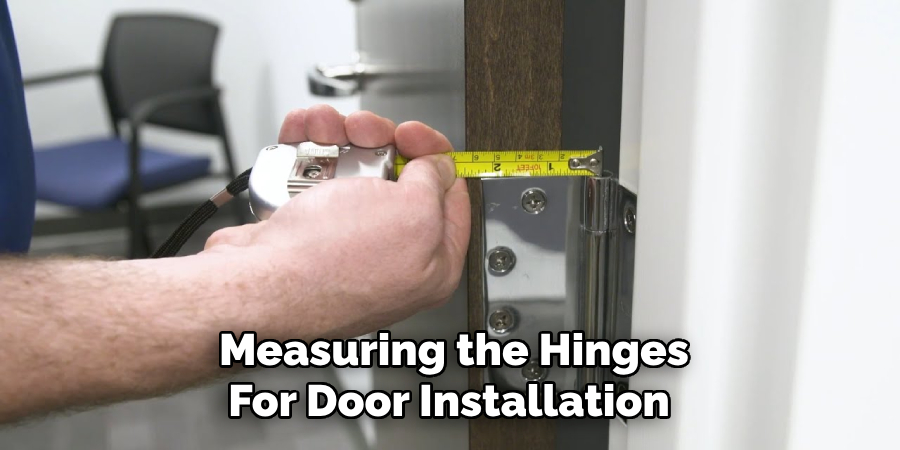
Step 1: Measure and Mark
Begin by measuring the height where you will install the door stopper hinge. It is typically best to place the hinge at the same height as your existing hinges to ensure uniformity and proper functionality.
Use your measuring tape or ruler to measure from the bottom of the door up to the desired height. Once you have determined the correct position, lightly mark the spot with a pencil on both the door and frame.
This step is crucial as accurate measurements will help your door stopper hinge align correctly, ensuring it functions smoothly and effectively.
Step 2: Remove the Old Hinge
First, open your door wide enough for easy access to the hinges. Using your screwdriver or power drill, unscrew the screws from the old hinge that you are planning to replace. Keep the screws in a safe place as you may need them later.
If the hinge is old, painted over, or stuck, gently tap it with a hammer or use a flathead screwdriver to pry it loose. Carefully remove the old hinge from both the door and the door frame.
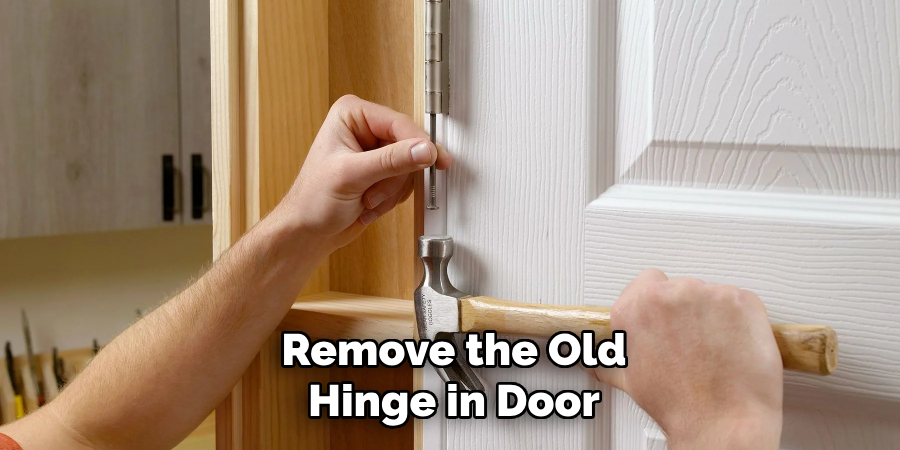
It’s important to ensure that the door stays secure and in place during this process, so you might want to have someone hold the door steady or use a doorstop to support it.
Step 3: Align the New Door Stopper Hinge
Take your new door stopper hinge and hold it up to the spot where the old hinge was removed. Ensure the hinge is properly aligned with the door and frame. The holes in the new hinge should line up with the existing screw holes.
This alignment is crucial to guarantee that the door functions correctly and that the stopper operates at the appropriate angle to prevent the door from opening too far.
Step 4: Attach the Door Stopper Hinge
With the new door stopper hinge aligned in place, use a pencil to mark the location of the screw holes on both the door and the frame. This step ensures that your hinge is properly positioned when you secure it.
Begin by partially inserting the screws into the door, ensuring that the hinge remains in alignment as you work. If using a power drill, set it to a low torque setting to avoid stripping the screws or damaging the wood.
Gradually tighten the screws, alternating between them to keep the hinge evenly secured.
Step 5: Check for Proper Alignment
Once the hinge is attached, check the alignment by opening and closing the door a few times. Make sure that the door stopper hinge functions correctly, preventing the door from opening too far while allowing it to close smoothly.
If you notice any misalignment, you may need to adjust the screws slightly or reposition the hinge. Ensuring proper alignment at this stage is crucial for the door’s effective operation and longevity.
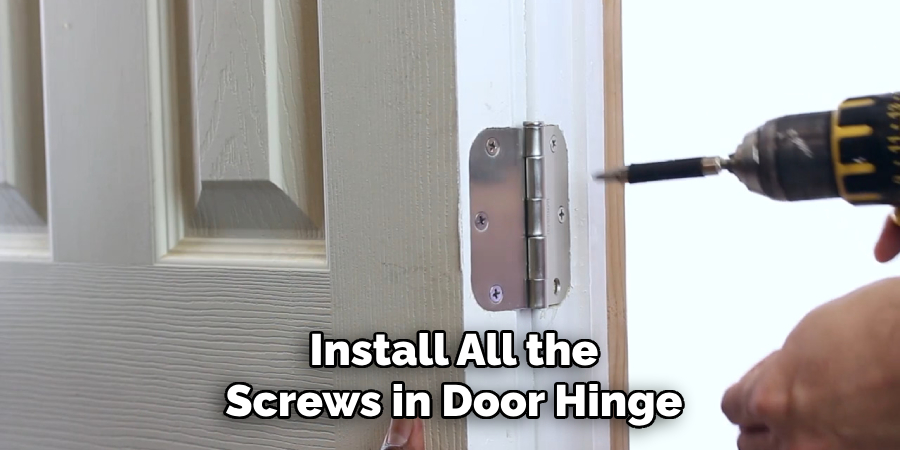
Step 6: Attach the Remaining Screws
With the initial screws in place and alignment verified, proceed to insert the remaining screws to fully secure the door stopper hinge.
This step provides additional stability and ensures the hinge can handle the weight and movement of the door. Again, tighten the screws gradually and evenly to maintain proper alignment and avoid any damage.
Step 7: Test the Door
After securing all the screws, it’s time to test the door to ensure the door stopper hinge is functioning as expected. Open the door slowly and let it reach the stopper point to check if it prevents the door from opening too far.
Ensure that the door smoothly comes to a stop at the desired angle without any jerking or undue resistance. This test is crucial to confirm that the hinge’s stopper mechanism is properly engaged and that it offers the necessary protection to your walls or furniture.
Step 8: Fine-Tuning
If necessary, make any fine adjustments to the screws or the hinge positioning to achieve the best performance.
This step might involve slightly loosening or tightening specific screws or shifting the hinge slightly. The goal is to have a door that opens freely up to the limiter and closes securely.
Step 9: Ensure All Screws Are Tightened
Once you’ve made any necessary adjustments to the hinge positioning, perform a final check to ensure all screws are properly tightened. This step is crucial to guarantee that the door stopper hinge remains stable and functions as intended.
Using your screwdriver or power drill, go over each screw one last time, tightening them securely but taking care not to over-torque and strip the screws or damage the wood. Proper tightening will provide the necessary durability and longevity for the hinge mechanism.
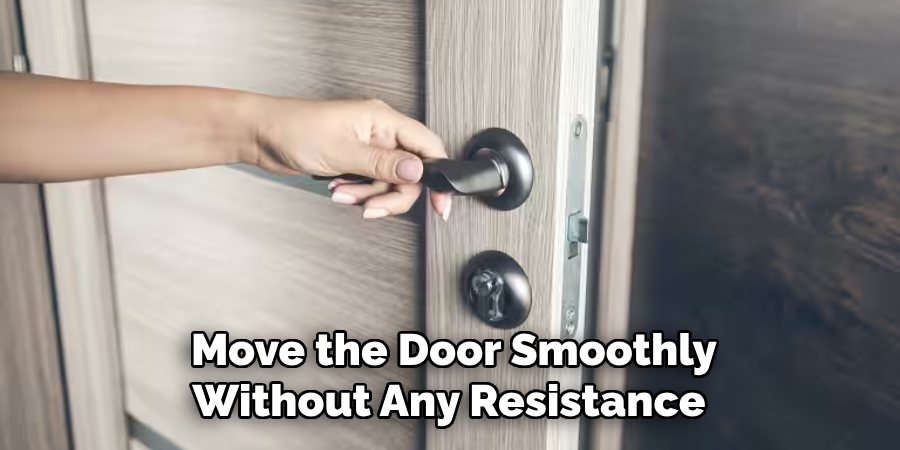
Step 10: Perform a Final Test
Conduct a comprehensive final test of the door to ensure the installation has been successful. Open the door fully to confirm that the door stopper hinge prevents overextension effectively.
Next, close the door gently to ensure it moves smoothly without any resistance or misalignment issues. Evaluate whether the stopper mechanism engages correctly in both actions.
By following these steps, you can effectively install a door stopper hinge, enhancing your door setup’s functionality and safety.
5 Additional Tips and Tricks
- Pre-drill Holes: To avoid splitting the wood and to make screw installation easier, pre-drill small pilot holes where the screws will be placed.
- Use Quality Screws: Invest in high-quality screws that are resistant to rust and corrosion. This ensures the longevity of the door stopper hinge installation.
- Test Door Movement: After mounting the hinge, test the door’s movement to ensure it opens and closes smoothly. Make any necessary adjustments before finalizing the installation.
- Apply Lubricant: A small amount of lubricant on the moving parts of the hinge can reduce friction and noise, ensuring the door operates quietly and smoothly.
- Keep the Hinge Clean: Regularly clean the hinge and remove any debris or buildup that may impede its movement. This will help prolong its lifespan and maintain its functionality.
With these additional tips and tricks, you can ensure a smooth and efficient installation of your door stopper hinge.
5 Things You Should Avoid
- Using Incorrect Tools: Avoid using tools that are not designed for the job. Incorrect tools can damage the hinge, door, or frame, leading to a subpar installation.
- Ignoring Measurements: Skipping the step of accurately measuring and marking where the hinge should be placed can result in a misaligned door, causing operational issues and aesthetic problems.
- Over-tightening Screws: Over-tightening screws can strip them or damage the wood around them, reducing the hinge’s hold and effectiveness. Tighten screws just enough to hold securely.
- Installing on Weak Surfaces: Avoid installing the hinge on surfaces that are not sturdy enough to support the door’s weight. This can lead to premature failure and potential door sagging.
- Skipping Hinge Alignment: Failing to align the hinge properly with both the door and the frame can cause binding or uneven gaps, impairing the door’s function and appearance. Always double-check alignment before securing the hinge.
By avoiding these common mistakes, you can ensure a successful and long-lasting door-stopper hinge installation.
Conclusion
How to install door stopper hinge is a straightforward process that enhances both the functionality and longevity of your doors.
You can achieve a seamless installation by following the detailed steps outlined, using the right tools, and paying attention to the additional tips and tricks provided. Remember to avoid common pitfalls such as ignoring measurements or over-tightening screws to ensure the best results.
With the hinge properly installed, you can enjoy smooth and quiet door operation, ultimately adding to the comfort and convenience of your living or working space.
Successful installation not only protects your walls and furniture from damage but also adds a touch of precision craftsmanship to your home improvement skills.
About
Safety Fic is a distinguished figure in the world of Diy design, with a decade of expertise creating innovative and sustainable Diy solutions. His professional focus lies in merging traditional craftsmanship with modern manufacturing techniques, fostering designs that are both practical and environmentally conscious. As the author of diy, Safety Fic delves into the art and science of Safety Fic-making, inspiring artisans and industry professionals alike.
Education RMIT University
(Melbourne, Australia) Associate Degree in Design (Safety Fic) Focus on sustainable design, industry-driven projects, and practical craftsmanship. Gained hands-on experience with traditional and digital manufacturing tools, such as CAD and CNC software.
Nottingham Trent University
(United Kingdom) Bachelor’s in diyfastly.com and Product Design (Honors) Specialized in product design with a focus on blending creativity with production techniques. Participated in industry projects, working with companies like John Lewis and Vitsoe to gain real-world insights.
Publications and Impact
In diy, Safety Fic his insights on indoor design processes, materials, and strategies for efficient production. His writing bridges the gap between artisan knowledge and modern industry needs, making it a must-read for both budding designers and seasoned professionals.