

When installing a new lock or upgrading an existing one, drilling precise lock holes in the door frame is a crucial step. A well-executed drilling process ensures that the lock functions smoothly and securely.

This guide on how to drill lock holes in door frame will walk you through the necessary tools, materials, and steps to drill lock holes accurately, even if you’re a beginner. Whether you’re dealing with a wooden, metal, or composite door frame, following these instructions will help you achieve professional results. Let’s get started on enhancing the security and functionality of your door.
Why is Drilling Lock Holes in Door Frames Necessary?
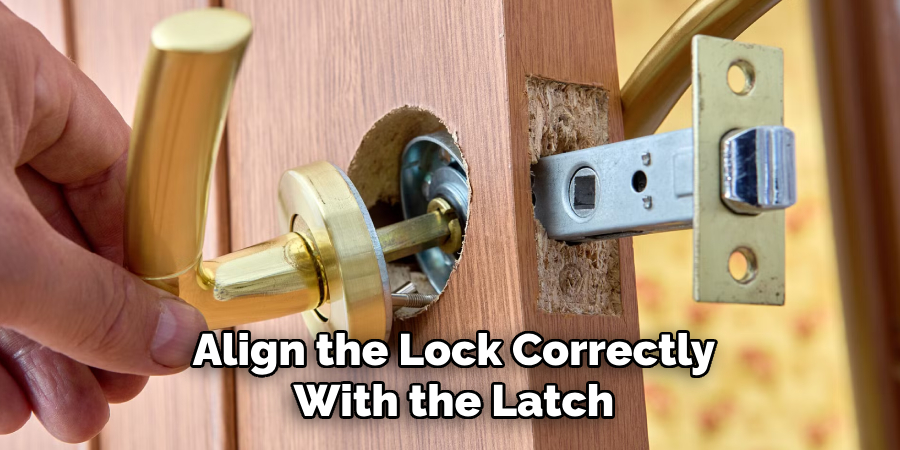
As mentioned earlier, drilling precise lock holes is essential for the proper functioning of a lock. If the hole is too small, the lock won’t fit, and if it’s too big, the lock will be loose and easily breakable. In addition to that, drilling accurate lock holes also ensures that the lock aligns perfectly with the latch on the door jamb, allowing for smooth locking and unlocking.
You may be wondering, why not just use the existing holes on the door frame? While it may seem like a time-saving option, using pre-existing lock holes can compromise the security of your door. Previous locks may have been removed or changed, resulting in misaligned or damaged holes. Taking the time to drill new lock holes guarantees that your lock will function correctly and provide optimal security.
Tools and Materials Needed
Drill:
A power drill with a suitable bit size for your lock is necessary to create the lock holes. Most drills come with various drill bit sizes, but you can also purchase them separately if needed.
Drill Bits:
Different lock types require different drill bit sizes. Ensure you have the correct size for your particular lock to avoid damaging the door frame or creating an ill-fitted hole.
Pencil:
A pencil is necessary for marking the exact spot where you will drill the lock holes.
Measuring Tape or Ruler:
Accurate measurements are crucial in drilling precise lock holes. A measuring tape or ruler will help you mark the correct distance between the lock and latch on the door jamb.
Door Wedge:
To prevent any accidental movement of the door while drilling, use a door wedge to keep it securely in place.
Safety Glasses:
Safety should be a top priority when using power tools. Protect your eyes by wearing safety glasses while drilling.
Dust Mask:
Drilling can create a lot of dust and debris, which can be harmful to your health. A dust mask will prevent you from inhaling any particles.
8 Step-by-step Guidelines on How to Drill Lock Holes in Door Frame
Step 1: Choose the Proper Height for Your Lock
Selecting the appropriate height for your lock is the first crucial step in the drilling process. Generally, the standard height for installing a lock is about 36 to 38 inches from the floor to the center of the lock. However, this may vary based on personal preference or specific requirements. Using a pencil and measuring tape or ruler, mark the desired height on the door frame. Ensure that the height is consistent with the corresponding notch or hole on the door.
This consistency is essential for the lock to align correctly with the latch, ensuring smooth operation and optimal security. Once you have marked the height, double-check the measurements before proceeding to the next step.
Step 2: Mark the Centre of the Lock Hole
Now that you have determined the appropriate height for your lock, the next step is to mark the center of the lock hole. To do this, measure the exact vertical midpoint of the door frame at the height you previously marked. Use your measuring tape or ruler to find the center point and make a mark with your pencil. This mark will serve as the reference point for drilling the lock hole.
Ensure that this central mark is aligned with the edge of your door and located precisely where the lock mechanism will reside. Accurate centering is key to ensuring that both the lock and the latch will function correctly and maintain the structural integrity of the door frame. Double-check your measurements and alignment to confirm accuracy before moving on to the drilling process.
Step 3: Determine the Size of Your Lock Hole
As mentioned earlier, different lock types require different drill bit sizes. It’s essential to know the exact size needed for your particular lock to avoid any mistakes during the drilling process. To determine the required size, measure the width and length of your lock using a measuring tape or ruler. Add an extra 1/8 inch to both measurements to allow room for error and ensure that the lock fits comfortably.
For example, if your lock is 2 inches wide and 3 inches long, you will need a drill bit with a diameter of at least 2-1/8 inches. Using a smaller drill bit can result in an ill-fitted hole, while a larger one can damage the door frame and compromise the security of your lock. Once you have determined the correct size, select the appropriate drill bit for your lock.

Step 4: Secure the Door in Place
Before you begin drilling, it is crucial to secure the door to prevent any accidental movement that could lead to misaligned holes or injuries. Start by placing a door wedge under the door to stabilize it and keep it from swinging. Ensure the wedge is firmly in place so that the door remains completely still during the drilling process. If necessary, enlist the help of a friend or family member to hold the door steady while you work.
Additionally, double-check that the door is perfectly positioned in the frame with the marks you made earlier. Ensuring the door is securely in place will not only make the drilling process smoother but also guarantee that the lock hole aligns precisely with the latch mechanism. Taking this safety step seriously will result in a more accurate and professional finish for your lock installation. Once you have confirmed the door is secure, you can proceed with confidence to the drilling stage.
Step 5: Drill the Lock Hole
Now comes the most crucial part – drilling the lock hole. Using your power drill and selected drill bit, align the tip of the bit with the center mark you made in step 2. Hold your drill perpendicular to the door and start slowly drilling in a clockwise direction. Applying too much pressure or going too quickly can cause the drill bit to slip, resulting in an uneven or damaged hole.
As you begin, use light pressure and gradually increase as needed while maintaining a steady pace until you have drilled through the door completely. Once finished, remove any excess debris from both sides of the door using a brush or cloth.
Step 6: Create the Latch Hole
Now that you have successfully drilled the lock hole, it’s time to make a latch hole on the door jamb. Using your measuring tape or ruler, measure and mark the exact height and depth of your latch on the door frame. Typically, latches are placed approximately 1 inch deep into the door jamb.
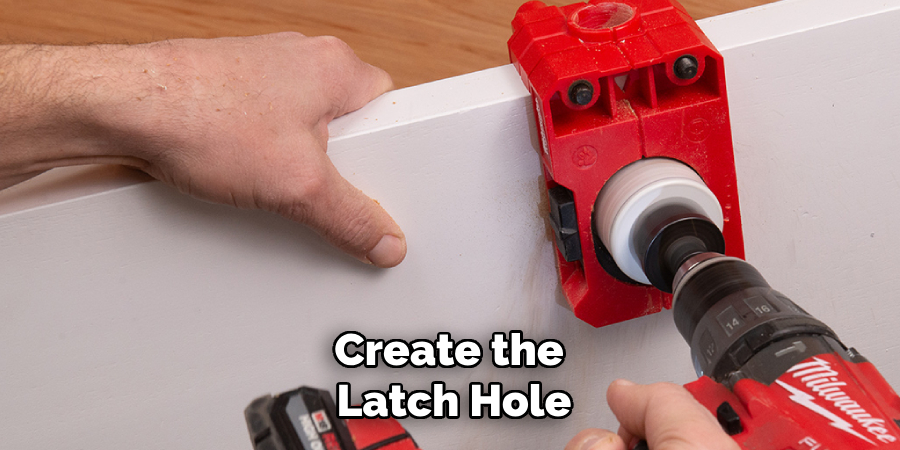
Using your drill and a small drill bit, create a pilot hole at this marked point on the door jamb. Then, switch to a larger-sized drill bit that matches the diameter of your lock latch. Using this larger drill bit, slowly enlarge the pilot hole until it reaches its desired depth and width.
Step 7: Test Your Lock Fit
Once you have completed drilling both the lock and latch holes, it’s time to test the fit of your lock. Place the lock and latch into their respective holes on the door frame, ensuring that they align correctly with each other and are centered properly.
If everything fits securely and effortlessly, you have successfully drilled your lock holes. However, if the fit is not perfect or requires some adjustments, use a chisel or file to make minor modifications until you achieve an ideal fit for your lock.
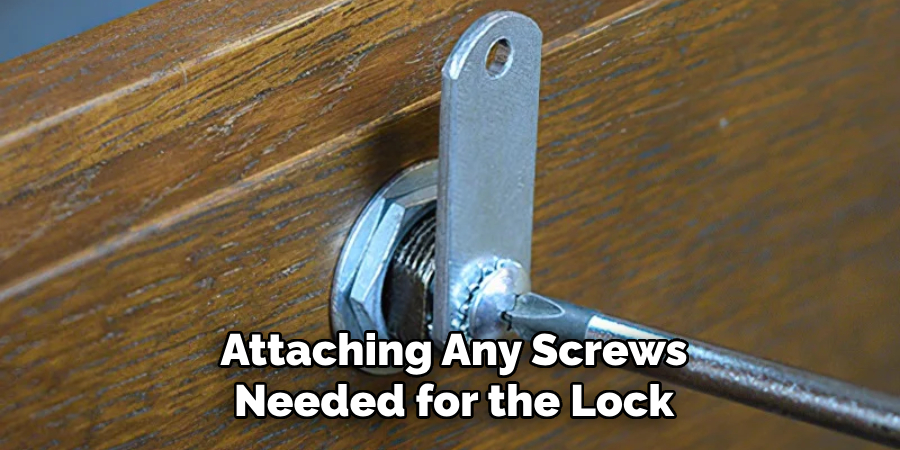
Step 8: Install Your Lock
With all the necessary holes drilled and tested for proper alignment, you can now install your lock onto the door. Start by attaching any screws needed for the lock mechanism to secure it in place. Then, attach the door handle and any remaining pieces of your lock according to the manufacturer’s instructions.
Once everything is securely attached, test your lock by turning the knob or lever to ensure that it operates smoothly and efficiently. If there are any issues with the locking mechanism, refer back to your installation instructions or consult a professional for assistance.
Following these eight steps on how to drill lock holes in door frame will guide you through the process of drilling a lock hole on your door and installing your lock with precision and accuracy. Remember to always take necessary safety precautions during this process, and consult a professional if you are unsure or uncomfortable with any step. Now, go ahead and enjoy the added security and convenience of having a properly installed lock on your door!
Frequently Asked Questions
Q1: How Do I Know the Correct Size Drill Bit for My Lock?
A1: Determining the correct size drill bit for your lock is essential to ensure a proper fit. Measure the width and length of your lock and add an additional 1/8 inch to both measurements to allow for a comfortable fit. For example, if your lock is 2 inches wide and 3 inches long, you need a drill bit with a diameter of at least 2-1/8 inches.
Q2: Why is it Important to Secure the Door in Place Before Drilling?
A2: Securing the door in place ensures that there will be no accidental movement or misalignment of holes during the drilling process. This step is crucial for safety and accuracy when installing your lock.
Q3: What Should I Do if the Lock Doesn’t Fit into the Holes Properly?
A3: If you encounter any issues with fitting your lock into its designated holes, use a chisel or file to make minor adjustments until you achieve an ideal fit. If you are still unable to install your lock properly, seek assistance from a professional locksmith.

Conclusion
Drilling lock holes and installing a new lock may seem like a daunting task, but following the step-by-step guide on how to drill lock holes in door frame provided can simplify the process and ensure a successful outcome. By carefully measuring, marking, and securing your door, you set the stage for precise drilling and proper alignment of the lock components. Remember to take all necessary safety precautions and not rush through any of the steps.
Patience and attention to detail will pay off with a smoothly operating lock that offers enhanced security for your home. If at any point you feel uncertain or encounter difficulties, don’t hesitate to consult a professional locksmith for assistance. With a properly installed lock, you can enjoy peace of mind and the added convenience that comes with an upgraded security system.