
Adjusting a Norton door closer ensures that your door operates smoothly and securely. Whether you are dealing with a door that shuts too quickly, closes too slowly, or doesn’t fully latch, proper adjustment can address these issues.
This guide on how to adjust norton door closer will walk you through the essential steps to fine-tune your Norton door closer, guaranteeing optimal performance and extending its lifespan. With just a few tools and a bit of patience, you’ll have your door functioning perfectly in no time.
Why Adjust Your Norton Door Closer?
A door closer is a mechanical device that controls the speed and closing force of a door, ensuring it closes securely and quietly. Over time, factors such as temperature changes, wear and tear, or incorrect installation can cause your door closer to malfunction. This can result in a door that slams shut too fast, doesn’t fully close or latch properly, or fails to control the opening and closing speed.
By adjusting your Norton door closer, you can fix these issues and ensure proper operation. Regular maintenance and adjustment of your door closer also prevents damage to the hardware and reduces the risk of injury from a faulty or malfunctioning door.
Tools Needed
Before you begin adjusting your Norton door closer, gather the necessary tools:
- Flathead Screwdriver
- Allen Wrench (Size May Vary Depending on Your Specific Model)
- Tape Measure
- Lubricant (Silicone Spray or Grease)
Step-by-step Guides on How to Adjust Norton Door Closer
Step 1: Determine the Type of Closer You Have
Before you start making any adjustments, it’s crucial to determine the type of Norton door closer you have. Norton offers a range of door closers, each with specific features and adjustment mechanisms. Begin by inspecting the door closer to identify its model number, usually found on a label or embossed on the device itself.
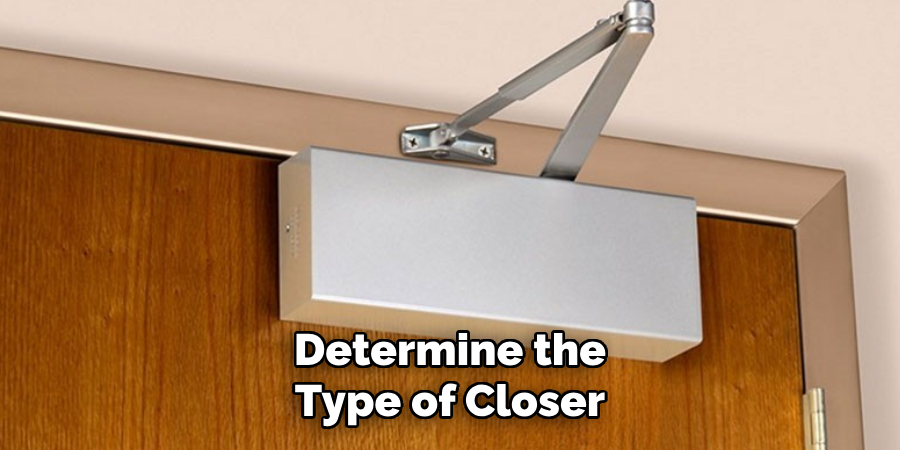
Refer to the manufacturer’s manual or Norton’s website to find detailed information about your specific model. Knowing whether you have a surface-mounted, concealed, or floor-mounted closer will help you understand the adjustment points and the tools required to make the necessary changes accurately.
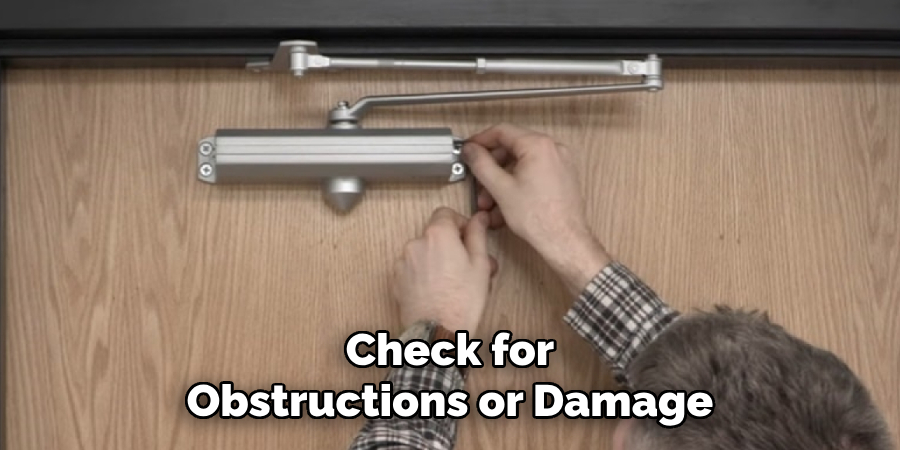
Step 2: Check for Obstructions or Damage
Before proceeding with any adjustments, ensure that there are no obstructions or damage hindering the door’s movement. Inspect the door closer and surrounding hardware for any visible signs of wear, rust, or debris. Remove any dirt, debris, or excess lubricant from the closer and its components to ensure smooth operation.
You should also check the door for any warping or damage that may prevent it from closing correctly. If you notice any significant damage, such as bent hinges or a warped frame, these issues will need to be addressed before adjusting the door closer.
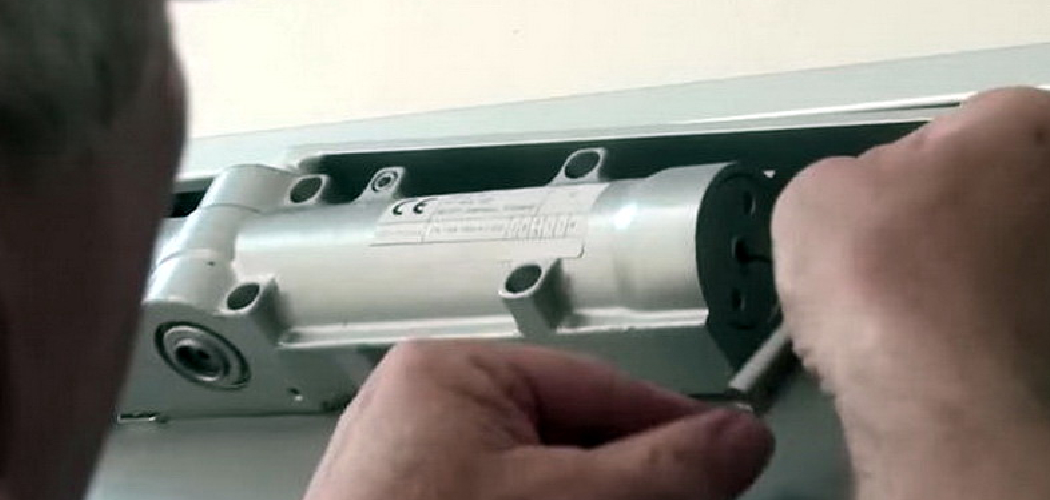
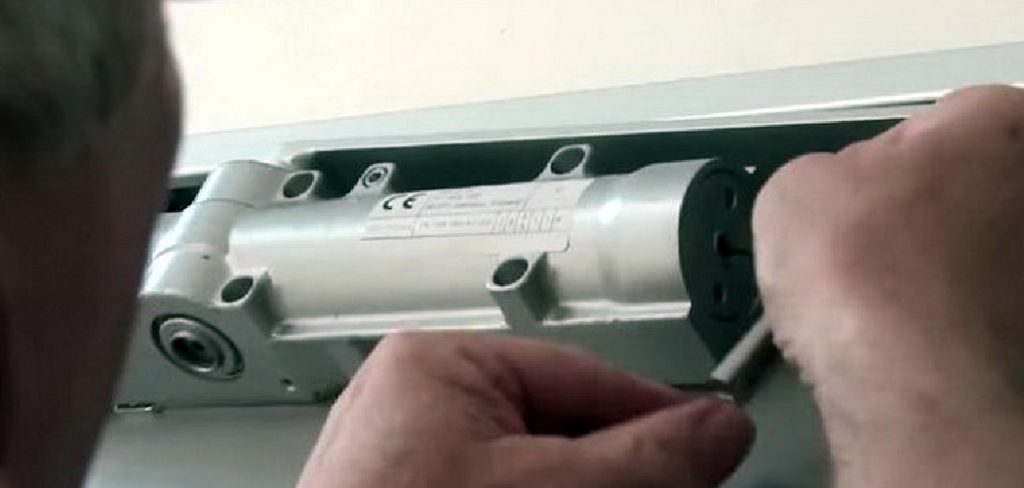
Step 3: Adjusting Latching and Closing Speeds
After ensuring there are no obstructions or damage, it’s time to adjust the latching and closing speeds of your Norton door closer.
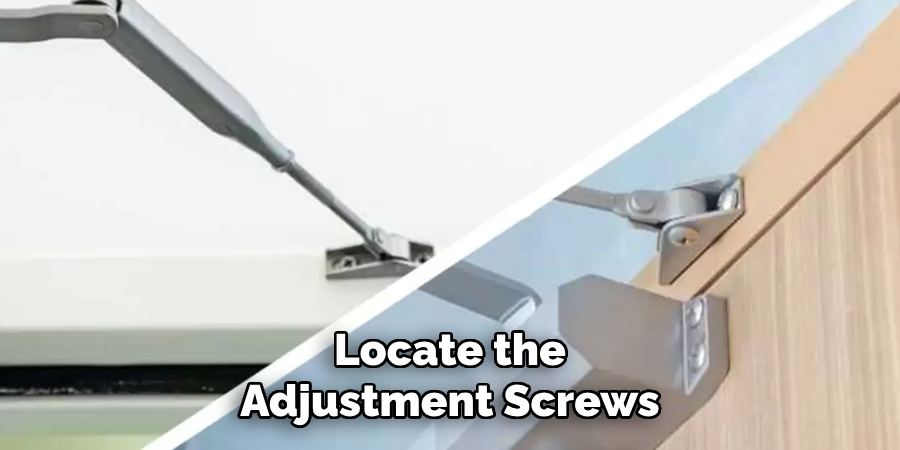
Locate the Adjustment Screws:
Most Norton door closers have two primary adjustment screws, typically labeled as L (Latch Speed) and C (Closing Speed). These screws are usually found on the end of the closer body or on the side, depending on your model.
Closing Speed Adjustment:
The closing speed controls the speed at which the door moves from fully open to just before it latches. Use an Allen wrench or a flathead screwdriver to turn the Closing Speed adjustment screw. Turn the screw clockwise to slow down the door’s closing speed and counterclockwise to increase the speed. Make minor adjustments and test the door’s operation after each change until the desired closing speed is achieved.
Latching Speed Adjustment:
The latching speed controls the final few inches of the door’s closing cycle, ensuring the door latches securely but gently. Locate the Latch Speed adjustment screw and use your screwdriver or Allen wrench to turn it. Turning the screw clockwise will slow down the latching speed, while turning it counterclockwise will increase the speed. Again, make small adjustments and test the door after each modification to find the perfect balance between secure latching and smooth operation.
Testing:
After adjusting both the latching and closing speeds, open the door fully and observe its movement as it closes, paying close attention to the final moments before it latches. The door should close smoothly and securely without slamming or remaining ajar.
Fine-tuning these adjustments will help ensure the optimal performance of your Norton door closer, extending its lifespan and ensuring the door operates safely and efficiently.
Step 4: Adjusting the Sweep Speed
The sweep speed, also known as the main speed, controls the speed at which the door moves through the main portion of its closing cycle—from fully open until it reaches the latching phase. Properly adjusting the sweep speed ensures smooth and controlled door operation, preventing the door from closing too quickly or too slowly.
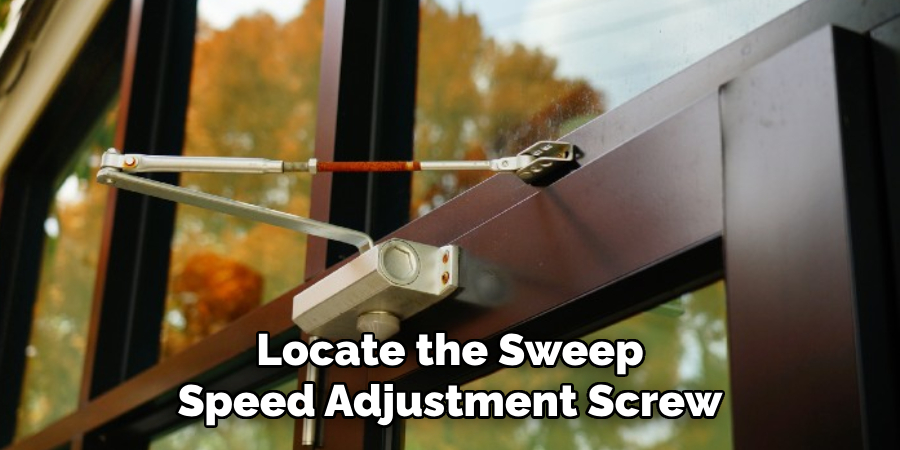
Locate the Sweep Speed Adjustment Screw:
Most Norton door closers have a third adjustment screw labeled as S (Sweep Speed), typically located near the latching and closing speed adjustment screws. Refer to your door closer’s manual to find the exact location of the sweep speed adjustment screw.
Sweep Speed Adjustment:
Use an Allen wrench or flathead screwdriver to turn the Sweep Speed adjustment screw. Turning the screw clockwise will decrease the door’s sweep speed, making it close more slowly. Turning the screw counterclockwise will increase the sweep speed, allowing the door to close more quickly.
Making small, incremental adjustments is key to achieving the desired speed. After each adjustment, test the door’s operation to evaluate the changes. The door should close in a controlled manner without any abrupt movement.
Testing:
Open the door fully and let it close while observing its motion through the main sweep portion. Ensure that the door moves smoothly and steadily until it reaches the latching phase. The ideal sweep speed allows the door to close at a consistent, moderate pace, providing enough time for safe passage without lingering too long.
Fine-tuning the sweep speed, along with the closing and latching speeds, contributes to the overall functionality and safety of your Norton door closer. Proper adjustment minimizes wear and tear, enhances the user experience, and ensures reliable door performance.
Step 5: Additional Considerations
Backcheck Adjustment:
Some Norton door closers have a backcheck feature that prevents the door from opening too quickly or forcefully, causing damage to the closer or hardware. If your door closer has this feature, consult the manufacturer’s manual for instructions on adjusting it.
Regular Maintenance:
Even after making necessary adjustments, it’s vital to perform regular maintenance on your Norton door closer. This includes regularly cleaning and lubricating the device and inspecting for any wear or damage. Proper maintenance will help extend the life of your door closer and ensure smooth operation over time.
In conclusion, properly adjusting your Norton door closer is essential to its functionality and longevity. Regular maintenance, along with fine-tuning the latching, closing, and sweep speeds, will ensure safe and efficient door operation for years to come. Remember to refer to your device’s manual for specific instructions and consult a professional if you encounter any difficulties or significant damage.
By following these steps on how to adjust norton door closer, you can confidently adjust your Norton door closer and maintain the safety and efficiency of your door. So keep these tips in mind to keep your door operating smoothly! Happy adjusting!
Frequently Asked Questions
Q1: What Tools Do I Need to Adjust a Norton Door Closer?
A: To adjust a Norton door closer, you will need an Allen wrench or flathead screwdriver to turn the adjustment screws. Additionally, it’s helpful to have a drill and level for mounting and positioning the door closer correctly.
Q2: How Do I Determine Which Model of Norton Door Closer I Have?
A: Most Norton door closers have a label or stamp with the model number and other relevant information. Refer to your device’s manual for specific instructions on locating this information.
Q3: Can I Adjust the Door Closer Speeds Without Professional Help?
A: Yes, you can adjust the speeds of your Norton door closer using simple tools and following our step-by-step guide. However, if you encounter any difficulties or significant damage, it’s best to consult a professional for assistance. Safety should always be a top priority when working with door closers.
Q4: How Often Should I Adjust My Door Closer?
A: It’s essential to perform regular maintenance on your Norton door closer, including cleaning and lubrication. As for adjusting the speeds, it’s recommended to evaluate and make necessary adjustments every few months or whenever you notice any irregularities in the door’s operation. Follow your device’s manual for specific maintenance guidelines.
Conclusion
Adjusting your Norton door closer is a straightforward process that can significantly enhance the performance and safety of your doors. By carefully tuning the latching, closing, and sweep speeds, you can achieve a smooth and reliable door operation that meets your specific needs. Regular maintenance, including inspecting for wear, cleaning, and lubrication, further ensures the longevity and efficiency of your door closer.
Always refer to your device’s manual for precise instructions and seek professional assistance if needed. With these guidelines on how to adjust norton door closer in mind, you can confidently handle your Norton door closer adjustments and enjoy optimal door functionality for years to come.