As winter approaches, ensuring that your garage door is properly winterized is crucial for maintaining warmth and efficiency in your home. Winterizing your garage door protects the space from cold drafts, prevents damage to the structural components, and significantly saves on energy bills by keeping the heat inside. Cold air can seep through without proper insulation and sealing, causing your heating system to work harder.
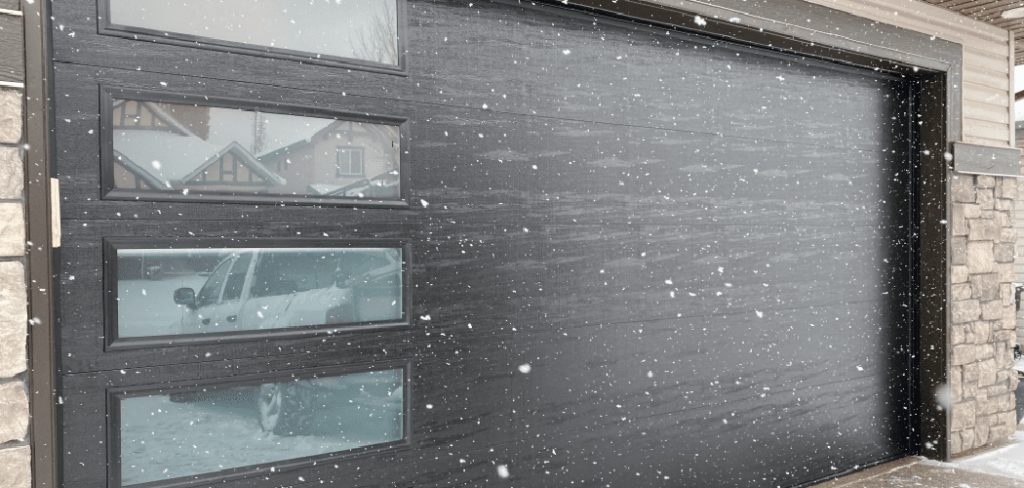
Cold weather poses a serious threat to garage door operation. The components can freeze, making them brittle and prone to malfunctions, leading to operational problems. Maintaining the functionality of your garage door is essential for preventing inconveniences and ensuring security.
This article aims to provide a comprehensive, step-by-step guide on winterizing your garage door effectively, ensuring its protection and optimal performance during the harsh winter months. Understanding “how to winterize garage door” is key to a hassle-free season.
Inspecting the Garage Door for Winter Preparation
Before the onset of winter, a thorough inspection of your garage door is essential to ensure its efficiency and prevent energy losses. Begin by checking for drafts that might let cold air infiltrate the garage. Examine the door for any gaps, cracks, or holes using a flashlight to reveal any light penetration around the door, indicating potential air leaks and heat loss.
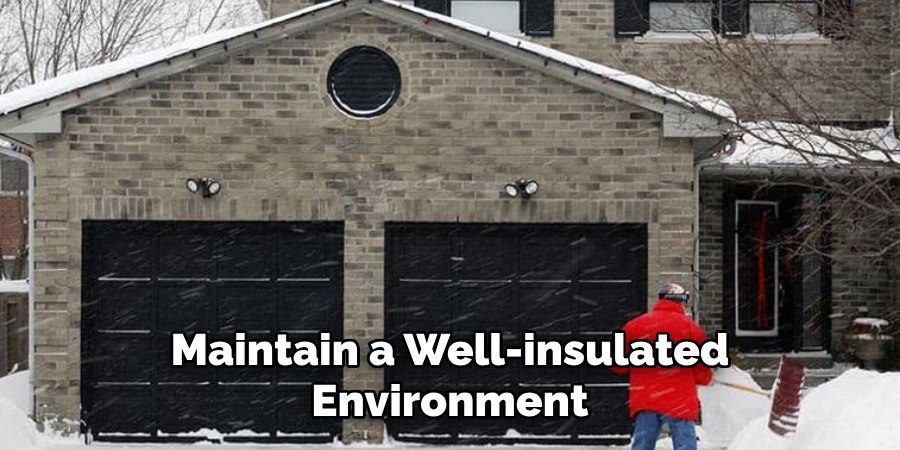
Next, inspect the weatherstripping, focusing specifically on the door frame’s bottom seal and surrounding edges. Look for any cracks, tears, or gaps in the rubber seal, as these defects can significantly compromise insulation. If the weatherstripping is damaged, replacing it will help maintain a well-insulated environment.
Additionally, examine the door panels for signs of wear and tear, rust, or warping. Such damage can detract from the door’s effectiveness at keeping out the cold, potentially leading to operational difficulties. Finally, ensure that the tracks and rollers remain free from debris or corrosion. Freezing temperatures can exacerbate these issues, causing the door to operate sluggishly or become misaligned. Regular maintenance of these components is key to a smooth and functional garage door throughout winter.
How to Winterize Garage Door: Sealing and Insulating the Garage Door
A well-sealed and insulated garage door is crucial for maintaining energy efficiency and comfort during the cold winter months. Proper sealing and insulation prevent drafts and heat loss and protect your garage contents from extreme cold.
A. Installing New Weatherstripping
Step 1: Remove Old Weatherstripping
Begin by removing the existing weatherstripping from your garage door. Using a flathead screwdriver, gently pry off the old bottom seal and any side weatherstripping. Ensure that you remove all remnants to create a clean base for the new material.
Step 2: Clean the Surface
Once the old weatherstripping is removed, thoroughly clean the edges of the door and the frame. This is where the new weatherstripping will be applied, so it’s important to have a clean surface free of dirt and debris that could interfere with adhesion.
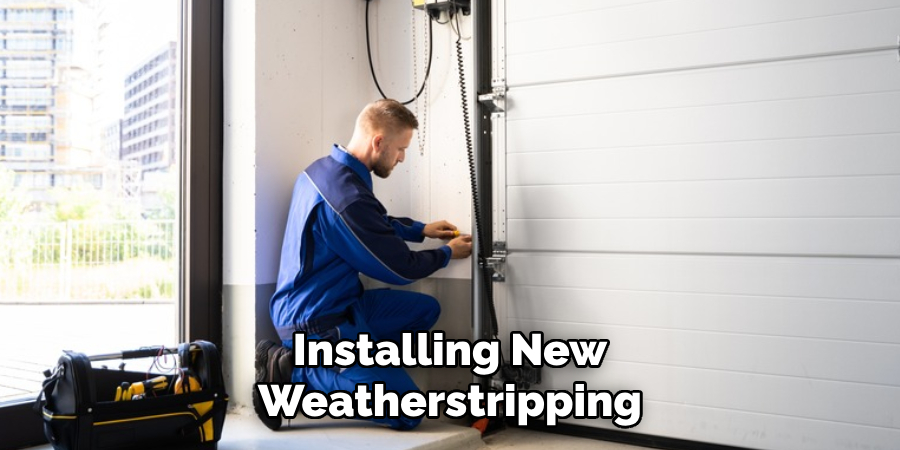
Step 3: Apply New Weatherstripping
Install new rubber weatherstripping at the bottom of the garage door and along the sides. Ensure that it forms a tight seal when the door is closed to prevent cold air from entering and heat from escaping.
B. Adding Insulation to the Garage Door
Step 1: Choose Insulation Material
Select the appropriate insulation for your garage door. Options include rigid foam panels, fiberglass batt insulation, or specialized garage door insulation kits. Ensure the material is suitable for your specific door type, whether metal or wood.
Step 2: Measure and Cut
Carefully measure each garage door panel section and cut the insulation to size. Accurate measurements will ensure a snug fit and maximize the insulation’s properties.
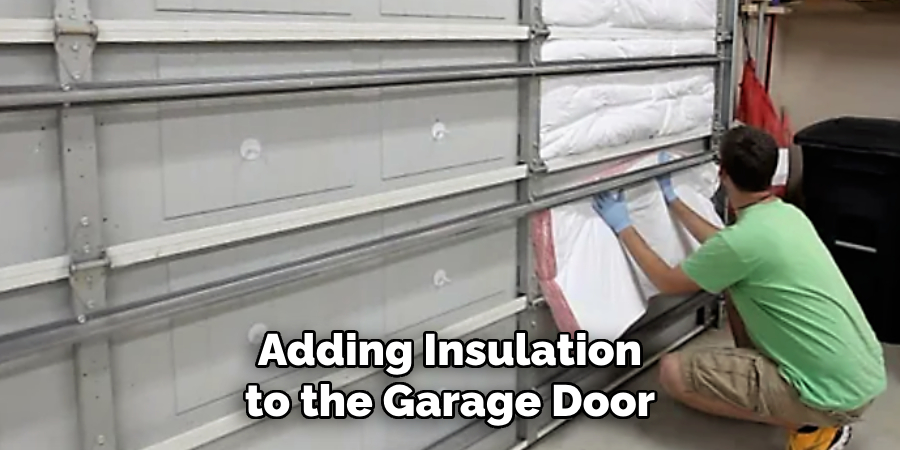
Step 3: Install the Insulation
Attach the cut insulation pieces to the garage door panels. Secure them using adhesive or the clips included in your insulation kit. Proper installation is key to maintaining the door’s functionality while enhancing its thermal resistance.
C. Sealing Gaps Around the Door Frame
Step 1: Identify Gaps
Inspect the perimeter of the garage door frame for any small gaps where air could infiltrate. Pay special attention to areas at the corners and along the top and sides of the frame.
Step 2: Apply Caulk or Expanding Foam
Seal any identified gaps using weatherproof caulk or expanding foam. Focus on filling the spaces at the junctions of the door and walls to create an airtight barrier. This step helps in improving overall energy efficiency by preventing unwanted drafts.

Lubricating the Garage Door Components
Proper lubrication of garage door components is crucial for optimal performance during winter. Metal parts like springs, rollers, and tracks can seize or become inefficient due to cold temperatures without regular lubrication.
Why Lubrication Is Important
Lubricating these components helps prevent them from freezing or seizing in cold weather, which is essential for maintaining smooth operation and avoiding costly repairs. Regular lubrication reduces friction, minimizes wear and tear, and ensures that your garage door works reliably, even in the harshest conditions.
Lubricating the Springs
Begin by applying a silicone-based lubricant to your garage door’s torsion or extension springs. Ensure even coverage to allow the springs to move freely and reduce the likelihood of them snapping due to cold-induced brittleness.
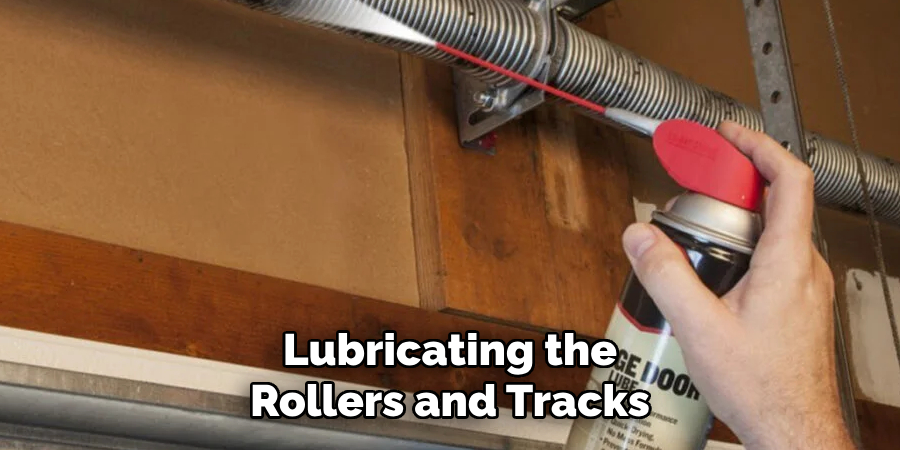
Lubricating the Rollers and Tracks
Use a lubricant spray on the rollers, focusing on where they come into contact with the tracks. This step ensures the rollers move smoothly along the tracks, reducing noise and preventing jamming. Clean the tracks thoroughly with a cloth to remove dirt and debris, then apply a small amount of lubricant to prevent ice buildup and enhance overall performance.
Lubricating the Hinges and Bearings
Inspect the hinges for any signs of rust or stiffness. Apply lubricant specifically to the moving parts of the hinges to ensure the door operates smoothly. Similarly, lubricate the bearings on which the rollers rest, allowing the door to open and close effortlessly. Regular maintenance in this manner extends the lifespan of these components, ensuring reliable operation throughout winter.
Installing a Bottom Door Seal or Threshold Seal
Why a Bottom Seal Matters
The bottom seal prevents water, snow, and cold drafts from seeping into your garage through the small gap between the door and the ground. This maintains a stable temperature inside the garage, protects stored items from moisture damage, and increases energy efficiency. Ensuring a proper seal at the bottom of the door helps shield your garage from harsh weather conditions, keeping it dry and insulated throughout the winter months.
A. Replacing a Worn-Out Bottom Seal
Step 1: Remove the Old Seal
Carefully slide the old rubber seal out of the groove at the bottom of the garage door. This step is essential to making space for the new seal and ensuring its proper function.
Step 2: Install the New Seal
Measure the width of the garage door and cut the new rubber seal accordingly. Slide it snugly into the bottom groove, ensuring it fits tightly and covers the entire gap.
Step 3: Test the Seal
Close the garage door and observe if the new seal establishes a secure barrier between the door and the floor. This check ensures that water and drafts will be effectively kept out.
B. Adding a Threshold Seal
Step 1: Prepare the Floor Surface
Begin by thoroughly cleaning the garage floor area where you plan to install the threshold seal. Remove any dirt, grease, and debris to ensure optimal adhesion and performance.
Step 2: Apply the Threshold Seal
Place adhesive along the marked section of the garage floor and press the rubber threshold seal firmly onto it. When closed, make sure the seal aligns with the bottom of the door, forming a tight seal to block water, debris, and cold air.
Maintaining the Garage Door Opener in Cold Weather
Cold Weather and Automatic Openers
Cold weather can significantly impact the performance of automatic garage door openers, causing them to operate more slowly or even malfunction. Low temperatures can affect the opener’s motor and limit the movement of the associated mechanisms, requiring additional attention and maintenance during the winter months.
Check the Battery Backup
Suppose your garage door opener is equipped with a battery backup system. In that case, checking and replacing the batteries as needed is crucial to ensure the opener remains functional during winter power outages. Regularly testing the battery will provide peace of mind, knowing that your garage door will open when required, even in the harshest conditions.
Inspect the Safety Sensors
Safety sensors play an essential role in the operation of your garage door, preventing accidental closure on objects or individuals. In cold weather, condensation or dirt can accumulate on these sensors, impairing functionality. Clean the sensors regularly and verify they remain properly aligned to maintain smooth and safe operation.
Adjust the Opener’s Force Settings
During cold weather, the garage door may become heavier due to increased friction and component stiffness. Slightly increasing the force setting on your garage door opener can help accommodate for this added weight, ensuring that the door opens and closes efficiently without excessive strain on the system.
Test the Remote Range
Cold weather can also affect the functionality of your remote control, possibly reducing its effective range. Test the garage door remote from different distances to confirm consistent performance, allowing you to address any issues promptly and maintain reliable operation throughout the winter season.
Preventing Garage Door Freezing
Why Freezing Occurs:
Ice and snow can accumulate at the bottom of the garage door, freezing it to the ground and preventing it from opening. If forced open while stuck, this can lead to inconvenience and potential damage to the door. Taking proactive measures helps ensure that your garage door remains operational even in harsh winter conditions.
A. Clearing Snow and Ice Regularly
Step 1: Shovel Snow Away
Regularly clear snow and ice from the area in front of your garage door to prevent buildup. This action reduces the chances of the door freezing to the ground, maintaining smooth operation and preventing possible motor strain.
Step 2: Apply Rock Salt or Ice Melt
Sprinkle salt or use a de-icing product to melt snow and prevent the door from freezing to the ground. These treatments lower the freezing point of water, ensuring that any moisture remains in liquid form, thus avoiding ice formation near the door threshold.
B. Preventive Solutions
Apply a silicone-based lubricant to the bottom seal to prevent ice from sticking to the rubber. Use a garage heater to keep the garage warm, which helps avoid freezing at the door threshold and promotes consistent door functionality.
Testing the Garage Door After Winterization
After successfully completing all winterization tasks, testing your garage door to confirm its readiness for the colder months is crucial. Start with Step 1: Perform a Visual Inspection. Carefully examine the door, looking for any visible gaps, damaged seals, or structural issues that might have arisen during maintenance. Addressing these problems early will prevent cold drafts and moisture infiltration.
Next, proceed to Step 2: Test Manual Operation. Disconnect the automatic opener and manually lift the garage door. This step ensures that the door moves smoothly and remains balanced without the aid of the opener. Any resistance or imbalance should be promptly addressed to avoid strain on the system.
Finally, execute Step 3: Test the Automatic Opener. Reconnect the automatic system and activate it multiple times to verify efficient functionality under cold conditions. This comprehensive testing routine guarantees your garage door’s optimal performance throughout the winter.
Common Problems and Troubleshooting During Winter
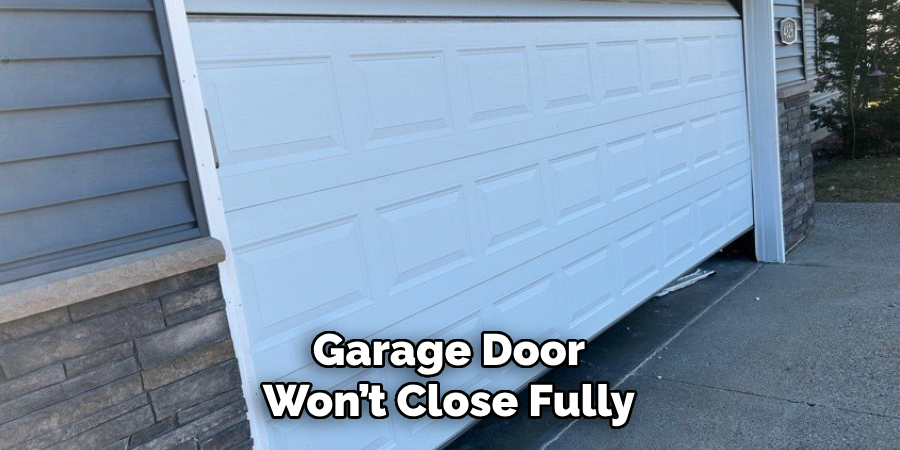
Garage Door Won’t Close Fully
Problem: The door may stop closing due to the cold weather affecting the sensors or the bottom seal.
Solution: Clean the sensors and check for obstructions at the door threshold. Ensuring the sensors are clear and properly aligned will help the door function correctly, avoiding any interruptions during operation.
Garage Door Moves Slowly
Problem: Cold weather can cause the motor to run slower.
Solution: Adjust the opener’s settings to compensate for the heavier door and slower motor operation. Slight increases in force settings can facilitate smoother movement, ensuring the door opens and closes efficiently in colder temperatures.
Freezing and Sticking
Problem: The door may stick to the ground due to ice buildup.
Solution: Clear the ice and lubricate the bottom seal to prevent sticking. Using a silicone-based lubricant helps maintain flexibility, prevent the seal from freezing to the ground, and ensure reliable door operation.
Conclusion
Winterizing your garage door is an essential task, ensuring optimal performance during the harsh winter months. Recapping the winterization steps and focusing on sealing, insulating, and lubricating all garage door components is crucial. These actions fortify the door against the cold and contribute to energy efficiency, ultimately leading to lower heating costs.
Moreover, by learning how to winterize your garage door, you protect the contents of your garage from freezing temperatures and prevent avoidable operational problems. Regular maintenance and timely winterization efforts are the keys to keeping your garage door functioning smoothly throughout the winter.
By following these steps annually, you add longevity to your garage door, ensuring consistent reliability, safeguarding your property, and peace of mind. Thanks for reading our blog post about how to winterize garage door.
About
Safety Fic is a distinguished figure in the world of Diy design, with a decade of expertise creating innovative and sustainable Diy solutions. His professional focus lies in merging traditional craftsmanship with modern manufacturing techniques, fostering designs that are both practical and environmentally conscious. As the author of diy, Safety Fic delves into the art and science of Safety Fic-making, inspiring artisans and industry professionals alike.
Education RMIT University
(Melbourne, Australia) Associate Degree in Design (Safety Fic) Focus on sustainable design, industry-driven projects, and practical craftsmanship. Gained hands-on experience with traditional and digital manufacturing tools, such as CAD and CNC software.
Nottingham Trent University
(United Kingdom) Bachelor’s in diyfastly.com and Product Design (Honors) Specialized in product design with a focus on blending creativity with production techniques. Participated in industry projects, working with companies like John Lewis and Vitsoe to gain real-world insights.
Publications and Impact
In diy, Safety Fic his insights on indoor design processes, materials, and strategies for efficient production. His writing bridges the gap between artisan knowledge and modern industry needs, making it a must-read for both budding designers and seasoned professionals.
