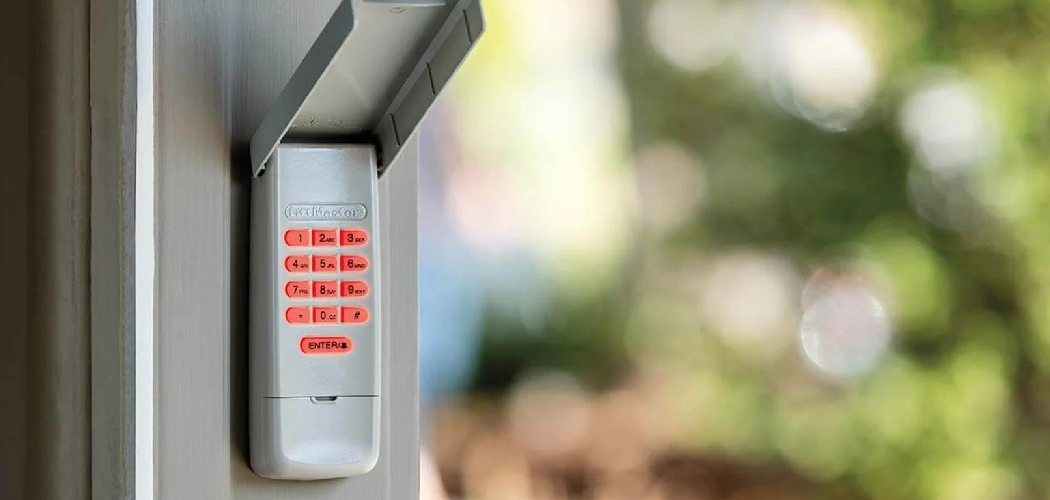
Installing a garage door keypad offers numerous advantages, making access both convenient and secure. The primary benefit is the ease of entry without needing a remote control or traditional keys, allowing seamless access even if you’ve misplaced them. Enhanced security comes from personalized entry codes, ensuring only authorized individuals can open the garage.
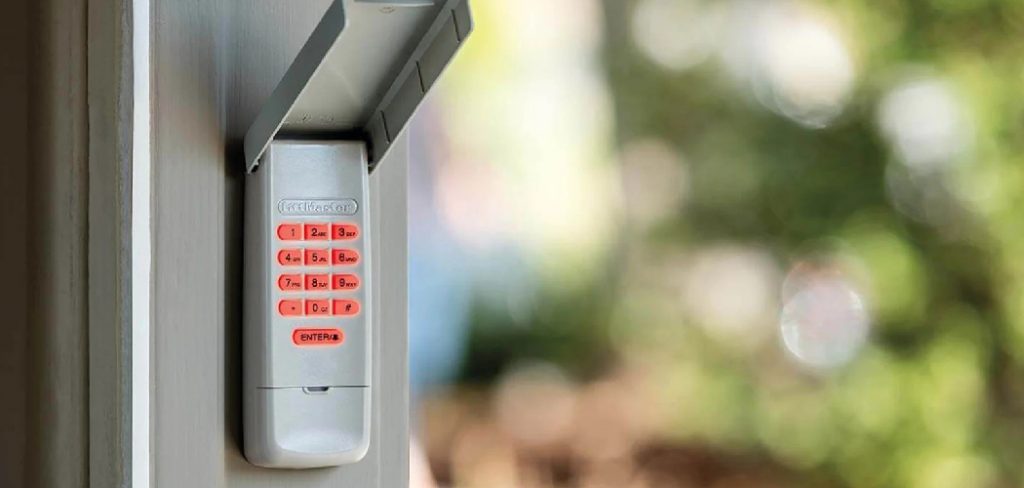
This feature is especially helpful for households with multiple users, such as family members and service providers, allowing each person to enter independently. The keypad also adds an extra layer of security for garages that might be shared or have diverse remote access needs.
This article aims to provide a comprehensive, detailed step-by-step guide on how to install garage door keypad, ensuring you can seamlessly set up and benefit from this convenient system. Discover tips for both installation and maintenance to get the most out of your new security feature.
Understanding Your Garage Door System
Before beginning the installation process, you must understand your existing garage door system to ensure smooth integration with the new keypad. First, perform a Compatibility Check by confirming that the keypad is compatible with the brand and model of your garage door opener. This step is crucial as different keypads may have specific requirements or features unique to certain manufacturers.
There are typically two types of keypads available: Wireless Keypads and Wired Keypads. Wireless keypads are the most common due to their ease of installation, as they do not require any physical connection to the garage door opener. In contrast, wired keypads may require more setup but offer a stable connection that isn’t susceptible to signal interference.
Furthermore, understanding the Garage Door Opener Frequency is important. Most garage door openers operate at a frequency range between 300-400 MHz. Selecting a keypad that matches this frequency is vital to ensure compatibility and reliable communication between the keypad and the opener. By thoroughly understanding these aspects, you can select and install a garage door keypad that enhances security and convenience without unnecessary hassle.
Tools and Materials Needed
Before installing your garage door keypad, ensure you have the necessary tools and materials for a smooth and efficient setup.
Tools:
- Screwdriver: Depending on the type of screws included with your keypad, either a Phillips or flathead screwdriver will be needed.
- Power Drill: Useful for drilling into the wall if the keypad is to be mounted securely.
- Ladder: Needed to reach the garage door opener and assist with the keypad installation above ground level.
Materials:
- Garage Door Keypad: The main device for installation.
- Mounting Screws: These are typically included with the keypad for easy installation on the wall.
- Batteries: Usually, either AAA or AA is necessary to power the wireless keypad.
Safety Gear:
- Safety Glasses and Gloves: Essential to protect your eyes and hands during the installation process, especially when using power tools.
How to Install Garage Door Keypad: Step-by-Step Guide
A. Mounting the Keypad
Step 1: Mark the Position
Begin by holding the keypad against the desired spot on the garage wall. Ensure it’s easily accessible yet secure. Use a pencil to mark the positions of the screw holes where the keypad will be mounted. This step is crucial for aligning the device accurately.
Step 2: Drill Holes
With your positions marked, use a power drill to create holes at the marked spots. Ensure the drill bit is appropriate for the type of wall material you are working with, whether it’s wood, brick, or drywall.
Step 3: Insert Anchors (if needed)
If you are mounting the keypad on drywall, insert wall anchors into the drilled holes to provide added support. This is especially important to prevent the keypad from loosening over time due to frequent use.
Step 4: Attach the Keypad
Finally, align the keypad with the drilled holes and secure it using the mounting screws provided. Ensure the keypad is mounted firmly in place, making sure it does not wobble or shift. This stability is important for both security and functionality.
B. Programming the Keypad
Step 1: Power On the Keypad
Insert the required batteries into the keypad and ensure it is turned on. Refer to the manufacturer’s instructions for battery placement to avoid any malfunctions due to incorrect installation.
Step 2: Enter the Programming Mode
Enter the programming mode as guided by the manufacturer’s instructions. Typically, this involves pressing and holding a specific button until an LED light indicates readiness, usually by blinking.
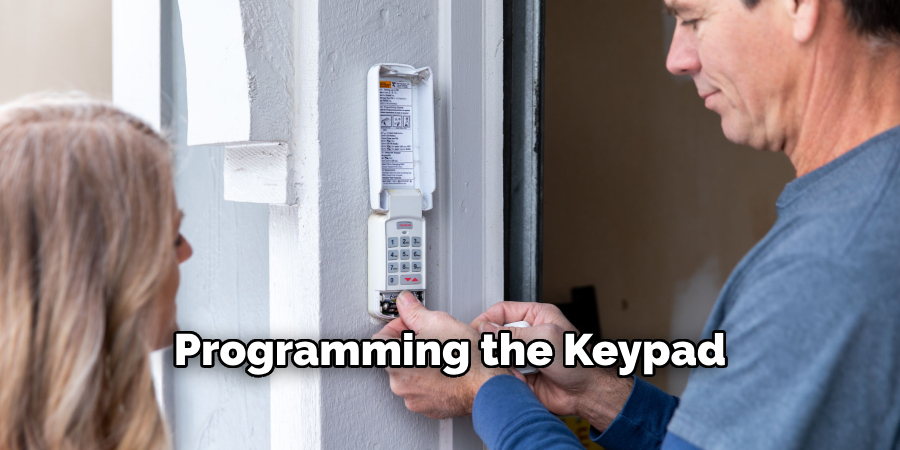
Step 3: Sync with the Garage Door Opener
Locate the “Learn” button on your garage door opener, which is normally on the motor unit. Press this “Learn” button, then swiftly enter a desired access code on the keypad. Immediately follow this by pressing the “Enter” or “Send” button on the keypad to establish synchronization with the opener. This sequence ensures a successful pairing between devices.
Step 4: Test the Keypad
To confirm successful programming, enter the code on the keypad and observe whether the garage door opens and closes. If the door responds as expected, your keypad is now effectively programmed. In case of trouble, consult the troubleshooting section in the manual to rectify common issues.
Securing the Keypad and Testing
Change the Default Code
One critical step after installation is changing the keypad’s default access code to a personalized one. Default codes can easily compromise security, making this step vital to protecting your garage from unauthorized access.
Test Multiple Times
Once a new code is set, test the keypad multiple times to ensure it operates smoothly and the garage door responds promptly to the code. Consistent testing will help identify any potential issues early, ensuring reliability.
Teach Other Users
Finally, educate other potential users in your household on how to properly use the keypad. Go over entering the code and what actions to take if they forget it. This ensures everyone can access the garage securely and without hassle, enhancing the overall convenience of your newly installed system.
Troubleshooting Common Installation Issues
Keypad Doesn’t Sync with the Opener:
Check Compatibility: Before proceeding, ensure that the keypad and garage door opener are compatible. Compatibility issues can often result in syncing problems.
Check the Opener’s Antenna: Inspect the garage door opener’s antenna. It should be hanging freely and positioned properly. A damaged or misaligned antenna may prevent the keypad from sending signals effectively.
The Keypad Doesn’t Respond After Installation:
Check Batteries: Verify that the batteries are correctly installed in the keypad and have enough charge. Dead or improperly installed batteries can prevent the keypad from working.
Reprogram the Keypad: If the keypad remains unresponsive despite proper battery installation, attempt to reprogram it. Follow the programming steps again, as described previously, to ensure successful synchronization.
Weak Signal or Range Issues:
Check Location: Examine the path between the keypad and the garage door opener to ensure there are no large obstructions, such as walls or vehicles, that could block the signal.
Move the Keypad: If weak signals persist, consider repositioning the keypad closer to the opener, which may significantly improve the range and strength of the signal. Adjustments like these can often effectively resolve connectivity issues.
Tips for Maintaining Your Garage Door Keypad
Replace Batteries Regularly
Batteries typically last between 6-12 months, depending on usage. It’s important to replace them as soon as you notice the keypad responding more slowly or failing to work. Keeping spare batteries on hand can prevent any disruptions in the event of an unexpected keypad failure.
Keep the Keypad Clean
Regularly wipe down the keypad with a soft, damp cloth to remove dust and dirt buildup that can interfere with its functionality. Avoid using harsh chemicals or abrasive materials, as these can damage the keypad’s surface and impact the buttons’ sensitivity.
Regular Testing
Conduct monthly keypad tests to ensure it is operational, especially before extreme weather changes or periods when the garage door hasn’t been used for an extended time. Consistent testing can help preemptively identify issues, ensuring the keypad remains reliable and secure.
Safety and Security Considerations
Choose a Strong, Unique Code
Select a robust and unique access code for your garage door keypad. Avoid easily guessed sequences like “1234,” “0000,” or birthdays. Instead, consider a combination of numbers that hold personal significance but are not obvious to outsiders. This makes it more difficult for unauthorized users to gain access.
Limit Code Sharing
Restrict the distribution of your access code to only those you trust implicitly. Sharing the code with too many people increases the risk of it falling into the wrong hands, which could compromise the safety of your home. Be cautious and deliberate when deciding who should have access.
Change Codes Regularly
Changing your keypad code at regular intervals or after providing it to temporary users, such as maintenance personnel or house guests, is a good practice. Fresh codes help maintain the security integrity of your garage, minimizing the risk associated with code sharing.
Consider Additional Security Features
Explore additional security options that your keypad may offer. Many modern keypads include features such as temporary access codes for one-time use or an automatic lockout system that initiates after several incorrect attempts. These features can add layers of security, providing peace of mind and further safeguarding your property.
Conclusion
In this guide on how to install garage door keypad, we walked through the crucial steps to ensure a seamless and secure installation process. Beginning with preparing the location, we emphasized the importance of compatibility and clear instruction adherence. Programming the keypad involved careful synchronization with the opener and thorough testing to guarantee proper functionality.
A secure installation mandates keeping the access code strong and unique and involves regular testing and maintenance to uphold reliability and safety. Managing your keypad thoughtfully helps safeguard against unauthorized entry, providing peace of mind. Ultimately, a garage door keypad is more than a convenience—it’s a strategic enhancement to your home’s security, offering ease of access to authorized users while strengthening the safety measures necessary for modern living.

