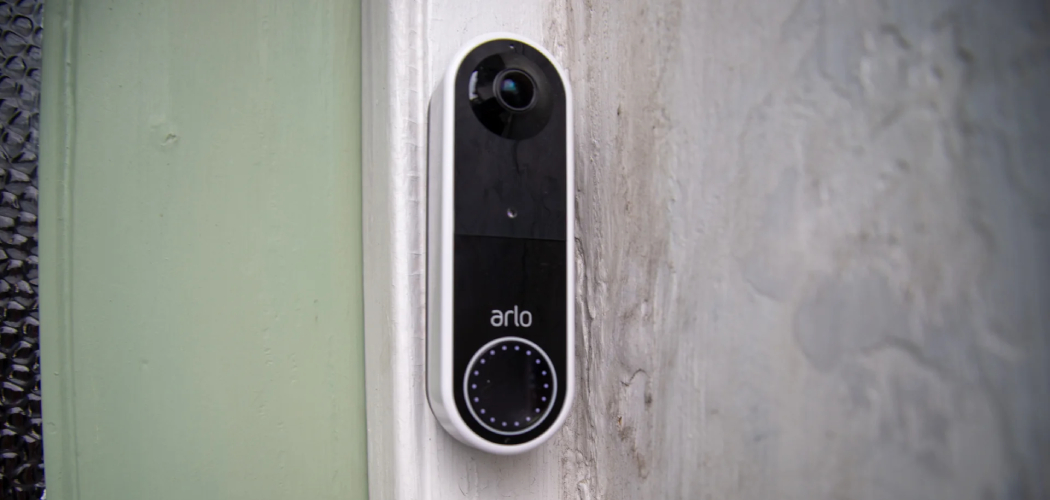
Arlo doorbells are designed to bolster home security and improve homeowners’ convenience through features such as high-definition video streaming, two-way audio communication, and advanced motion detection capabilities.
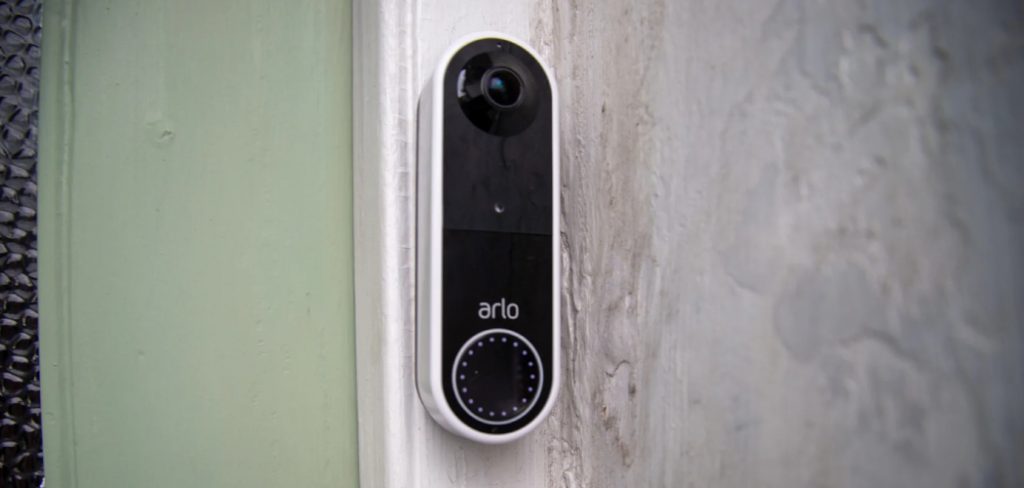
These features allow users to keep a watchful eye on their home’s doorstep and interact with visitors effortlessly.
By connecting your Arlo doorbell to your phone, you unlock the potential for real-time alerts, instant access to live video feeds, and the ability to communicate with visitors remotely, no matter where you are.
This connectivity ensures that you are always aware of who is at your door, increasing your home’s security and your peace of mind.
This article serves to provide a comprehensive, step-by-step guide on how to connect Arlo doorbell to phone, including detailed troubleshooting tips to tackle any common issues that may arise during the setup process.
Preparing for Installation
Gathering all the necessary tools and materials is essential to ensuring a smooth and efficient setup before beginning your Arlo doorbell installation process.
Start by reviewing the installation guide for your Arlo doorbell, as it contains specific instructions and safety information. Most installations require a screwdriver, drill, and the appropriate drill bits, so ensure these tools are readily accessible
Additionally, locate your home’s Wi-Fi credentials, as you will need these details to connect your doorbell to the network during setup.
Next, determine the ideal mounting location for your Arlo doorbell. Consider areas that provide a clear, unobstructed view of your entryway, and ensure the location is within range of your Wi-Fi network to maintain a strong connection.
It’s also crucial to assess whether you will be installing the doorbell powered by batteries or hardwired to your existing doorbell system. If using an existing wired connection, double-check compatibility with your home’s voltage to avoid potential electrical issues.
Finally, ensure that your smartphone has the Arlo app downloaded and updated to the latest version. This allows you to seamlessly follow the setup instructions once your Arlo doorbell installation is complete.
By taking these preparatory steps, you’ll pave the way for a successful installation experience.
How to Connect Arlo Doorbell to Phone: Installing the Arlo Doorbell
Mounting the Doorbell
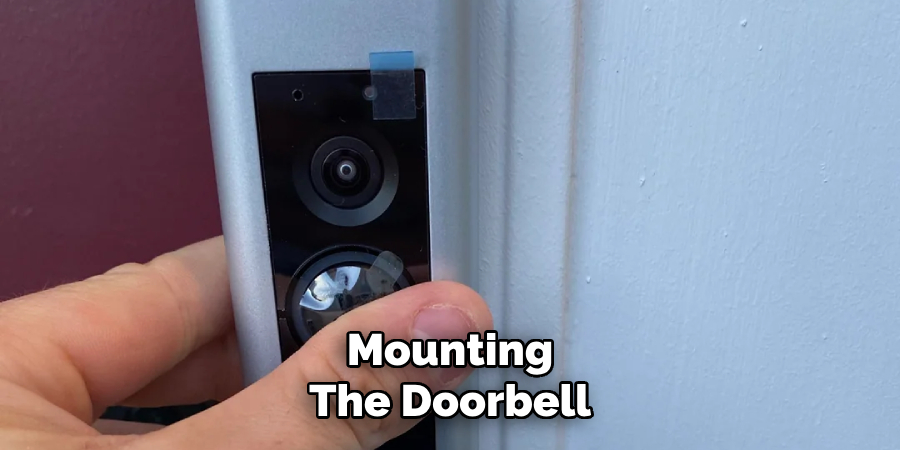
Step 1: Choose the Location: Begin by selecting an optimal spot near your door where the doorbell’s camera can capture a clear and comprehensive view of the entryway.
Ensure this location is within range of your Wi-Fi network to maintain a stable connection. Consider height and angle to optimize visibility and motion detection capabilities.
Step 2: Install the Mounting Bracket: Once you’ve chosen the ideal location, use the provided screws and wall anchors to attach the mounting bracket securely to the wall.
The bracket must be level, so take the time to use a level tool to guarantee accuracy. This will ensure that your doorbell sits correctly and functions properly.
Step 3: Attach the Doorbell: With the mounting bracket firmly in place, align the Arlo doorbell with the bracket and snap it into position. Ensure that the doorbell clicks securely into the bracket to prevent it from being dislodged by weather or external forces.
Connecting to Power (If Wired)
Step 1: Turn Off Power: For installations that involve wiring the doorbell to your existing doorbell system, it is crucial to first turn off the power at the circuit breaker. This step is vital to prevent the risk of electric shock during the installation process.
Step 2: Connect Wires: Follow the manufacturer’s instructions to connect your Arlo doorbell wires to the existing doorbell wiring. Typically, this involves attaching the wires to the corresponding terminals, ensuring a secure connection. Double-check that all connections are firm and that no loose wires are exposed.
Step 3: Restore Power: After the wiring connections have been made, turn the circuit breaker back on to restore power to the doorbell. Verify that the doorbell’s LED indicator lights up, confirming it receives power. Your Arlo doorbell is successfully mounted and powered, ready for further configuration through the Arlo app.
How to Connect Arlo Doorbell to Phone: Connecting the Arlo Doorbell to Your Phone
A. Setting Up the Arlo App
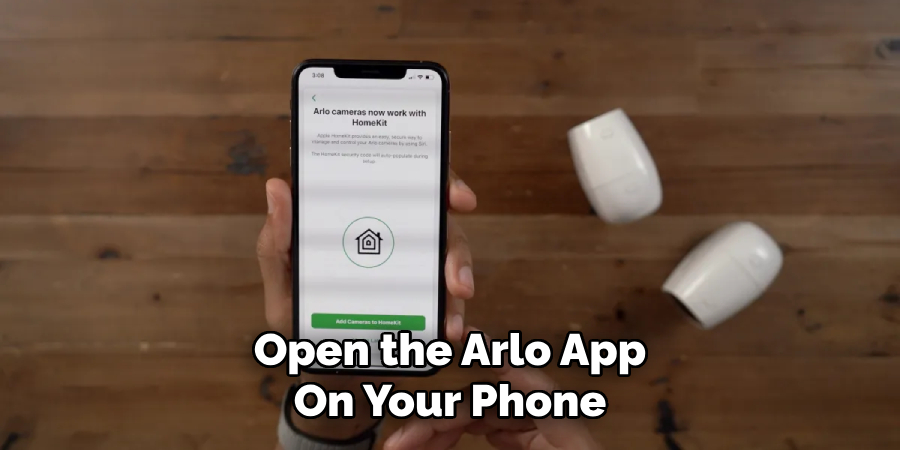
Step 1: Open the Arlo App: Launch the Arlo app on your smartphone. Ensure it is the latest version to access all features and improvements.
Step 2: Log In or Create an Account: If you already have an Arlo account, log in with your credentials. For new users, create an account by following the prompts to set up your profile.
Step 3: Add a New Device: Once logged in, tap the “Add Device” button. From the list of devices, choose “Doorbell” as the device type you wish to add.
B. Connecting to Wi-Fi
Step 1: Follow On-Screen Instructions: The Arlo app will provide step-by-step guidance through the setup process. Ensure your smartphone is connected to the Wi-Fi network intended for your Arlo doorbell.
Step 2: Put the Doorbell in Setup Mode: To enter setup mode, press the setup button on your Arlo doorbell until the LED indicator starts blinking, showing it is ready to connect.
Step 3: Connect to Wi-Fi: The app will prompt you to connect to the temporary Wi-Fi network created by the doorbell. Follow the instructions to select your home network and enter the password to establish a connection.
Step 4: Complete the Setup: Once the doorbell is linked to your Wi-Fi, the app will complete the setup and add the device to your Arlo account, making it ready for use.
C. Testing and Configuration
Step 1: Test the Doorbell: Press the doorbell button and check if you receive notifications on your smartphone. This ensures the doorbell is correctly sending alerts and functioning as expected.
Step 2: Configure Settings: Customize your device’s settings in the app. Adjust options like motion detection zones to filter out unnecessary alerts, notification preferences for tailored announcements, and video quality to suit your internet bandwidth.
Step 3: Set Up Additional Features: Discover and enable additional features such as setting activity zones to monitor specific areas, using two-way audio to communicate with visitors, and integrating with other smart home systems for automated routines and enhanced security.
Troubleshooting Common Issues
Doorbell Not Connecting
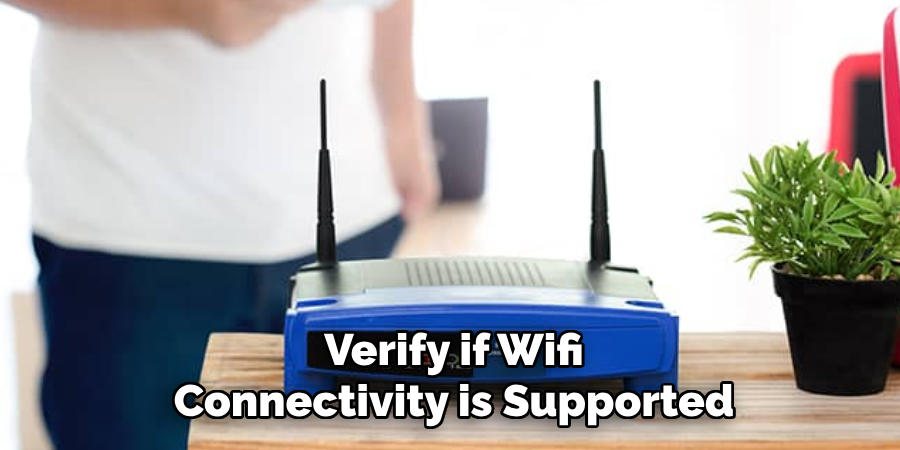
Step 1: Check Wi-Fi Signal: Ensure that your Arlo doorbell is within the range of your Wi-Fi network. Weak signals can obstruct the connection, so moving your router closer to your doorbell or utilizing a Wi-Fi extender to enhance the signal strength might be beneficial.
Step 2: Restart Devices: Restart your smartphone, router, and the Arlo doorbell. This simple step can often resolve issues related to connectivity by refreshing the network connections and device settings.
App Not Detecting Doorbell
Step 1: Update the App: Ensure that you are using the latest version of the Arlo app, as updates can include important bug fixes and improvements in connectivity.
Step 2: Reset the Doorbell: To perform a factory reset on the Arlo doorbell, hold down the reset button until the LED indicator starts blinking rapidly, indicating that the reset process is underway.
Battery Issues
Step 1: Charge the Battery: Make sure the battery is fully charged and correctly inserted into the doorbell. A depleted or improperly installed battery can prevent the doorbell from functioning.
Step 2: Check Battery Status: The Arlo app monitors the battery level. Regularly check the battery status and replace it if necessary to ensure the doorbell’s continued operation.
Maintaining Your Arlo Doorbell
Maintaining your Arlo doorbell is essential for optimal performance and longevity. Regular Updates: Stay up-to-date by updating the Arlo app and the doorbell firmware.
These updates often include new features and crucial security patches that protect your device.
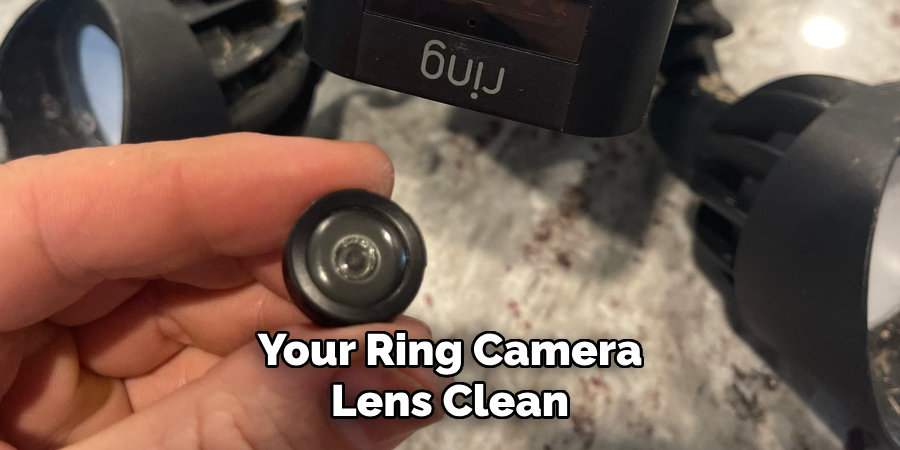
Cleaning and Care: To ensure clear video footage, periodically clean the camera lens with a microfiber cloth and inspect for any obstructions, such as dirt or spider webs, that might impact the device’s performance.
Checking Connectivity: Consistent connectivity is key for reliable operation. Regularly check your Wi-Fi connection to ensure the doorbell is within range and receiving a strong signal.
This helps maintain smooth functionality and ensures you receive timely notifications and alerts on your smartphone. By following these steps, you can keep your Arlo doorbell in peak condition, providing secure and dependable monitoring of your home’s entrance.
Conclusion
In summary, connecting your Arlo doorbell to your phone involves a series of straightforward steps: beginning with the installation, ensuring secure wiring, and power restoration.
Next, proceed with the app setup by downloading the Arlo app, logging in, and adding the doorbell as your device. Complete the process by connecting to Wi-Fi and configuring personalized settings.
If you encounter any issues, refer to troubleshooting tips such as checking Wi-Fi signals, restarting devices, and updating the app.
The benefits of a connected doorbell are substantial, providing enhanced security, improved convenience, and the ability to communicate directly with visitors from your smartphone.
By understanding how to connect Arlo doorbell to phone, and following through with proper setup and maintenance, you can maximize the reliability and functionalities of your device, ensuring your home remains both safe and efficient.

