

Removing a Nest Doorbell from its mounting bracket can often seem like a daunting task if you find yourself without the appropriate tools. However, with a bit of ingenuity and some common household items, you can safely detach the device without causing damage. This guide will walk you through step-by-step process of how to remove nest doorbell without tool, ensuring you can manage this task without the need for specialized tools. Whether you’re relocating, upgrading, or merely needing to access the device, these tips will simplify the process and save you time.
Reasons for Removing a Nest Doorbell
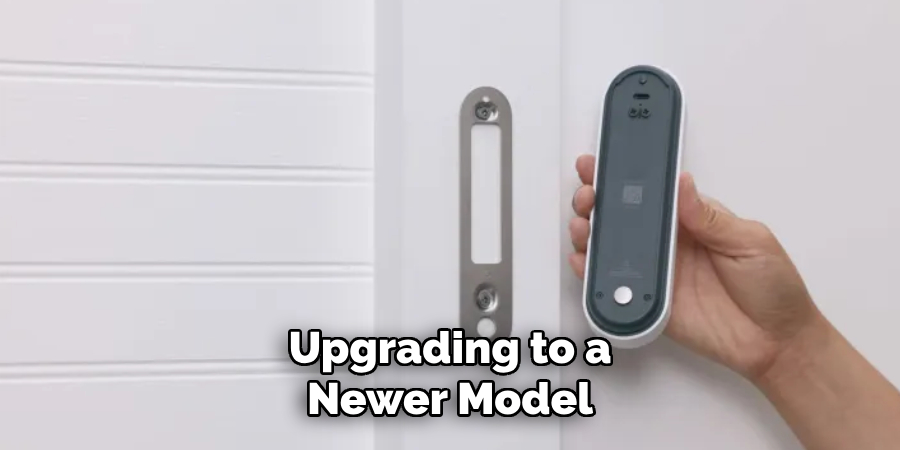
There are several reasons you might need to remove your Nest Doorbell. One common reason is when you’re relocating to a new home and wish to take the device with you for security purposes. Additionally, you might be upgrading to a newer model or changing to a different brand, necessitating the removal of the existing doorbell.
You may also need to access the device for maintenance, such as cleaning or battery replacement, to ensure it continues to operate efficiently. Furthermore, troubleshooting issues like connectivity problems or hardware malfunctions might require you to temporarily detach the device from its mount. Whatever the reason, understanding how to efficiently remove your Nest Doorbell without the need for specialized tools can be extremely helpful.
10 Methods How to Remove Nest Doorbell without Tool
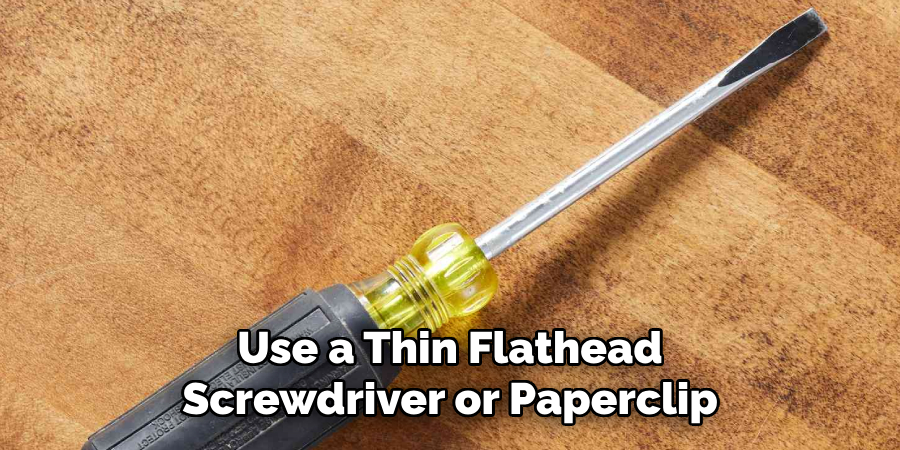
1. Use a Thin Flathead Screwdriver or Paperclip
If you don’t have the Nest removal tool, one of the simplest alternatives is to use a thin flathead screwdriver or a strong paperclip. Nest Doorbells are typically mounted using a secure locking mechanism that can be disengaged by inserting a thin object into the release hole at the bottom of the doorbell. Gently insert the flathead screwdriver or paperclip into the hole and apply slight pressure. This will release the lock, allowing you to slide the doorbell out of its mounting bracket. Be careful not to apply too much force, as this could damage the doorbell or scratch the surface.
2. Try a SIM Card Ejector Tool
A SIM card ejector tool, commonly used for removing SIM cards from smartphones, can be a suitable alternative for removing a Nest Doorbell. This tool is small, thin, and designed to fit into small holes, making it a perfect match for the release mechanism on the Nest Doorbell. Insert the SIM card ejector tool into the release hole at the bottom of the doorbell and gently press inward. The doorbell should disengage from the mounting bracket, allowing you to slide it off. The slim profile of the SIM card ejector tool minimizes the risk of damage to the device or mounting bracket.
3. Use a Paperclip with a Hook
If a regular paperclip or small tool doesn’t seem to work, you can try bending a paperclip into a small hook shape. The hook will help you pull at the release mechanism with a bit more control. Insert the hook into the release hole at the bottom of the doorbell and gently pull upward while applying light pressure. The hook will help you catch onto the release tab inside the mechanism, making it easier to disengage. This method is helpful if the standard straight-in approach doesn’t seem to unlock the doorbell easily.
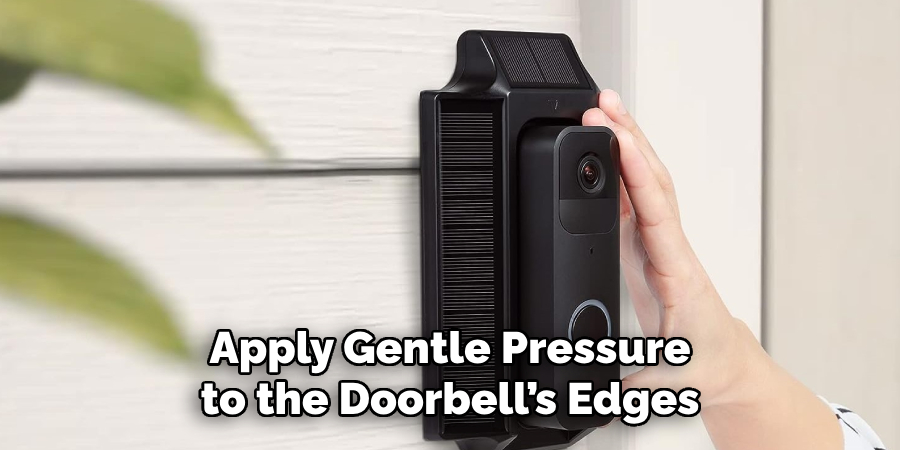
4. Apply Gentle Pressure to the Doorbell’s Edges
If you’re struggling to release the locking mechanism using alternative tools, applying gentle pressure to the doorbell’s edges can help. Hold the doorbell firmly on both sides and gently wiggle it from side to side while applying upward pressure. The small movements might help to loosen the device from the mounting bracket, making it easier to pull off. Be careful not to use excessive force, as this can damage the mounting bracket or the doorbell itself. Gentle pressure combined with a release tool is often the key to a successful removal.
5. Use a Magnetized Tool for Better Grip
If you’re using a metal tool like a paperclip or flathead screwdriver, try magnetizing the tool for better grip. You can magnetize metal tools by rubbing them against a magnet several times in one direction. The magnetized tool can make it easier to latch onto the internal release tab of the doorbell, especially if the mechanism is stiff or has been in place for a long time. Once magnetized, insert the tool into the release hole and use it to disengage the lock. A stronger grip will help ensure the doorbell is safely released without unnecessary force.
6. Leverage a Dental Pick or Tweezers
Dental picks or tweezers can provide a more precise way to access the release mechanism without causing damage. Their thin, pointed ends allow you to maneuver into the small release hole easily, and the precise control of these tools ensures that you don’t apply too much pressure to the wrong part of the mechanism. Insert the pick or tweezers into the hole at the bottom of the doorbell, and gently press inward until you feel the release mechanism disengage. Then, slide the doorbell upward and off the bracket. This method is ideal if you need a more delicate touch to avoid scratching or damaging the device.
7. Use a Pair of Needle-Nose Pliers
If you have needle-nose pliers handy, they can serve as a more robust tool for disengaging the Nest Doorbell’s lock. The thin, pointed tips of needle-nose pliers can be inserted into the release hole to press on the internal tab. Once inserted, apply gentle pressure while pulling the doorbell outward. The added grip and leverage of the pliers give you more control over the removal process, ensuring that the device comes off smoothly. Be cautious not to squeeze too tightly, as excessive pressure could damage the release mechanism.
8. Try Using a Bobby Pin or Hairpin
A bobby pin or hairpin can also be an effective tool for removing your Nest Doorbell. Bend the bobby pin so that one end forms a thin, straight edge, which can be inserted into the release hole. Similar to a paperclip, the thin end of the bobby pin can push on the internal release mechanism to disengage the doorbell from its bracket. Once you’ve inserted the pin and pressed inward, gently pull the doorbell away from the wall. The flexibility of the bobby pin makes it a suitable option if you need a tool that can bend slightly while still applying pressure.
9. Use a Suction Cup for Added Grip
If your Nest Doorbell is stuck or you’re having trouble gripping it to remove it after disengaging the lock, a suction cup can provide the extra grip needed to pull the doorbell away from the wall. Place the suction cup on the front of the doorbell and press firmly to create a strong seal. Once the suction is strong enough, gently pull on the suction cup while using one of the other tools to disengage the locking mechanism. The suction cup helps provide added grip, reducing the risk of dropping the doorbell or damaging its surface during removal.
10. Seek Assistance from a Second Person
If you’re finding it difficult to remove the doorbell on your own, enlisting the help of a second person can be beneficial. While one person holds the release tool (such as a paperclip or small screwdriver) to disengage the mechanism, the other can carefully pull the doorbell off the wall once it’s unlocked. This method allows for better coordination, especially if the doorbell is in a hard-to-reach location or the release mechanism is stiff. Working together reduces the risk of using excessive force or damaging the doorbell during the removal process.

Maintenance and Upkeep
After successfully removing your Nest Doorbell, it is important to carry out routine maintenance to ensure its longevity and optimal performance. Start by cleaning the doorbell unit and its mounting bracket. Use a soft, lint-free cloth moistened with a mild detergent solution to gently wipe the surfaces, taking care to avoid the electronic components. Dry any moisture thoroughly to prevent damage. Check for any signs of wear or damage on the device, particularly in the areas around buttons and charging ports, and replace any parts if necessary.
Regularly inspect the mounting bracket to ensure it remains secure, and make sure that any screws or fasteners are tightened appropriately. Additionally, ensure that the doorbell firmware is up to date, which can be managed through the corresponding app, as updates often provide enhanced functionality and security improvements. By keeping up with these maintenance tasks, you can ensure that your Nest Doorbell continues to function smoothly and efficiently.
Conclusion
Removing your Nest Doorbell without the specialized tool is entirely possible with a bit of creativity and the right alternative tools. Whether you use a flathead screwdriver, a paperclip, or even a suction cup, each method offers a unique way to disengage the locking mechanism and safely remove the doorbell. By following these ten methods and using gentle pressure, you can ensure that your Nest Doorbell is removed without damage and is ready for relocation or reinstallation. Thanks for reading, and we hope this has given you some inspiration on how to remove nest doorbell without tool!
About
Safety Fic is a distinguished figure in the world of Diy design, with a decade of expertise creating innovative and sustainable Diy solutions. His professional focus lies in merging traditional craftsmanship with modern manufacturing techniques, fostering designs that are both practical and environmentally conscious. As the author of diy, Safety Fic delves into the art and science of Safety Fic-making, inspiring artisans and industry professionals alike.
Education RMIT University
(Melbourne, Australia) Associate Degree in Design (Safety Fic) Focus on sustainable design, industry-driven projects, and practical craftsmanship. Gained hands-on experience with traditional and digital manufacturing tools, such as CAD and CNC software.
Nottingham Trent University
(United Kingdom) Bachelor’s in diyfastly.com and Product Design (Honors) Specialized in product design with a focus on blending creativity with production techniques. Participated in industry projects, working with companies like John Lewis and Vitsoe to gain real-world insights.
Publications and Impact
In diy, Safety Fic his insights on indoor design processes, materials, and strategies for efficient production. His writing bridges the gap between artisan knowledge and modern industry needs, making it a must-read for both budding designers and seasoned professionals.