

Keeping your Google Nest Doorbell charged is essential for its optimal performance, ensuring you never miss a visitor. Although the device is designed for convenience and security, its functionality is closely tied to its battery life. This guide will walk you through how to remove google nest doorbell to charge. Whether it’s your first time or you’re looking to refresh your memory, these easy-to-follow steps will help maintain your doorbell’s performance and longevity.
Understanding Google Nest Doorbell Charging Needs
The Google Nest Doorbell is a smart home device that relies on a rechargeable battery for its operation. The battery life can vary significantly based on several factors, including the frequency of recordings, the amount of motion activity it captures, and the environmental conditions to which it is exposed. Typically, a fully charged battery can last anywhere from several weeks to a few months, depending on usage. It is important to keep an eye on the battery status through the Nest app, which provides notifications when the battery is low.
Regularly charging your Nest Doorbell not only prevents unexpected power losses but also extends the overall battery lifespan. By understanding your doorbell’s charging needs, you can ensure a seamless and uninterrupted security experience for your home.
Safety Considerations Before Removing the Doorbell
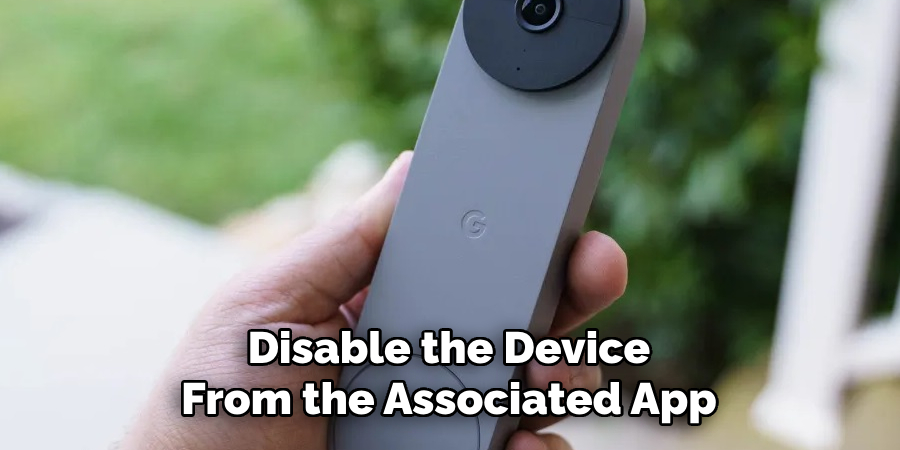
Before proceeding with the removal of your Google Nest Doorbell for charging, there are crucial safety considerations to ensure both personal protection and device integrity. Firstly, make sure to disable the device from the associated app to prevent any accidental motion alerts or recordings during the process. It’s advisable to perform the removal during daylight hours or ensure adequate lighting in the removal area to reduce the risk of accidental damage or injury.
Additionally, verify that the mounting bracket and any surrounding hardware are secure before beginning, as loose components can pose hazards during removal. Use a stable ladder if the doorbell is mounted out of reach, and handle the device with care to avoid contact with electrical wires. Following these precautions will help ensure a safe and efficient removal of your Nest Doorbell for charging.
10 Methods How to Remove Google Nest Doorbell to Charge
1. Use the Included Removal Tool
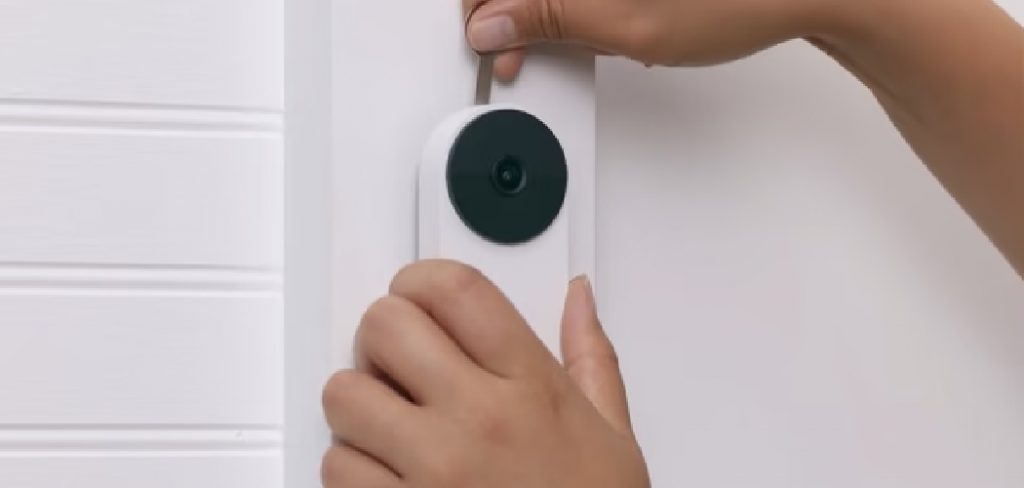
The easiest and most straightforward way to remove your Google Nest Doorbell for charging is by using the removal tool that came with the device. This small, metal pin is designed to fit into the hole on the underside of the doorbell. Insert the tool into the release hole and press firmly to unlock the latch that holds the doorbell in place. Once the latch is released, gently pull the doorbell away from the wall. Always keep the removal tool in a safe place for future use, as it makes removing the doorbell much easier and avoids the need for alternative tools.
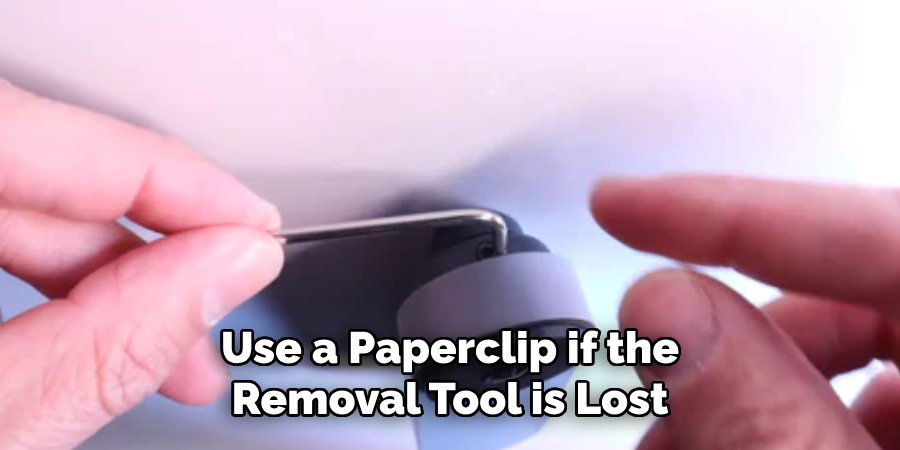
2. Use a Paperclip if the Removal Tool is Lost
If you’ve misplaced the removal tool, a paperclip is an excellent alternative for removing your Nest Doorbell. Straighten out the paperclip and insert one end into the release hole at the bottom of the doorbell. Apply firm pressure to disengage the locking mechanism. Once the mechanism is unlocked, carefully pull the doorbell forward and off the mount. While this method works well, be sure to use a strong paperclip, as some thin or flimsy paperclips may bend and not provide enough pressure to release the doorbell.
3. Try a SIM Card Ejector Tool
A SIM card ejector tool, commonly used to remove SIM cards from smartphones, can be another good alternative for removing the Nest Doorbell. These tools are thin and sturdy, making them perfect for inserting into the release hole and pressing the latch. Simply insert the ejector tool into the hole at the bottom of the doorbell, push firmly to release the lock, and then gently pull the doorbell off its mount. The SIM card ejector tool’s small size makes it ideal for this purpose, and it’s a readily available tool for most people.
4. Use a Small Flathead Screwdriver
If you don’t have a removal tool or paperclip handy, a small flathead screwdriver can also get the job done. Be sure to choose a screwdriver with a tip that’s small enough to fit into the release hole without causing damage. Insert the screwdriver into the hole and gently apply pressure to disengage the locking mechanism. Once the lock is released, carefully pull the doorbell away from the wall. Be careful not to use too much force with the screwdriver, as this could damage the release mechanism or scratch the doorbell’s surface.
5. Gently Wiggle the Doorbell While Unlocking
Sometimes, even with the proper tools, the Google Nest Doorbell can feel a bit stuck in its mount, especially if it’s been installed for a long time. To help with this, try gently wiggling the doorbell while inserting the removal tool or paperclip. This movement can help to loosen any dirt, dust, or debris that might be preventing the doorbell from easily sliding out of its mount. Once the lock is disengaged, use a gentle side-to-side motion to help slide the doorbell off without applying too much pressure.

6. Use a Magnet for Added Grip
If the doorbell is being difficult to remove, you can try using a small magnet to help pull it away from the mount after you’ve disengaged the latch. After pressing the release button or using an alternative tool like a paperclip to unlock the mechanism, place a strong magnet on the front of the doorbell. The magnetic force can give you added grip and help you slide the doorbell off the wall, especially if your hands are slippery or the doorbell is stuck due to weather conditions or dirt buildup.
7. Apply Gentle Pressure on the Top and Bottom Edges
Another method to remove the Nest Doorbell for charging is to apply gentle pressure on both the top and bottom edges of the device while using the removal tool. After inserting the tool into the release hole, press down on the top and push up on the bottom of the doorbell simultaneously. This method helps shift the device out of its mounting bracket, making it easier to remove. Be cautious when applying pressure, as you want to avoid cracking or bending the doorbell’s casing.
8. Use Needle-Nose Pliers for Precision
If the doorbell is stubbornly stuck, you can try using a pair of needle-nose pliers for precision removal. Insert a thin removal tool like a paperclip or SIM card ejector into the release hole, and then use the needle-nose pliers to carefully grip the edges of the doorbell. Pull the doorbell gently while disengaging the latch to ensure it comes off smoothly. The needle-nose pliers provide a secure grip on the device, reducing the chance of dropping or damaging it during removal.
9. Rotate the Doorbell Slightly to Loosen It
In some cases, the Google Nest Doorbell might be difficult to remove because it has settled tightly into its mount, particularly if it has been in place for a long time. If this happens, try rotating the doorbell slightly after pressing the release latch. Rotating the doorbell can help break the friction between the mount and the doorbell, making it easier to slide it off. Just be sure not to rotate it too much, as you don’t want to damage the wiring or mounting hardware. A slight twist should be enough to loosen the device.
10. Seek Help from a Second Person
If you’re having difficulty removing the Nest Doorbell for charging by yourself, don’t hesitate to ask for help from a second person. While one person can handle the release tool and disengage the latch, the other person can carefully hold the doorbell and guide it off the mount. Having a second person assist can reduce the chances of dropping the doorbell, especially if the mount is in an awkward or hard-to-reach place. With two people working together, the removal process can be much smoother and safer.

Common Mistakes to Avoid
When attempting to remove the Google Nest Doorbell, it’s important to steer clear of some common mistakes that could lead to damage or unnecessary complications. Firstly, avoid using excessive force when pushing or pulling on the doorbell. Applying too much pressure can damage the release mechanism or crack the doorbell’s casing.
Secondly, do not improvise with inappropriate tools that might not fit properly into the release hole. Improper tools can harm the internal mechanisms of the doorbell or cause abrasions to its surface. Additionally, neglecting to check for dirt or debris around the mount may make removal more difficult and can lead to accumulated grime affecting its operation.
Conclusion
Removing your Google Nest Doorbell to charge doesn’t have to be a frustrating task, even if you don’t have the original removal tool. With the alternative methods outlined above, you can safely and easily disengage the doorbell and remove it from its mount. Whether you use a paperclip, a flathead screwdriver, or even a SIM card ejector tool, the key is to apply gentle but firm pressure to unlock the latch and carefully pull the doorbell off the wall. Thanks for reading, and we hope this has given you some inspiration on how to remove google nest doorbell to charge!