

Ensuring that your ADT Ring Doorbell is properly charged is crucial for maintaining its functionality and performance. A well-charged device ensures that your doorbell camera captures all activity at your front door and sends timely alerts to your smartphone. This guide will walk you through how to charge adt ring doorbell effectively, so you can always stay connected to what’s happening at your doorstep. Whether you’re a new user or have been using your doorbell for a while, following these charging instructions will help you keep your device running smoothly.

Why It’s Important to Keep the Device Charged
Keeping your ADT Ring Doorbell charged is essential for several reasons. Firstly, a fully charged device ensures constant video surveillance and security monitoring, crucial for deterring potential intruders and providing peace of mind. Secondly, a charged device supports seamless communication through its two-way audio feature, allowing you to interact with visitors at your door, whether you’re home or away.
Additionally, regular charging prevents interruptions in the live feed or motion detection alerts, ensuring you never miss out on important activities at your doorstep. By maintaining a charged doorbell, you can maximize its functionalities and reliability, supporting your home’s security network effectively.
Signs Your ADT Ring Doorbell Needs Charging
Recognizing when your ADT Ring Doorbell needs charging helps to maintain its optimal performance. Some common signs that the device requires charging include diminished performance in video quality, with recordings appearing blurry or pixelated. You may also notice delays or absences in notifications, meaning alerts are slower or not appearing at all.
Another indicator is the appearance of a low-battery warning in the companion app, which serves as a direct notification to recharge your device. Additionally, if the LED light on your doorbell is blinking rapidly or no longer lights up, it is a clear sign that the battery is running low. By paying attention to these indicators, you can ensure your doorbell remains operational, providing security when you need it most.
10 Methods How to Charge Adt Ring Doorbell
1. Remove the Doorbell from Its Mounting Bracket
The first step in charging your ADT Ring doorbell is removing it from its mounting bracket. This is necessary for models with a removable battery or built-in battery that cannot be charged while still mounted. To remove the doorbell, locate the release mechanism at the bottom of the unit.
For most Ring models, you’ll need a screwdriver or the provided tool to unscrew the bottom security screw. Once loosened, carefully slide the doorbell up and away from the bracket. Be sure to handle the device gently to avoid damaging any wiring or the bracket itself.
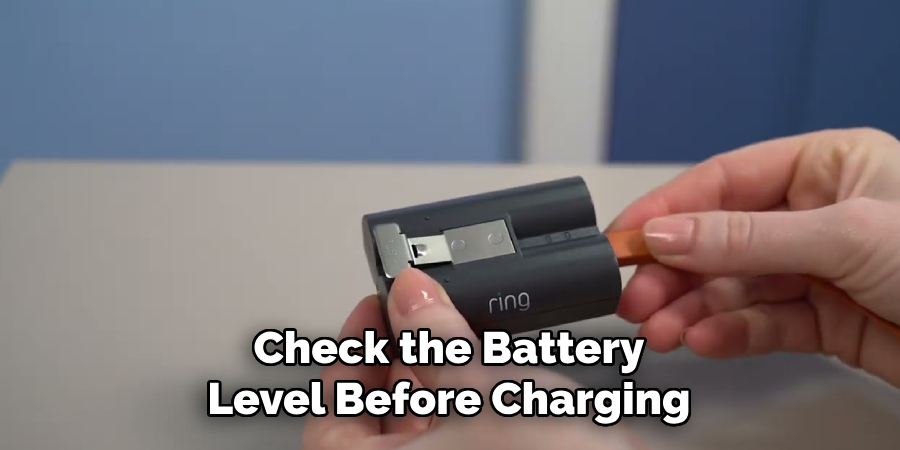
2. Check the Battery Level Before Charging
Before charging, it’s a good idea to check the battery level via the Ring app. Open the app, select your doorbell from the list of connected devices, and look for the battery percentage. If the battery is below 20%, it’s time to recharge. Regularly monitoring the battery status through the app helps you stay ahead of any potential power outages. Some users prefer recharging the battery when it drops to around 30% to avoid urgent or last-minute charging.
3. Use the USB Charging Cable Provided
Ring doorbells typically come with a USB charging cable that is specifically designed for the battery. This cable is typically a micro-USB or USB-C, depending on your doorbell model. Once you have the doorbell in hand, locate the charging port, usually on the back of the device. Plug the USB cable into the port, then connect the other end to a power source, such as a wall adapter, computer, or portable charger. If using a wall adapter, ensure it has sufficient output (usually 2.1 amps) for efficient charging. A slow charger may result in prolonged charging times.
4. Charge the Battery Indoors
It’s important to charge the Ring doorbell battery indoors or in a sheltered location. Charging in direct sunlight or extreme temperatures can damage the battery or slow down the charging process. Ring doorbells are designed to operate within a specific temperature range, so make sure you are charging it in a climate-controlled environment. Charging the device indoors also provides a safer, more stable setting for ensuring the battery charges fully and without interruption.
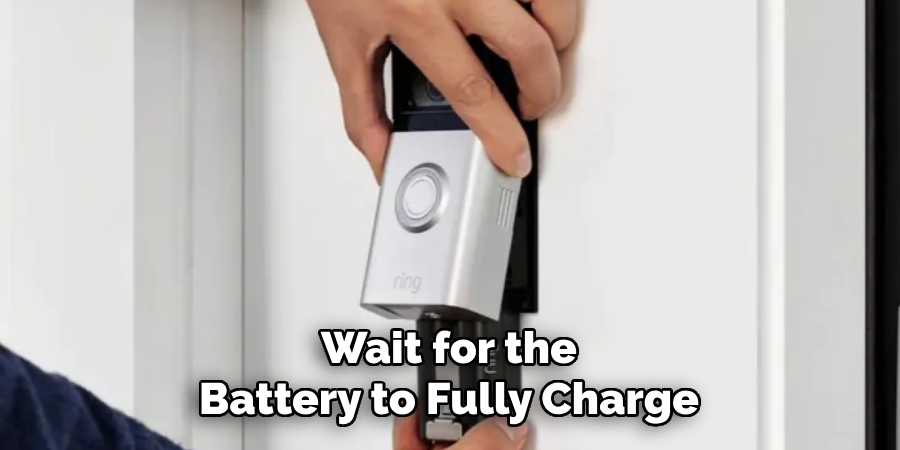
5. Wait for the Battery to Fully Charge
Once plugged in, allow the Ring doorbell battery to charge fully. The charging process can take several hours, depending on the current battery level and the power source being used. Typically, a full charge can take anywhere from 5 to 10 hours. The Ring app provides a status indicator, so you can check when the battery reaches 100%. Charging the battery fully each time extends its overall lifespan, as partial charges can sometimes degrade the battery’s efficiency over time.
6. Look for the Green Light Indicator
Many ADT Ring doorbells feature an LED light on the front of the device that changes color to indicate charging progress. A solid red light typically means the battery is low, while a flashing green or solid green light indicates that the battery is fully charged. This visual cue helps you know when the charging process is complete without constantly checking the app. However, even if the light indicates a full charge, it’s a good idea to double-check through the Ring app to ensure the battery is truly at 100%.
7. Reinsert the Battery (For Removable Batteries)
Some Ring doorbells, such as the Ring Video Doorbell 2 or 3, come with a removable battery pack. Once the battery is fully charged, reinsert it back into the doorbell. To do this, slide the battery into its compartment until you hear a click, indicating it’s securely in place. Make sure the battery is locked properly, as a loose battery may cause the doorbell to malfunction or drain power faster than usual. Once reinserted, mount the doorbell back onto the bracket and secure it with the bottom screw.
8. Replace the Doorbell on Its Bracket After Charging
After charging the doorbell or reinserting the battery, it’s time to remount the device onto its bracket. Align the doorbell with the hooks on the bracket, then slide it downward until it clicks into place. Tighten the security screw at the bottom of the device to lock it in securely. This screw is essential for preventing theft or tampering. After remounting, open the Ring app to ensure that the device is reconnected to Wi-Fi and functioning properly.
9. Consider Solar Charging for Longer Battery Life
If you find that you need to charge your Ring doorbell frequently, consider using a solar charger. Ring offers solar panels specifically designed for certain doorbell models. These panels attach to the exterior of your home and continuously charge the doorbell’s battery during the day. A solar charger is an excellent option for homes in sunny areas and can significantly extend the time between manual charges. It’s environmentally friendly and convenient, reducing the need for constant battery maintenance.
10. Optimize Battery Life Through App Settings
You can also extend your Ring doorbell’s battery life by adjusting settings within the Ring app. Reducing the frequency and sensitivity of motion alerts can help preserve the battery, as constant motion detection and notifications can drain the charge more quickly. Additionally, enabling the power-saving mode will reduce the load on the battery by limiting some of the doorbell’s functions, like video resolution or live view frequency. You can adjust these settings based on your specific security needs, striking a balance between performance and battery life.
Things to Consider When Purchasing a Ring Doorbell
When purchasing a Ring doorbell, several factors should weigh into your decision to ensure it meets your specific needs. Firstly, assess the compatibility of the doorbell with your home setup, such as its Wi-Fi requirements and power source, whether wired or battery-operated. Secondly, consider the field of view and video resolution—doorbells with a wider field of view or higher resolution can offer increased security surveillance.

Additionally, evaluate the device’s integration capabilities with other smart home devices, like voice assistants or security systems, to streamline your home automation experience. Research the available Ring protect plans to determine if the additional subscription services suit your security monitoring preferences. Lastly, review customer feedback on weather resistance and durability, especially if you live in an area with extreme weather conditions. By taking these considerations into account, you can make a more informed choice for your property’s security needs.
Conclusion
Properly maintaining and charging your Ring doorbell is essential for ensuring its optimal performance and longevity. By following the guidelines outlined above, you can maximize the efficiency of your doorbell’s battery and avoid unexpected power outages. Regularly monitoring battery levels, using the prescribed charging methods, and considering alternative power sources like solar panels all contribute to a reliable and hassle-free experience. Thanks for reading, and we hope this has given you some inspiration on how to charge adt ring doorbell!