

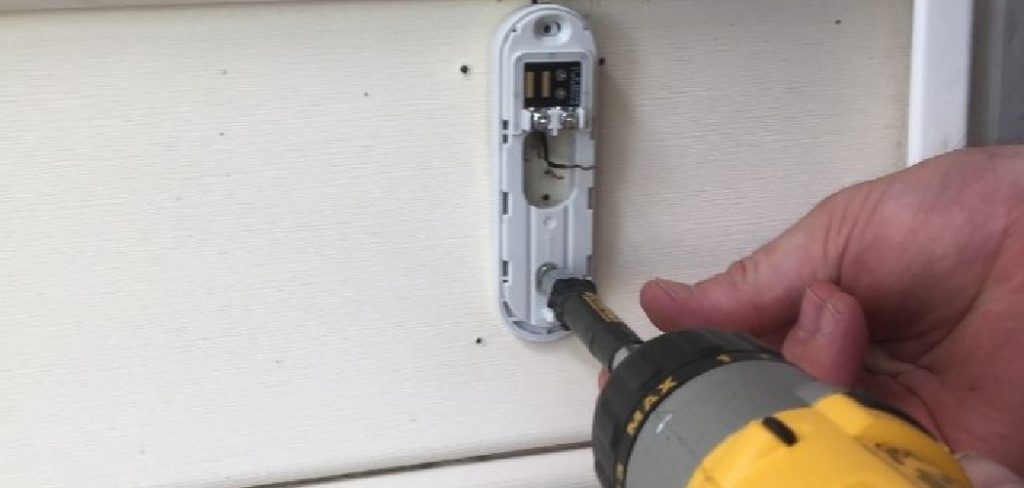
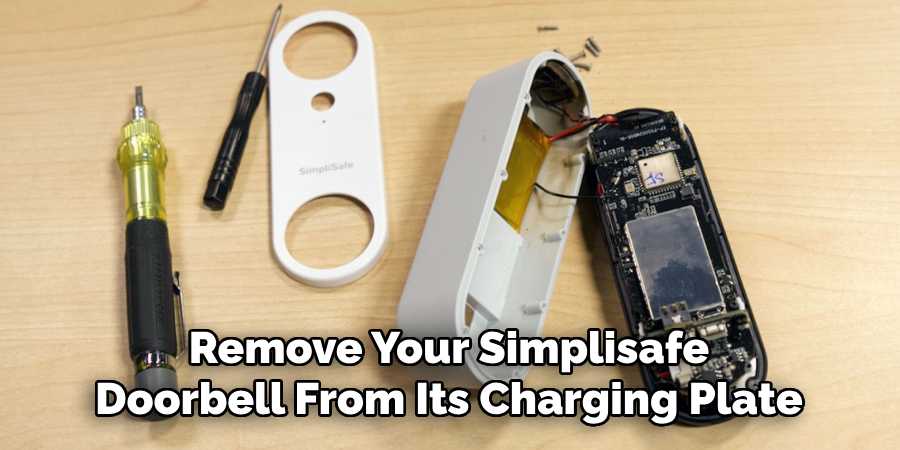
When it comes time to remove your Simplisafe Doorbell from the charging plate, whether for maintenance or replacement, it’s important to follow the correct procedure to ensure both the safety of your device and ease of reinstallation. Proper handling and knowledge of the components involved can prevent damage to the doorbell and maintain its functionality. This guide will walk you through how to remove simplisafe doorbell from charging plate.
Why You May Need to Remove the SimpliSafe Doorbell
There are several reasons why you might need to remove your SimpliSafe Doorbell from its charging plate. One common reason is for routine maintenance, such as cleaning the device or inspecting it for any signs of wear and tear. Removing the doorbell might also be necessary if you’re experiencing technical issues that require a reset or a closer examination of the wiring connections. Additionally, if you’re upgrading to a newer model or replacing a malfunctioning unit, you’ll need to detach the old doorbell. Ensuring that any replacement or repair is handled carefully will help maintain the security and efficiency of your home monitoring system.
Understanding the SimpliSafe Doorbell and Charging Plate Connection
To safely and effectively remove the SimpliSafe Doorbell, it’s essential to first understand how it connects to the charging plate. The doorbell unit is designed to securely attach to the charging plate through a set of clips or brackets that hold it firmly in place. This ensures that the device remains stable and continuously powered while in use. The charging plate is usually mounted on the wall or doorframe, and it is connected to the home’s electrical system.
This connection provides the necessary power to keep the doorbell functioning and its internal battery charged. Familiarizing yourself with the configuration and attachment mechanism will make the removal process easier and reduce the risk of accidental damage during disassembly. Additionally, recognizing how the wiring is set up will be helpful if you’re planning to replace or repair the system yourself.
10 Methods How to Remove Simplisafe Doorbell from Charging Plate
1. Use the Release Button on the Charging Plate
The most straightforward way to remove the SimpliSafe Doorbell from its charging plate is by using the built-in release button. Many SimpliSafe doorbells have a small button on the charging plate that, when pressed, releases the doorbell. Press this button while holding the doorbell, and gently pull it away from the plate. The release button is designed for easy removal and prevents you from pulling on the device with unnecessary force. This method ensures you safely detach the doorbell without damaging the plate or the doorbell unit.
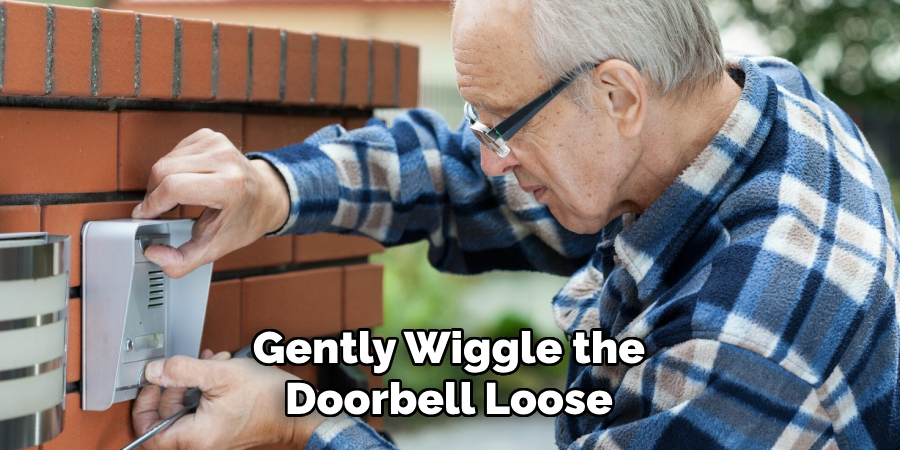
2. Gently Wiggle the Doorbell Loose
If your doorbell feels stuck, try gently wiggling it side to side while pulling it off the charging plate. Over time, dust, dirt, or humidity may cause the doorbell to stick more firmly to the charging plate than it did when initially installed. By slowly wiggling the doorbell, you can help loosen it without exerting too much force. Be cautious to avoid applying too much pressure as this could damage the mount or cause the doorbell to slip from your grip.
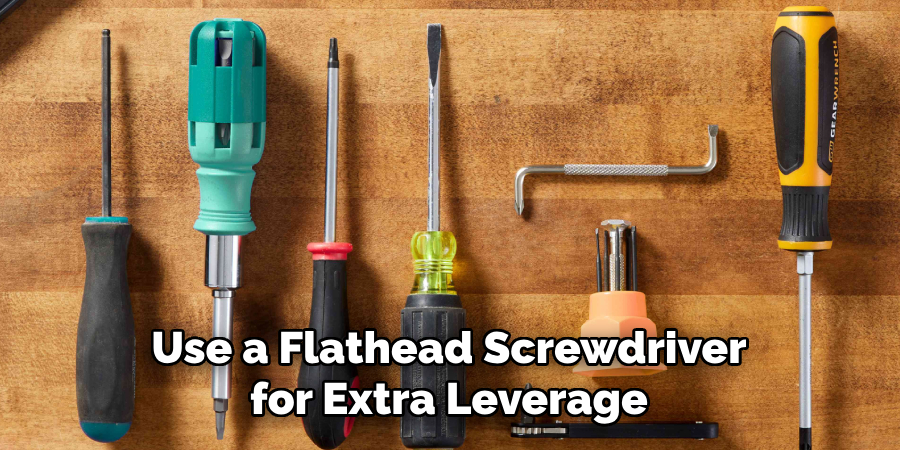
3. Use a Flathead Screwdriver for Extra Leverage
In some cases, the doorbell might be more difficult to remove, especially if it’s been attached to the charging plate for a while. If gently wiggling it doesn’t work, you can use a small flathead screwdriver to give yourself extra leverage. Carefully insert the screwdriver between the doorbell and the plate, and apply gentle pressure to pry the doorbell away from the plate. Make sure to use a cloth or some form of padding between the screwdriver and the doorbell to prevent scratching the surface of the device or the charging plate.
4. Apply Heat to Loosen Adhesion
If the doorbell is stuck due to cold weather or dirt build-up, using a bit of heat might help loosen the adhesion between the doorbell and the charging plate. A hairdryer or a heat gun on a low setting can be used to gently warm the doorbell and the charging plate. Make sure to use moderate heat, and do not apply heat directly for too long, as overheating may damage the device. Once the area is warm, try wiggling the doorbell again and pull it away from the charging plate carefully.
5. Use a Magnet to Assist Removal
Some SimpliSafe doorbells may have magnetic mounting components, especially when it comes to the charging mechanism. If this is the case with your device, you can try using a stronger magnet to pull the doorbell away from the charging plate. Hold the magnet to the doorbell and gently pull the device forward while applying light pressure to the bottom or side edges. This method gives you better control, reducing the chances of dropping the doorbell or causing damage to the charging plate. Be cautious with the force applied to avoid dislodging internal components.
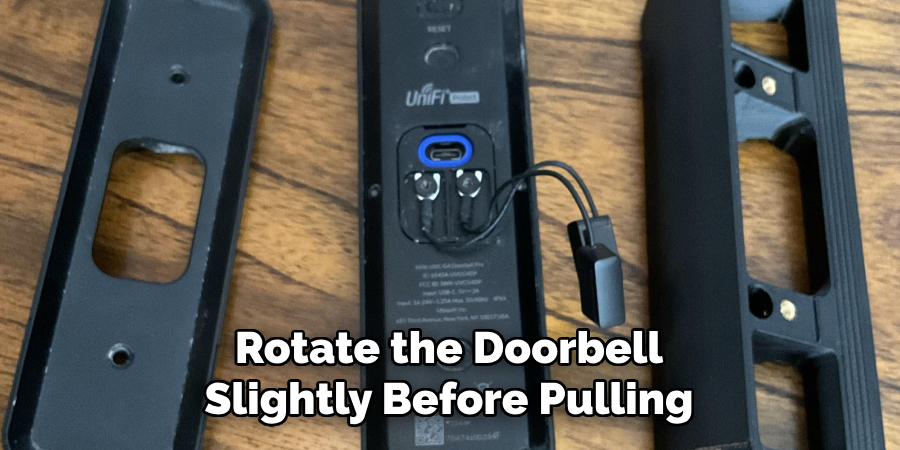
6. Rotate the Doorbell Slightly Before Pulling
Sometimes, rotating the doorbell before pulling it off the charging plate can help break the suction or tension that might have developed between the device and the plate. Hold the doorbell firmly and try rotating it slightly clockwise or counterclockwise. After loosening the connection, gently pull the doorbell away from the charging plate. This technique works well if the doorbell has been in place for a long time and you’re struggling with normal pulling methods.
7. Use a Suction Cup for Better Grip
If your SimpliSafe doorbell doesn’t have a good grip area for your fingers, or if you’re afraid of scratching the surface, you can use a suction cup to assist in the removal. A strong suction cup, such as one used for mobile phone repairs, can be attached to the flat surface of the doorbell. Once the suction cup is securely in place, pull the doorbell gently while using the suction cup to hold it. This method gives you better control over the device and helps you remove the doorbell without touching its surface too much, avoiding potential scratches.
8. Check for Hidden Screws or Latches
Before attempting to remove the doorbell, make sure there aren’t any hidden screws or latches securing the doorbell to the charging plate. Some models may have small screws or fasteners that keep the doorbell in place, preventing it from being removed easily. Examine the sides or bottom of the doorbell and charging plate for any small screws. If you find any, use a small screwdriver to remove them before attempting to pull the doorbell off the plate.
9. Use Needle-Nose Pliers for Precise Control
If you’re dealing with a particularly tricky situation where the doorbell seems tightly wedged on the charging plate, you can use needle-nose pliers for more precise control. Needle-nose pliers are useful for gripping small edges without applying too much pressure. Carefully grip the bottom or side edge of the doorbell with the pliers and gently pull it away from the charging plate. The extra grip and precision will help you avoid damaging the doorbell while ensuring you can safely remove it for charging.
10. Seek Assistance from a Second Person
If you’re finding it difficult to remove the doorbell on your own, asking for help from a second person can be very effective. While one person holds the doorbell and applies gentle pressure, the other person can help by either pressing the release button on the charging plate or assisting with the pulling motion. Having a second set of hands can make the process smoother, especially if the doorbell is in a hard-to-reach spot or feels stuck. Just make sure to communicate and proceed cautiously to avoid any accidents or damage.
Things to Consider When Removing a SimpliSafe Doorbell
- Assess the Environment: Before proceeding with doorbell removal, consider the weather conditions and environment to ensure safe handling. Cold weather might make materials more brittle, while excessive humidity can complicate procedures.
- Read the Manual: Consult the user manual specific to your SimpliSafe model. It might contain unique instructions or warnings pertinent to the successful removal of the device.
- Gather the Right Tools: Make sure to have all necessary tools on hand, such as screwdrivers, pliers, or a suction cup. The right tools will help you remove the doorbell efficiently and reduce the risk of damage.
- Ensure Power is Off: Before removing the doorbell, ensure that the power supply to the device is disconnected to prevent any electrical hazards.
- Plan for Reinstallation: Consider how you will reinstall the doorbell once it has been removed. Take note of the current setup to ensure that you can correctly reattach it once desired adjustments or repairs are made.
Taking these considerations into account can make the process of removing a SimpliSafe doorbell safer and more effective, reducing the risk of damage and ensuring a hassle-free experience.
Conclusion
Removing a SimpliSafe doorbell from its charging plate can sometimes be a challenging task, especially if it’s been in place for a prolonged period. However, with the right techniques and tools, you can safely and efficiently detach it without causing damage. It is important to proceed with caution, starting with the gentlest methods and gradually moving to more involved solutions if necessary. Remember to always check for any hidden screws or latches that might be securing the device. Thanks for reading, and we hope this has given you some inspiration on how to remove simplisafe doorbell from charging plate!
About
Safety Fic is a distinguished figure in the world of Diy design, with a decade of expertise creating innovative and sustainable Diy solutions. His professional focus lies in merging traditional craftsmanship with modern manufacturing techniques, fostering designs that are both practical and environmentally conscious. As the author of diy, Safety Fic delves into the art and science of Safety Fic-making, inspiring artisans and industry professionals alike.
Education RMIT University
(Melbourne, Australia) Associate Degree in Design (Safety Fic) Focus on sustainable design, industry-driven projects, and practical craftsmanship. Gained hands-on experience with traditional and digital manufacturing tools, such as CAD and CNC software.
Nottingham Trent University
(United Kingdom) Bachelor’s in diyfastly.com and Product Design (Honors) Specialized in product design with a focus on blending creativity with production techniques. Participated in industry projects, working with companies like John Lewis and Vitsoe to gain real-world insights.
Publications and Impact
In diy, Safety Fic his insights on indoor design processes, materials, and strategies for efficient production. His writing bridges the gap between artisan knowledge and modern industry needs, making it a must-read for both budding designers and seasoned professionals.