
Installing the Google Nest Doorbell Battery is a straightforward process that enhances your home security without the hassle of complex wiring. This guide will walk you through how to install google nest doorbell battery correctly and functioning efficiently.
With a few tools and a little time, you can enjoy the peace of mind that comes with knowing who’s at your door, even when you’re away. Whether you’re a first-time installer or a seasoned DIY enthusiast, these instructions are designed to make the process as smooth and intuitive as possible.
Why Choose a Battery-Powered Google Nest Doorbell?
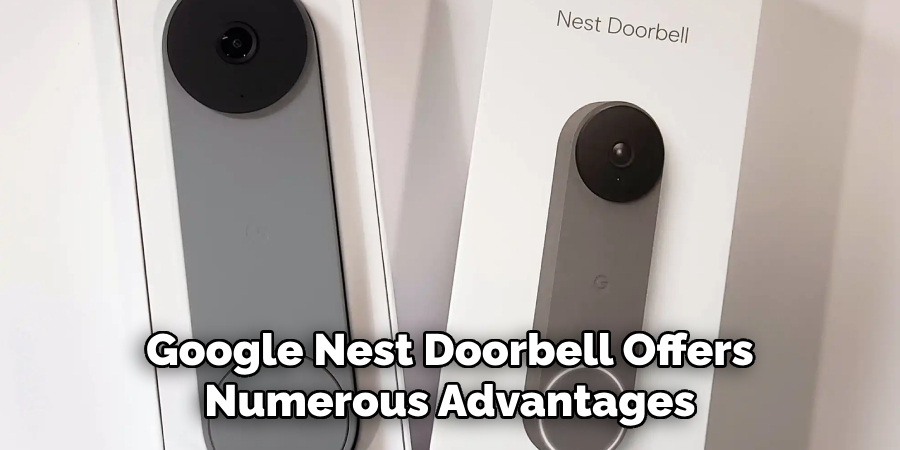
Opting for a battery-powered Google Nest Doorbell offers numerous advantages, particularly for those who prefer flexibility and ease of installation. One of the primary benefits is the absence of wiring constraints, allowing you to install the doorbell at almost any location around your home. This feature is especially useful for renters or individuals in older homes without existing doorbell wiring.
Additionally, the advanced battery technology ensures that the device operates efficiently, requiring only periodic recharging. This mobility does not compromise on functionality, as the device provides high-definition video, smart alerts, and seamless integration with other Google Nest products. Choosing a battery-powered model means enjoying the latest in smart home technology without the complications of a wired setup.
What You Need for Installing the Google Nest Doorbell Battery
Before you begin the installation process, gather all the necessary tools and materials to ensure a smooth and efficient setup. Here’s a list of what you’ll need:
- Google Nest Doorbell (Battery) Package: Ensure you have the doorbell itself, the wall plate, wedge, release tool, screws, and anchors, as these are typically included with your purchase.
- Compatible Smartphone or Tablet: You’ll need this to download the Google Home app and complete the setup process.
- Internet Connection: A stable Wi-Fi connection is essential for the doorbell to function and connect to the Google Home network.
- Phillips Head Screwdriver: Required for installing the mounting bracket and securing the doorbell.
- Drill: Depending on your wall type, you may need a drill to create holes for the wall anchors.
- Level Tool: Useful for ensuring the doorbell is mounted straight.
- Pencil: To mark the location for drilling holes.
- Measuring Tape: Optional but helpful for precise placement to ensure optimal camera coverage.
Having these tools on hand will streamline the installation process, allowing you to complete the setup without unnecessary interruptions or last-minute tool searches.
10 Methods How to Install Google Nest Doorbell Battery
1. Read the Manufacturer’s Instructions
Before starting the installation, it’s essential to read the manufacturer’s instructions that come with your Google Nest Doorbell. These instructions provide specific details about battery installation, including any prerequisites or warnings. Understanding the guidelines helps you follow the recommended steps for your particular model and ensures you don’t miss any critical steps. Typically, the manual will include diagrams or images that illustrate how to correctly install the battery, which can be very helpful for first-time users.
2. Ensure the Doorbell is Powered Off
For safety and to avoid potential damage to your device, ensure that the Google Nest Doorbell is powered off before beginning the battery installation process. If your model has a power button, press it to turn off the device. For hardwired models, you may need to disconnect the power supply from the electrical circuit to ensure there is no current running to the doorbell. Turning off the power prevents accidental electrical shorts and ensures that you handle the battery installation process safely.

3. Remove the Existing Battery (If Replacing)
If you’re replacing an old battery, start by removing the existing one. Locate the battery compartment on the back of the Google Nest Doorbell. This is typically secured with a latch or cover that needs to be opened. Depending on your model, you might need to press a button, slide the cover, or use a small tool to release the latch. Carefully take out the old battery, noting its orientation and how it fits in the compartment. Keeping the old battery as a reference can help ensure that you install the new one correctly.
4. Align the New Battery Correctly
When installing a new battery, it’s important to align it correctly within the battery compartment. Most Google Nest Doorbell models have specific grooves or guides that ensure the battery fits in only one way. Place the new battery into the compartment, aligning the connectors and ensuring that it sits flush against the contacts. Avoid forcing the battery into place; it should fit snugly without any resistance. Proper alignment is crucial for the battery to make a good connection with the device’s internal components.

5. Secure the Battery Compartment
Once the new battery is in place, secure the battery compartment to ensure it remains firmly closed. If the battery compartment has a cover or latch, press it back into position until it clicks or locks securely. For models with screws or additional fasteners, use the provided tool or screwdriver to tighten them carefully. Ensuring that the battery compartment is properly secured prevents dust and moisture from entering and protects the battery and internal components of the doorbell.
6. Check Battery Status
After installing the new battery and securing the compartment, it’s a good idea to check the battery status. Most Google Nest Doorbell models have an LED indicator that shows the battery level or charging status. Once you power the device back on, observe the indicator to ensure that the battery is recognized and functioning correctly. If your model includes a companion app, check the app for battery status updates and ensure that it shows the new battery is properly installed and charged.
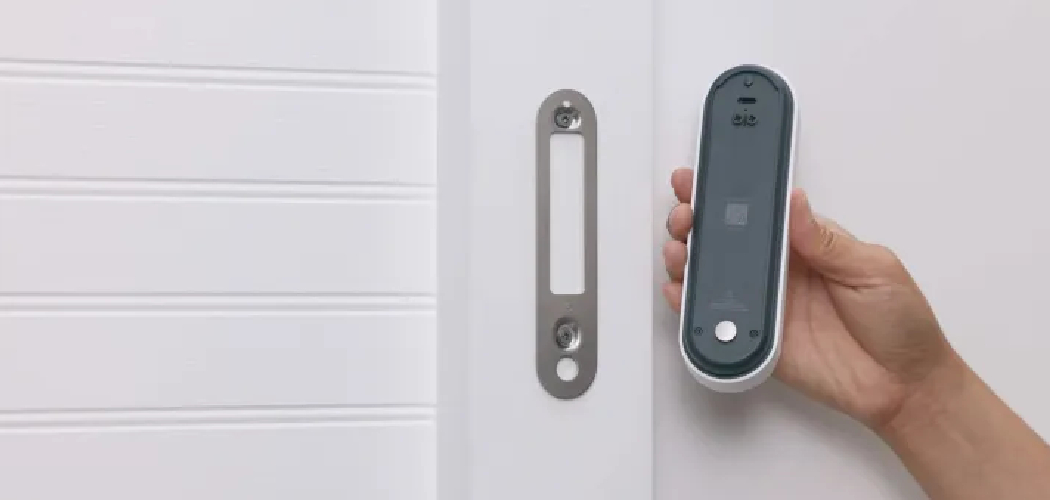
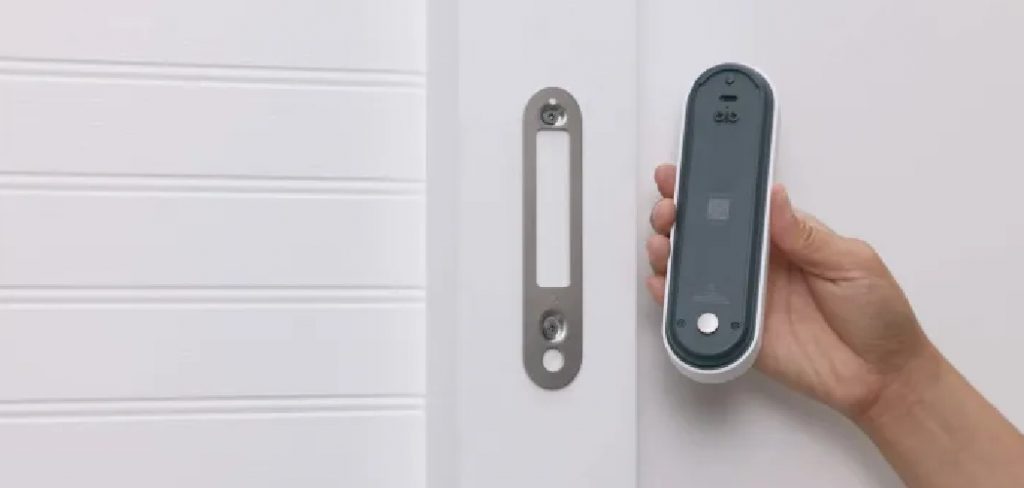
7. Reinstall the Doorbell on Its Mount
If you had removed the doorbell from its mounting bracket to access the battery compartment, now is the time to reinstall it. Align the doorbell with the mounting bracket and gently slide it back into place. Ensure that it locks or clicks into position securely. This step is important to ensure that the doorbell remains stable and properly positioned. If your doorbell has any additional locking mechanisms or screws, make sure they are properly engaged or tightened.
8. Test the Doorbell Functionality
After installing the battery and securing the doorbell, test its functionality to ensure everything is working correctly. Press the doorbell button to check if it rings or sends notifications as expected. If your model is connected to a smart home system, verify that it communicates with your network and that you can access its features through the companion app. Testing ensures that the battery installation has been successful and that the doorbell is operational.
9. Update Firmware or Software
In some cases, installing a new battery may prompt the need to update the firmware or software of your Google Nest Doorbell. Check the companion app for any available updates and follow the instructions to ensure that your device is running the latest version. Firmware updates can improve functionality, security, and compatibility with other smart home devices. Keeping your doorbell’s software up to date ensures optimal performance and access to the latest features.
10. Dispose of Old Batteries Properly
If you’ve replaced an old battery, it’s important to dispose of it properly. Many regions have specific recycling programs for batteries due to their environmental impact. Check with your local waste management facility or recycling center for guidelines on battery disposal. Some manufacturers and retailers also offer battery recycling programs or drop-off locations. Proper disposal ensures that you handle the old battery responsibly and reduce its impact on the environment.

Common Mistakes to Avoid
When installing or replacing the battery in your Google Nest Doorbell, it’s essential to avoid common mistakes that could lead to improper functioning or damage. One frequent error is neglecting to power off the doorbell before starting the process, which can result in short circuits or injury.
Additionally, not aligning the battery correctly can prevent the doorbell from operating, as the battery must sit flush and securely in its compartment. Another mistake is failing to secure the battery compartment properly, which can expose internal components to dust and moisture, leading to damage or malfunction. Lastly, users sometimes overlook updating the firmware after installation, which may cause compatibility issues or prevent access to new features. Being mindful of these potential pitfalls ensures a smooth installation process and optimal performance from your device.
Conclusion
Installing the battery in your Google Nest Doorbell can be a straightforward process when approached with the right methods and precautions. By following these ten detailed methods, you can ensure a successful installation that keeps your doorbell functioning properly. Whether you’re replacing an old battery or installing a new one, paying attention to alignment, securing the compartment, and testing functionality are key steps in the process.
Additionally, keeping your device updated and disposing of old batteries responsibly ensures long-term performance and contributes to environmental sustainability. Thanks for reading, and we hope this has given you some inspiration on how to install google nest doorbell battery!