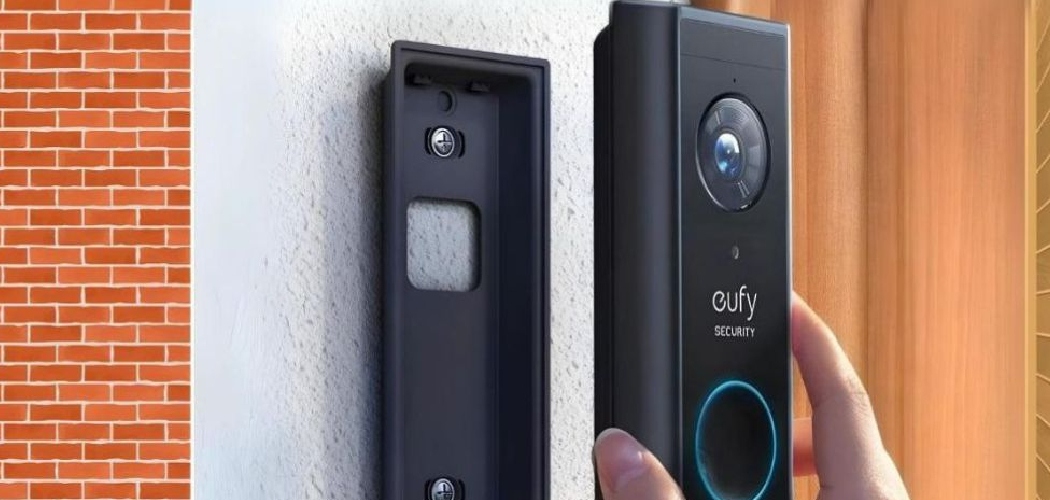
Are you planning to move your Eufy doorbell to another location or upgrade to a newer model?
How to remove Eufy doorbell from wall may seem like a daunting task, but with the right tools and guidance, it can be a straightforward process. Whether you’re planning to upgrade your system, relocate your device, or perform maintenance, safely detaching your doorbell without causing damage is essential. This guide will provide you with step-by-step instructions to ensure you can remove the doorbell efficiently and securely, allowing for any adjustments or changes you wish to make easily.
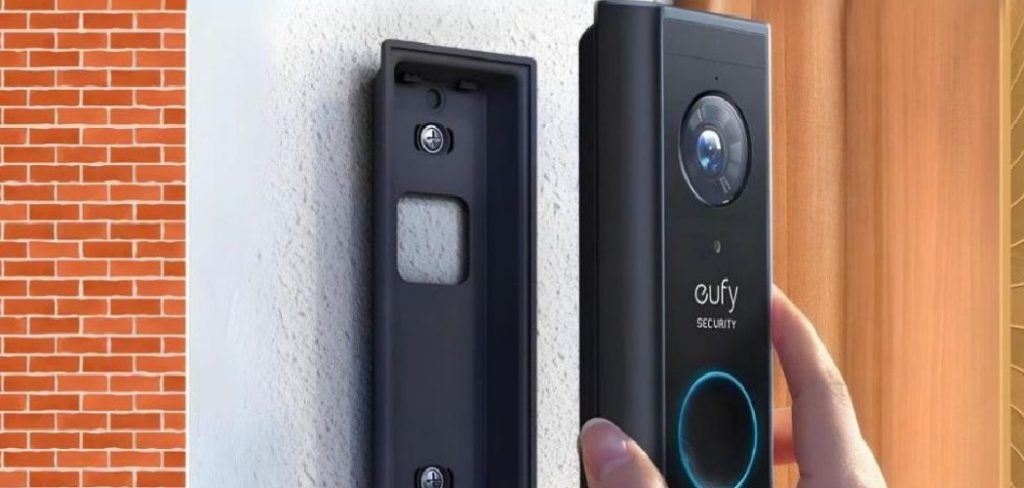
Before you begin, ensure you have the necessary tools on hand and follow each step carefully to protect your doorbell and the installation site.
What Will You Need?
To remove your Eufy doorbell from the wall, you will need:
- A screwdriver (preferably Phillips head)
- A ladder or step stool (if required)
- A microfiber cloth or soft cloth
- Power drill (optional for hard-to-remove screws)
You can begin the removal process once you have gathered the necessary tools.
10 Easy Steps on How to Remove Eufy Doorbell From Wall
Step 1: Turn off the Power
Before you remove your Eufy doorbell, it is crucial to ensure your safety by turning off the power supply to the doorbell system. Locate your home’s circuit breaker box, and identify the breaker switch corresponding to the doorbell. Flip the switch to the “off” position to cut off electricity to the device. This step minimizes the risk of electrical shock and ensures the process is safe for you and your device. Additionally, turning off the power prevents any unintended activation of the doorbell while you work. Once you have confirmed that the power is off, you can confidently proceed to the next steps of the removal process.
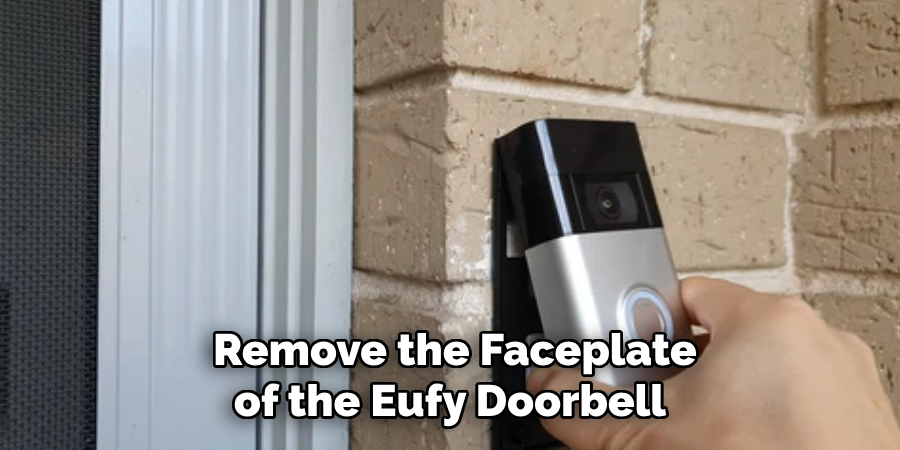
Step 2: Remove the Faceplate
With the power turned off, it’s time to remove the faceplate of the Eufy doorbell. Begin by locating the small slot or release mechanism at the bottom or side of the doorbell unit. You may need to use a small flathead screwdriver or a similar tool to pry the faceplate off gently. Be cautious not to apply too much force, as this can damage the faceplate or the underlying components. Once the faceplate is detached, set it aside in a safe place, ensuring no scratches or dirt accumulate on it. Removing the faceplate will give you access to the mounting screws that secure the doorbell to the wall.
Step 3: Detach the Doorbell from the Bracket
With the faceplate removed, you will now see the mounting screws that hold the doorbell to the wall bracket. Using a Phillips head screwdriver, carefully unscrew the mounting screws. Holding the doorbell with one hand while unscrewing it is essential to prevent it from accidentally falling. Once the screws are removed, gently pull the doorbell unit away from the wall. Handle the doorbell carefully to avoid damaging any wiring or components connected to the device. Set the doorbell unit aside safely and securely once it has been detached from the wall bracket.
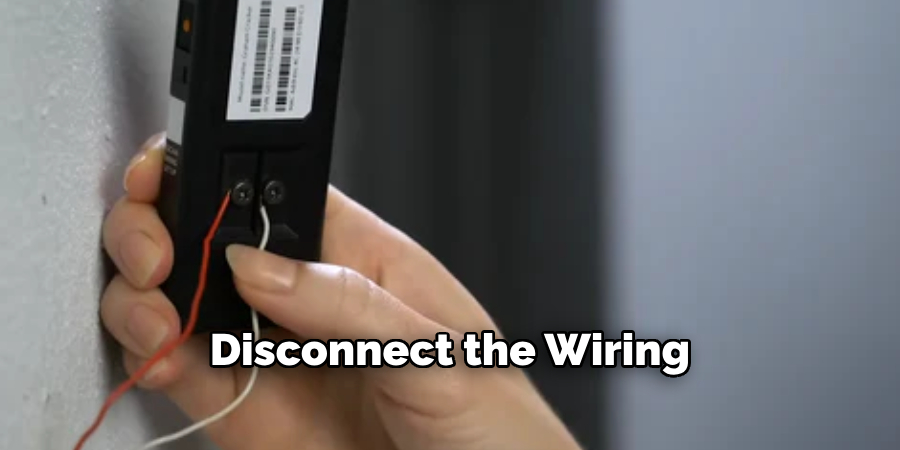
Step 4: Disconnect the Wiring
After detaching the doorbell from the bracket, disconnecting the wiring is next. Carefully examine the wires connected to the back of the doorbell unit. Typically, there will be two wires attached with screws or clips. Use your screwdriver to loosen the screws or gently unclip the wires, ensuring you remember which wire connects to which terminal.
Take a picture of the wiring configuration if necessary to assist with later reinstallation. Once the cables are detached, ensure they do not retract into the wall or pose any safety hazards by securing them with electrical tape. This will prepare the site for any further adjustments or installations you plan to undertake.
Step 5: Remove the Wall Bracket
With the doorbell unit and wiring detached, the next task is to remove the wall bracket that holds the doorbell in place. Use your Phillips head screwdriver to remove any screws securing the bracket to the wall. Be sure to support the bracket with your free hand to prevent it from dropping once the final screw is removed.
Carefully take the bracket off the wall, taking note of any anchor points used to secure it. If wall anchors are difficult to remove, you may need a power drill to extract them gently. Once the bracket and anchors are removed, inspect the wall for damage or debris and clean the area with a microfiber cloth. You are now ready for the next stage, whether installing a new device or leaving the space clear.
Step 6: Clean the Installation Area
With all components removed, cleaning the installation area is essential to prepare it for future use or reinstallation. Begin by using a microfiber cloth to gently wipe away any dust, dirt, or debris that may have accumulated around the mounting site. This ensures the surface is clean and ready for touch-up work, such as painting or patching. If the removal process left any marks or holes, consider filling them with spackling paste or a similar filler to restore the wall’s appearance. Allow the filler to dry thoroughly before sanding it for a smooth finish. Ensuring the clean and repaired area will create a polished look and prevent future installation issues.
Step 7: Restore Power
Once you have completed all removal and cleaning tasks, it’s time to restore power to the circuitry previously powering your Eufy doorbell. Return to your home’s circuit breaker box and flip the switch to the “on” position. This step re-establishes electricity to that part of your home, preparing it for subsequent installations or standard operational use. It’s advisable to verify the functioning of any other systems connected to the same circuitry to ensure the power restoration process succeeds.
Step 8: Check for Loose Ends
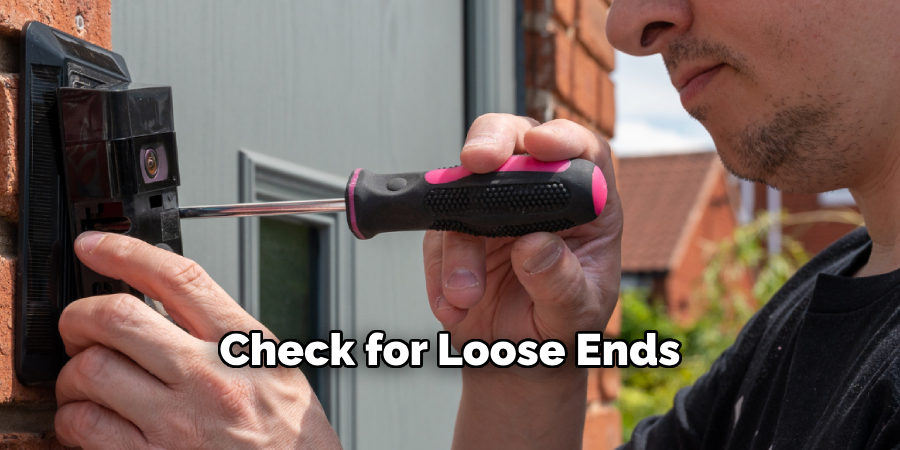
Before concluding the removal process, it’s wise to check for any loose ends that may have been overlooked. Inspect the area thoroughly to ensure no wires are exposed or pose a safety risk. Tuck in any protruding wires securely into the wall cavity, using electrical tape if necessary to keep them in place. Double-check that no debris, screws, or small tools have been left behind. This final inspection helps prevent potential hazards and ensures that the site is ready for any subsequent installations or left in a secure and tidy condition.
Step 9: Final Review and Documentation
After completing the removal process and addressing loose ends, perform a final site review and document the condition for future reference. Take clear photographs of the work area, including any changes made and the condition of the wiring and wall.
These images and notes will be valuable if you decide to reinstall the doorbell or transfer this information to someone else, like a professional installer or a new homeowner. Proper documentation ensures clarity and facilitates further steps, seamlessly transitioning to subsequent installations or repairs.
Step 10: Consider Future Upgrades
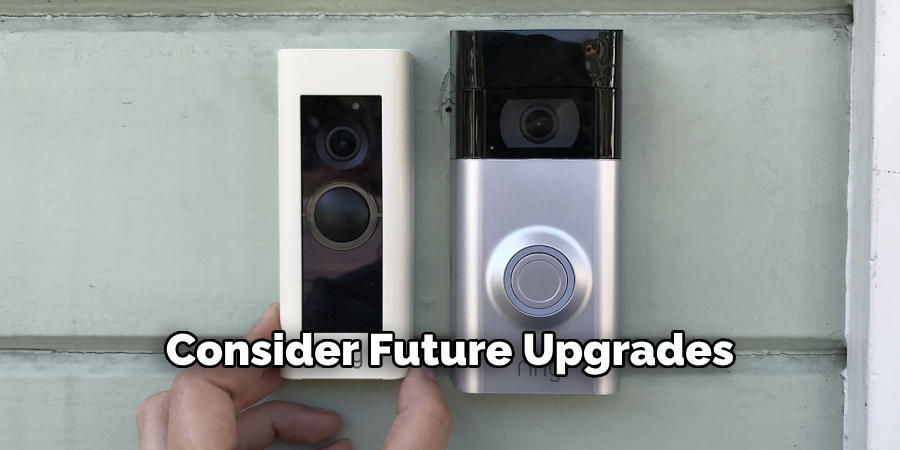
With the area prepped and documented, it is an excellent opportunity to consider any future upgrades or replacements for your doorbell system. Evaluate different types of doorbells, including smart doorbells with enhanced security features or traditional models that suit your preferences.
Research various brands and models to find one that aligns with your requirements, such as video capabilities, connectivity options, or integration with smart home systems. Understanding your options in advance can simplify the purchasing and installation process when ready.
Following these steps, you can safely and efficiently remove your Eufy doorbell from its wall bracket, disconnect the wiring, and prepare for future installations or upgrades.
5 Things You Should Avoid
- Using Excessive Force: Avoid using too much force when removing the doorbell, as this can damage the wiring and the wall. Gently follow the removal instructions to ensure everything stays intact.
- Neglecting Power Disconnection: Disconnect all power sources before starting the removal process. Failing to do this could lead to electric shorts and potentially harm the system or yourself.
- Ignoring Manual Instructions: Skipping the manufacturer’s manual can lead to improper removal techniques. Always refer to the guide for specific removal instructions to prevent mishaps.
- Using Incorrect Tools: Using the wrong tools can damage the device and the surrounding wall. Ensure you have the proper tools, as outlined in the manual, for a smooth and safe removal process.
- Rushing the Process: Haste can make waste, especially with delicate electronics. Take your time carefully following each step to avoid accidental damage to the doorbell or the wall it’s mounted on.
Conclusion
Removing a Eufy doorbell from the wall requires careful attention to detail to prevent damaging the device or your property. Start by ensuring all power sources are disconnected to avoid electric hazards. Carefully consult the user manual to follow the recommended procedures and gather the correct tools before beginning. The process should be conducted patiently; rushing can lead to unnecessary mistakes.
By adhering to these guidelines, you can safely and effectively remove the Eufy doorbell, ensuring that both your devices will remain in excellent condition for future installations or modifications.
Hopefully, the article on how to remove Eufy doorbell from wall has been helpful and informative. Happy DIY-ing!

