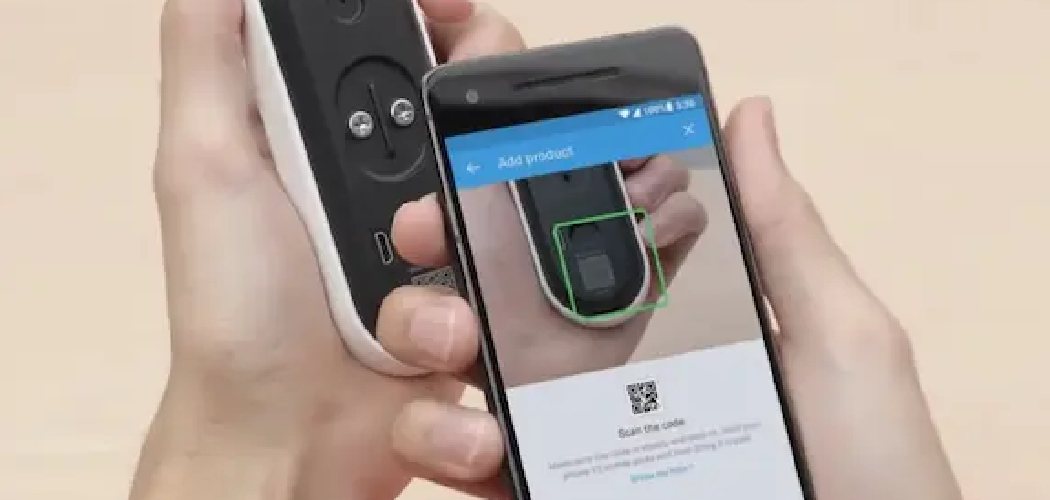
In this guide, we will walk you through the steps to reconnect your Nest Doorbell to your home WiFi network. Reconnecting your device may be necessary if you’ve changed your WiFi password, updated your router, or experienced a network outage.
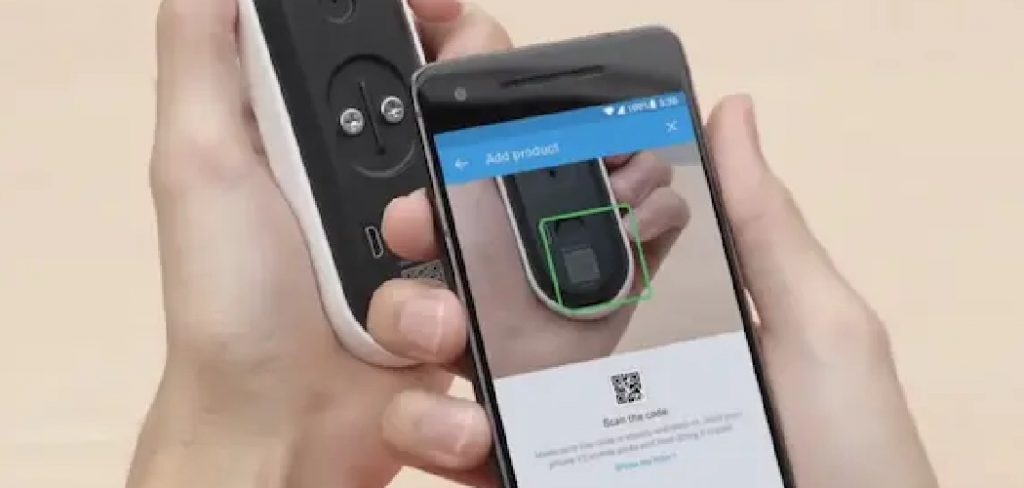
Ensuring that your Nest Doorbell is connected to WiFi is crucial for maintaining its functionality, including receiving alerts, streaming live video, and accessing recordings. Follow the steps on how to reconnect nest doorbell to wifi below to easily get your Nest Doorbell back online.
What is a Nest Doorbell?
The Nest Doorbell is a smart home device designed to enhance the security and convenience of monitoring your front door. Manufactured by Google, this video doorbell offers features like high-definition video streaming, two-way audio communication, and advanced motion detection. With the Nest Doorbell, you can receive notifications on your smartphone whenever someone approaches your door, even if they don’t ring the bell.
Additionally, the doorbell integrates seamlessly with other smart home systems, allowing you to control and monitor your front door from anywhere, providing peace of mind and enhanced security for your home.
Why Does My Nest Doorbell Need to Be Connected to Wifi?
Your Nest Doorbell needs a stable internet connection to function properly. It uses your home’s WiFi network to send notifications, stream live video, and store recordings in the cloud. Without a WiFi connection, your doorbell will not be able to perform these essential functions.
It’s also worth noting that the Nest Doorbell uses a lot of data, especially when streaming live video. A strong and reliable WiFi connection is necessary to support this high data usage.
8 Steps on How to Reconnect Nest Doorbell to Wifi
Step 1: Launch the Nest App
To begin reconnecting your Nest Doorbell to your WiFi network, the first step is to launch the Nest app on your smartphone or tablet. Ensure you have the latest version of the app installed for the best performance and compatibility.
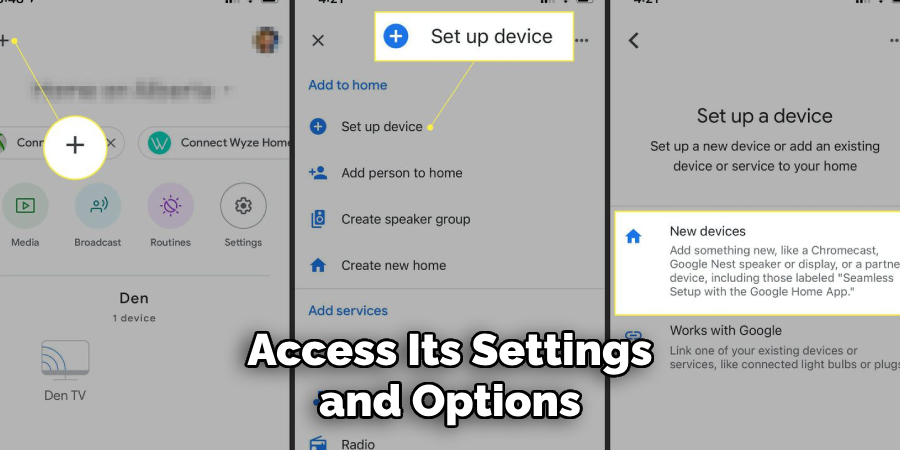
If you haven’t already installed the Nest app, you can download it from the Apple App Store or Google Play Store. Once the app is open, sign in with your Google account credentials that are linked to your Nest devices.
Step 2: Select Your Nest Doorbell
Once you have launched the Nest app and signed in with your Google account, the next step is to select your Nest Doorbell from the list of devices. On the home screen of the Nest app, you should see a list of all the Nest devices that are linked to your account.
Tap on the icon labeled “Nest Doorbell” to access its settings and options. This will open the doorbell’s device page, where you can proceed with reconnecting it to your WiFi network. If you have multiple Nest Doorbells, make sure to choose the one that needs to be reconnected.
Step 3: Tap on Settings
On the Nest Doorbell device page, look for the “Settings” option located in the top right corner of your screen. Tap on it to access the settings menu. Here you will find various options and configurations related to your doorbell, including its WiFi connection.
It’s worth noting that the steps may differ slightly depending on if you have an original Nest Doorbell or a newer Nest Doorbell model. However, all versions of the app should have a similar settings menu for reconnecting WiFi.
Step 4: Select “Network”
On the settings page, select the option labeled “Network.” This will take you to a new screen where you can manage your Nest Doorbell’s WiFi connection settings.
If your doorbell is currently disconnected from WiFi, it will display “Not connected” under the network name. If it is still connected to WiFi but experiencing issues, it will show the current network name and signal strength.
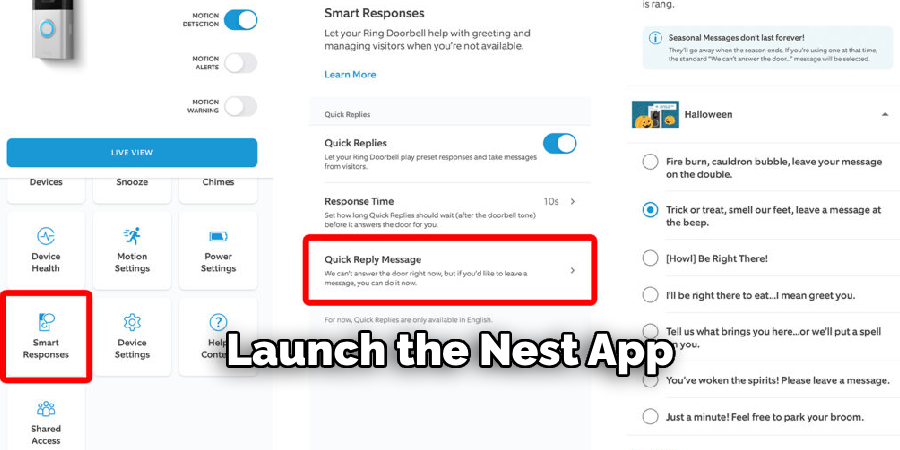
Step 5: Tap on “Connect to Wifi”
On the Network settings page, you will see an option that says “Connect to Wifi.” Tap on this option to start the process of reconnecting your Nest Doorbell to your home network. The app will then begin scanning for available WiFi networks in your area.
Once the scan is complete, a list of available WiFi networks will be displayed. Select your home WiFi network from the list. If your network does not appear, ensure that your router is powered on and within range of the doorbell. If necessary, you can tap “Scan again” to refresh the list of available networks.
Step 6: Enter WiFi Password
After selecting your home network, you will be prompted to enter the password for your WiFi. Carefully type in your password and make sure it is correct before proceeding. If you do not know your WiFi password, refer to your router’s manual or contact your internet service provider.
Once the password has been entered correctly, tap on “Join” to connect your Nest Doorbell to the selected network.
Step 7: Wait for Connection
After entering the correct WiFi password, the app will attempt to reconnect your Nest Doorbell to the network. This process may take a few minutes, so be patient and wait for confirmation that the connection was successful. Once the connection is established, you will be notified in the app.
It’s important to note that your doorbell may need a few minutes to download any necessary updates or configuration settings before it is fully reconnected and functional.
Step 8: Test Your Doorbell
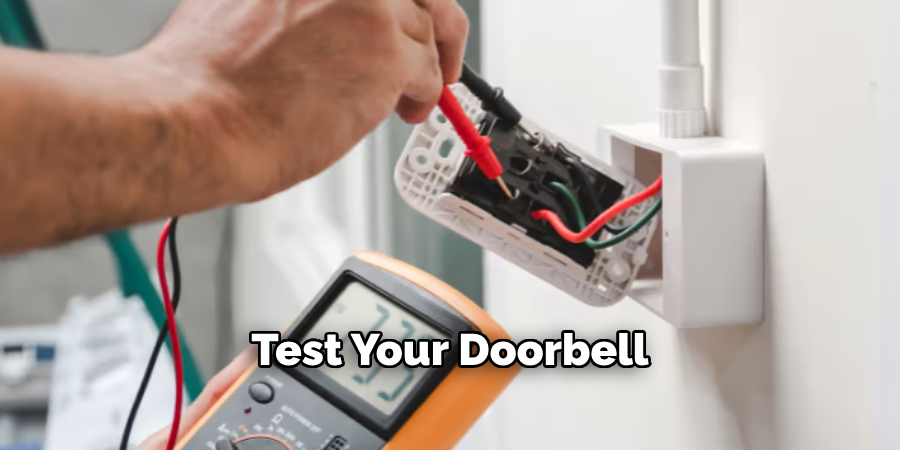
Once you receive confirmation that your Nest Doorbell is connected to WiFi, the final step is to test its functionality. You can do this by pressing the doorbell button or by checking for motion alerts in the app. If everything is working correctly, you have successfully reconnected your Nest Doorbell to WiFi!
Following these steps on how to reconnect nest doorbell to wifi will ensure that your Nest Doorbell is properly connected to WiFi and functioning as it should. If you continue to experience issues with your doorbell’s connection, refer to the Nest support website for further troubleshooting assistance.
Additional Tips
Tip 1: Place Your Router Strategically
To ensure a strong and stable WiFi connection for your Nest Doorbell, place your router in a central location in your home. Avoid placing it near thick walls, metal objects, or other electronics that can interfere with the signal. Ideally, your router should be elevated off the ground and situated in an open area.
Tip 2: Use a WiFi Extender
If your Nest Doorbell is located far from your router, consider using a WiFi extender or mesh network to boost the signal strength. These devices can help improve connectivity by eliminating dead zones and extending the range of your WiFi network.
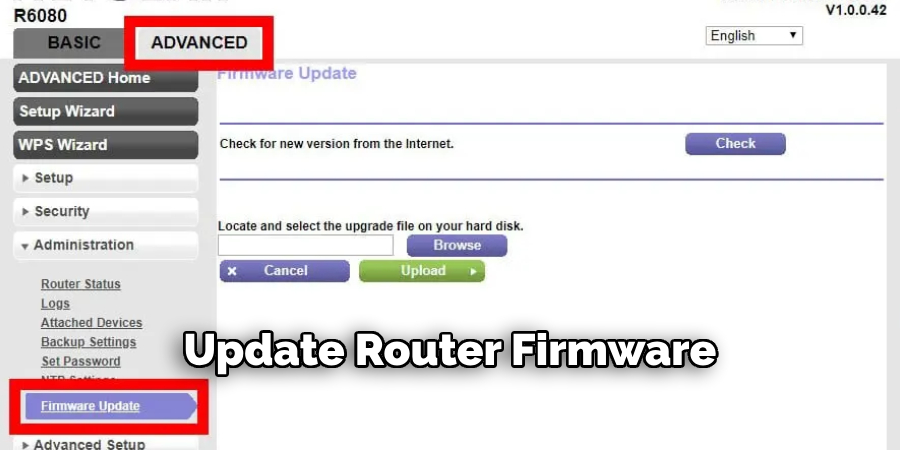
Tip 3: Update Router Firmware
Router manufacturers regularly release firmware updates to improve performance and security. Make sure your router’s firmware is up to date to ensure the best possible connection for your Nest Doorbell. Refer to your router’s manual or manufacturer’s website for instructions on how to update the firmware.
Tip 4: Limit Bandwidth Usage
High-bandwidth activities such as streaming videos, online gaming, and large downloads can congest your WiFi network. During times when your Nest Doorbell needs to stream live video, try to limit other high-bandwidth activities to maintain a strong connection.
Tip 5: Regularly Restart Your Router
It can be beneficial to restart your router periodically to clear out any temporary glitches and improve overall performance. Simply unplug it from the power source, wait for about 30 seconds, and then plug it back in. Allow a few minutes for the router to reboot and reconnect all devices.
By following these additional tips on how to reconnect nest doorbell to wifi, you can enhance the performance and reliability of your Nest Doorbell’s WiFi connection, ensuring it operates seamlessly to secure and monitor your home effectively.
Frequently Asked Questions
Q: Can I Connect My next doorbell to Wifi Using a Wired Connection?
A: No, the Nest Doorbell can only be connected to WiFi wirelessly. It does not have an Ethernet port for a wired connection.
Q: Will My Nest Doorbell Automatically Reconnect to Wifi if it Loses Connection?
A: No, your Nest Doorbell will not automatically reconnect to WiFi if the connection is lost. You will need to manually go through the steps outlined above to reconnect it.
Q: Can I Change My Nest Doorbell’s WiFi Network?
A: Yes, you can change your Nest Doorbell’s WiFi network by following the steps outlined above. Simply select a different network during Step 5 and enter the password for that network when prompted.
Q: Does My Nest Doorbell Need a Strong WiFi Signal?
A: Yes, a strong WiFi signal is necessary for your Nest Doorbell to function properly and maintain a stable connection. If you are experiencing connectivity issues, try moving your router closer to the doorbell or installing a WiFi extender in the area.
Conclusion
In conclusion, having a stable WiFi connection is essential for ensuring that your Nest Doorbell functions properly and provides reliable security for your home.
With these simple steps on how to reconnect nest doorbell to wifi, you can easily reconnect your doorbell to WiFi and continue using its features to monitor your home. Remember to always keep your Nest app and device software up-to-date for the best performance.
Additionally, maintaining a strong and stable internet connection is crucial for optimal functioning of all smart home devices, including the Nest Doorbell.

