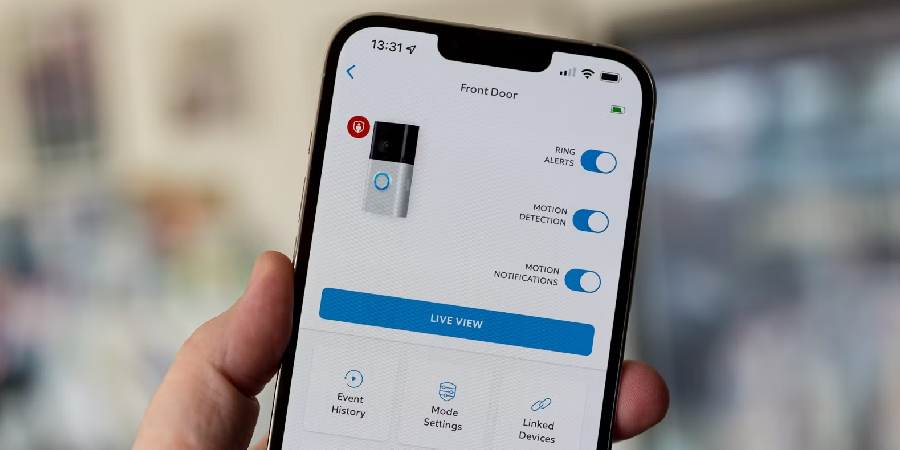
Transferring ownership of a Ring Doorbell can be a straightforward process if you follow the right steps. Whether you are selling your home or giving the device to a friend or family member, making sure the Ring Doorbell is properly transferred ensures the new owner can set it up and use it without any issues.

This guide on how to transfer ring doorbell will provide you with a clear, step-by-step process to ensure a smooth transition.
Needed Materials
- The Ring Doorbell Device
- A Smartphone or Tablet With the Ring App Installed
- The New Owner’s Email Address
Step-by-step Guidelines on How to Transfer Ring Doorbell
Step 1: Preparation
Before beginning the transfer process, ensure that you (the current owner) and the new owner are both prepared. Verify that the Ring Doorbell is properly connected and functioning at its current location.
Also, make sure that the new owner has created a Ring account and installed the Ring app on their smartphone or tablet. Having everything ready in advance will help streamline the process and prevent any unexpected issues.
Step 2: Remove the Doorbell from Your Account
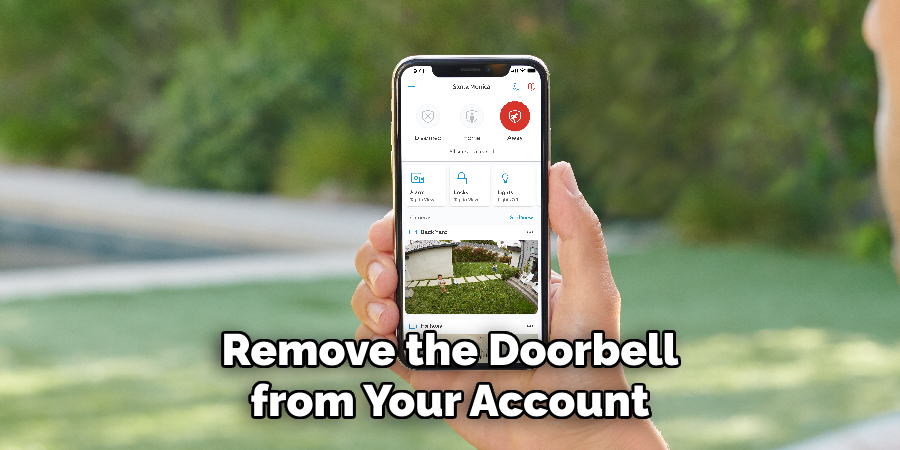
To remove the Ring Doorbell from your account, open the Ring app on your smartphone or tablet. Navigate to the device settings by selecting the Ring Doorbell you wish to transfer. Tap on the gear icon (Settings) in the upper-right corner of the screen.

Scroll down and choose the “Remove Device” option. Confirm your selection when prompted. This action will disassociate the Ring Doorbell from your Ring account, making it available for the new owner to set up.
Step 3: Factory Reset the Doorbell
To ensure that the Ring Doorbell is completely reset and ready for the new owner, you’ll need to perform a factory reset of the device. Locate the setup button on the Ring Doorbell; this is usually found on the back of the device. Press and hold the setup button for at least 15 seconds. You will know the reset is complete when the light on the front of the doorbell starts flashing.
This process erases all existing settings and configurations, returning the doorbell to its original factory state so the new owner can set it up from scratch without any issues.
Step 4: Uninstall the Doorbell
The next step is to uninstall the Ring Doorbell from its current location. Begin by gathering the necessary tools, such as a screwdriver, to detach the device from its mounting bracket. Carefully remove the faceplate by unscrewing the security screws at the bottom of the doorbell.
Once the faceplate is removed, unscrew the mounting screws that secure the doorbell to the wall or surface. Gently pull the doorbell away from the mounting bracket and safely disconnect any wiring if applicable. Keep all parts and screws in a safe place, as the new owner will need them to reinstall the doorbell.
Step 5: Inform the New Owner
With the Ring Doorbell now uninstalled and reset, it’s important to inform the new owner that the device is ready for setup. Reach out to the new owner and provide them with any relevant information they may need, such as the device’s model number and serial number. Additionally, explain that they will need to log into their Ring account on the Ring app and follow the on-screen instructions to add a new device.

Confirm that they have received all the necessary parts and tools, including the faceplate, mounting bracket, and screws, to complete the installation process. Ensure they are aware of where to find setup support if needed, either through the Ring app’s help section or Ring’s customer support service. Communicating clearly with the new owner will help ensure a smooth transition and minimize any potential issues during the setup process.
Step 6: New Owner Account Setup
Before the new owner can start using the Ring Doorbell, they need to set up their Ring account if they haven’t already done so. They should download the Ring app from their smartphone or tablet’s app store and install it. Once installed, they need to open the app and select “Create Account.” They will be prompted to enter their email address and create a password. After the account setup is complete, they will receive a verification email.
The new owner must open this email and verify their account to proceed. Once verified, they can log into the Ring app using their new account credentials and begin the process of adding the Ring Doorbell to their account.
Step 7: Connect the Doorbell to New Wi-Fi
To connect the Ring Doorbell to the new owner’s Wi-Fi network, they’ll need to ensure they have their Wi-Fi network name (SSID) and password readily available. Open the Ring app on their smartphone or tablet, and log in with their newly created account. Select “Set up a Device” from the main menu, then choose “Doorbells” and follow the on-screen instructions.
When prompted, the new owner must provide their Wi-Fi network’s name and password. After completing this step, the Ring app will attempt to connect the doorbell to the Wi-Fi network. Once connected successfully, they can proceed with adding the doorbell to their account.
Step 8: Configure Doorbell Settings
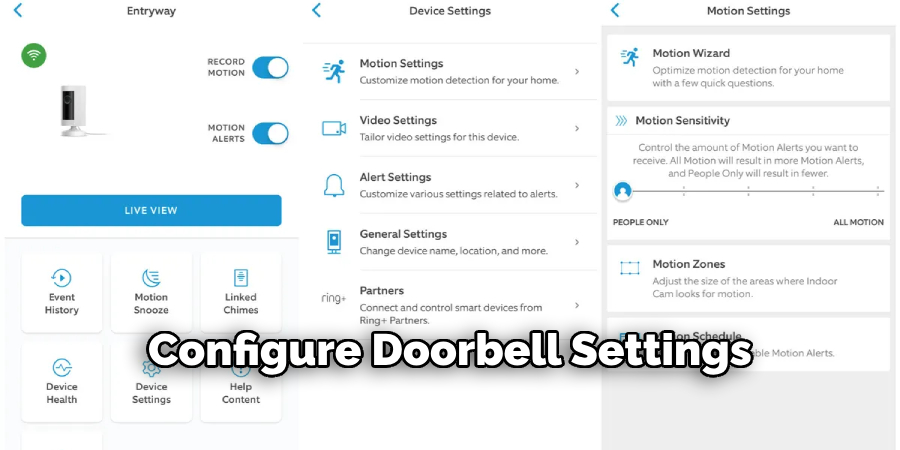
With the Ring Doorbell connected to the new owner’s Wi-Fi network, it’s time to configure the device settings. In the Ring app, navigate to the newly added doorbell and tap on the gear icon (Settings) in the upper-right corner. Here, the new owner can customize various settings such as motion detection zones, alert preferences, and notification settings.
It’s important to adjust these settings to suit their home’s specific needs to ensure they receive the most accurate alerts and notifications. For instance, they can set up motion zones to exclude areas with frequent activity like sidewalks or streets to minimize false alerts. Additionally, enabling features like Motion Alerts and Live View will enhance the overall security and functionality of the Ring Doorbell.

Step 9: Test the Doorbell Functionality
Once all the settings have been configured, it’s crucial to test the Ring Doorbell to ensure it is functioning correctly. Begin by pressing the doorbell button to check if the new owner receives an alert on their smartphone or tablet. They should also check if the live video feed is accessible through the Ring app. Additionally, test the motion detection feature by walking in front of the doorbell to confirm that motion alerts are triggered and notifications are sent to the device.
The new owner should verify the audio quality by using the two-way talk feature, speaking into the app to ensure that their voice is audible through the doorbell and vice versa. Lastly, ensure that any customized settings such as motion zones and alert preferences are functioning as configured. Addressing any issues during this testing phase will help guarantee that the Ring Doorbell provides optimal security and functionality for the new owner.
Step 10: Update Device Information
With the Ring Doorbell now fully operational and tested, the final step is to update the device information in the Ring app. This ensures that the new owner’s contact information is current and that they receive any relevant software updates, notifications, and system alerts.
To update the device information, the new owner should open the Ring app on their smartphone or tablet and navigate to the doorbell’s settings. From there, they should select “Device Details” or an equivalent option. The new owner can then input any pertinent information, such as their name, email address, and phone number. Additionally, it’s advisable to check for any available firmware updates to ensure that the Ring Doorbell is running the latest software.
Keeping the device information accurate and up-to-date enables better support service and enhances the overall functionality and security of the Ring Doorbell system.
Step 11: Inform About Subscription Plans
After ensuring that the Ring Doorbell is fully operational and all settings have been configured, it’s important to inform the new owner about the available subscription plans. Ring offers optional subscription services that provide additional features beyond the basic functionality of the doorbell, such as video recording, video storage, and advanced monitoring services.
To explore these options, the new owner should open the Ring app and navigate to the main menu, then select “Ring Protect Plan.” Here, they can review the various subscription plans offered by Ring:
Basic Plan:
This plan allows video recording for one device, enabling the new owner to review, share, and save recordings from their doorbell. It also provides 60 days of video history.
Plus Plan:
This plan expands the recording feature to all Ring devices at home, includes 60 days of video history, and offers additional security features such as extended warranties and professional monitoring for Ring Alarm.
Inform the new owner that subscribing to one of these plans will enhance the functionality of their Ring Doorbell. They can sign up directly through the app by following the on-screen instructions on how to transfer ring doorbell. It’s also beneficial to mention that they can start with a free 30-day trial upon installing their Ring Doorbell, allowing them to experience the benefits before committing to a subscription. Ensuring the new owner is aware of these plans will help them make an informed decision and maximize the security and functionality of their new device.
Frequently Asked Questions
Q1: Will the Ring Doorbell Work Without a Subscription?
Yes, the Ring Doorbell will still function without a subscription. However, subscribing to one of the Ring Protect Plans offers additional features and benefits such as video recording and storage, advanced monitoring, and extended warranties.
Q2: How Can I Change My Wi-Fi Network for My Ring Doorbell?
If you need to change your Wi-Fi network for your Ring Doorbell, open the Ring app on your smartphone or tablet and navigate to Device Settings. Select “Change Wi-Fi Network” and follow the on-screen instructions to connect your doorbell to the new network.
Q3: Can I View Live Video From My Ring Doorbell Without an Internet Connection?
No, an internet connection is required to view live video from your Ring Doorbell. Without an internet connection, you will not receive any alerts or notifications from the doorbell.
Conclusion
Setting up and optimizing a Ring Doorbell provides significant enhancements to home security through advanced features like real-time alerts, motion detection, and two-way communication. By following the comprehensive setup guide on how to transfer ring doorbell and tailoring the device settings to specific needs, new owners can ensure they maximize the functionality and benefits of their Ring Doorbell.
Regularly updating device information and exploring available subscription plans will further enhance the system’s capabilities, offering peace of mind and an additional layer of security. Whether opting for the basic or plus plan, users can rest assured that their property is being monitored effectively. Ultimately, a well-set-up Ring Doorbell transforms how homeowners interact with their entryways, fostering both safety and convenience.

