Installing security lights around your home can significantly enhance safety and deter potential intruders. This guide will walk you through how to install security lights, ensuring they function optimally to illuminate vulnerable areas at night. Whether you’re a seasoned DIY enthusiast or a first-time installer, following these instructions will help you achieve a well-lit and secure environment around your property.

Benefits of Installing Security Lights
Installing security lights offers numerous advantages that go beyond merely illuminating your property. Firstly, they act as a powerful deterrent to potential intruders by creating the impression of a well-monitored area, thereby reducing the likelihood of criminal activity. The presence of bright, motion-activated lights can startle and discourage trespassers, effectively safeguarding your home. Additionally, security lights increase visibility around your property, minimizing the risk of accidents or falls during nighttime.
This enhanced visibility is particularly beneficial in poorly lit driveways, pathways, and entry points. For homeowners, these lights provide peace of mind, knowing that they can monitor outdoor spaces more readily. Furthermore, security lights can complement a broader home security system, providing an additional layer of protection that can be both cost-effective and environment-friendly when energy-efficient options are chosen.
Choosing the Right Security Lights for Your Needs
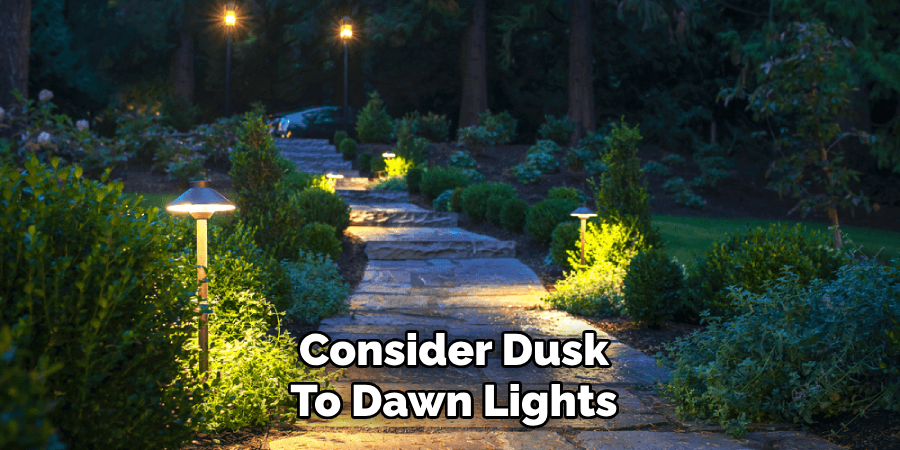
Selecting the appropriate security lights for your property is crucial to maximizing their effectiveness. Start by assessing the specific areas you wish to illuminate and the level of security you desire. Motion-activated lights are ideal for entrances and driveways, as they only turn on when needed, saving energy and reducing light pollution. For areas requiring constant illumination, consider dusk-to-dawn lights that automatically turn on at night and off during the day. The brightness level, usually measured in lumens, should correspond to the size and sensitivity of the area being secured.

LED lights are highly recommended for their energy efficiency and longevity. Additionally, consider the style and design of the lights to ensure they blend with your property’s aesthetics. Weather resistance is another important factor, as outdoor lights should withstand various environmental conditions. By carefully evaluating these aspects, you can choose security lights that effectively meet your safety needs while complementing your home’s exterior.
10 Methods How to Install Security Lights
1. Choose the Right Type of Security Lights
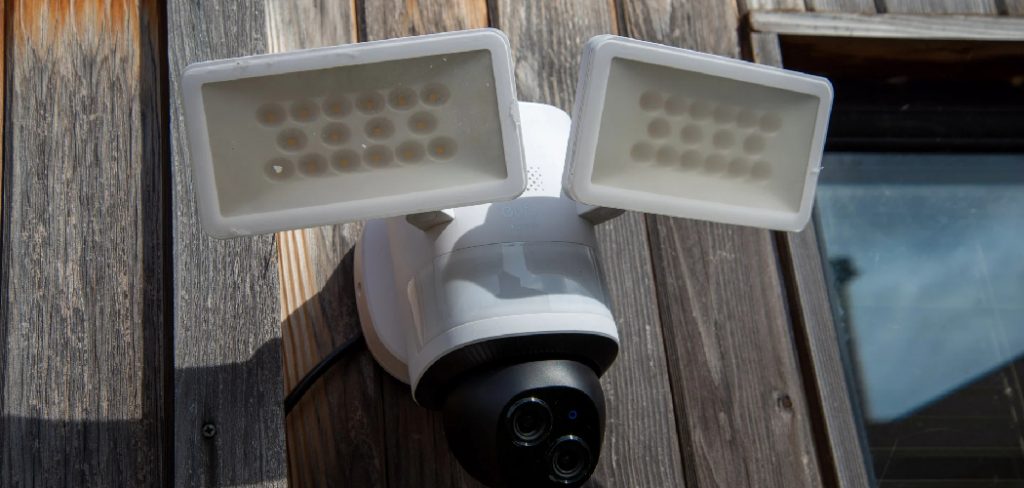
The first step in installing security lights is selecting the right type for your needs. There are several options, including floodlights, motion-activated lights, dusk-to-dawn lights, and solar-powered lights. Floodlights are ideal for covering large areas, while motion-activated lights conserve energy by only turning on when movement is detected.
Dusk-to-dawn lights offer continuous illumination throughout the night, and solar-powered lights are eco-friendly, using energy from the sun. When selecting security lights, consider the area you need to cover, your energy usage preferences, and the amount of light needed for optimal visibility.
2. Plan the Placement of Your Lights
Before installing security lights, carefully plan their placement to maximize coverage and eliminate dark spots. Walk around your property during the day and night to identify areas that require lighting, such as entrances, pathways, and parking areas. Position lights high enough to prevent tampering, but not so high that they become ineffective. Ensure that the light beams cover potential hiding spots and shadowed areas where intruders might approach unnoticed. Proper placement is crucial to the overall effectiveness of your security lighting system, as poorly positioned lights may leave parts of your property vulnerable.

3. Understand the Electrical Requirements
Most security lights require a connection to your home’s electrical system, although some are battery-powered or solar-powered. If your lights need electrical wiring, make sure you understand the voltage requirements and safety guidelines for working with electricity. This includes turning off the power at the circuit breaker before starting any installation. Additionally, consider the electrical load when installing multiple lights on the same circuit to avoid overloading and tripping breakers. If you are unsure about handling electrical wiring, it’s best to consult a licensed electrician to ensure the job is done safely.
4. Install Motion Sensors
Motion sensors are a common feature of security lighting, automatically turning lights on when they detect movement. Installing motion sensors involves determining the coverage area and sensitivity settings that suit your needs. Motion sensors should be placed where they can detect movement in key areas, such as driveways, entryways, and backyards. When programming the sensor, adjust its sensitivity to avoid false alarms triggered by small animals or swaying trees.
Additionally, ensure that the motion sensor’s field of view aligns with the light beam’s range for maximum effectiveness. Motion-sensing lights not only deter intruders but also save energy by only activating when needed.
5. Secure the Light Fixtures
Once you’ve determined the placement and type of lights, the next step is to securely mount the light fixtures. Depending on the surface where the lights are being installed, you may need different mounting hardware, such as screws, brackets, or anchors. Make sure the fixtures are weatherproof, especially if they are being installed outdoors where they will be exposed to rain, wind, and extreme temperatures.
Use silicone caulking around the fixture base to seal out moisture and prevent corrosion. Secure fixtures firmly so that they do not loosen or tilt over time, which could impact the effectiveness of the lighting.
6. Connect the Wiring or Set Up Power Sources
If your security lights require electrical wiring, the next step is to connect the wires. This process involves attaching the light’s wires (typically black for power, white for neutral, and green or bare copper for ground) to your home’s electrical system. Use wire nuts to secure the connections, and ensure that the wiring is properly insulated to prevent electrical hazards. For solar-powered lights, this step is simpler, as you only need to mount the solar panel where it will receive adequate sunlight. If the lights are battery-powered, check that the batteries are installed correctly and fully charged.

7. Adjust the Lighting Angle
After installing the lights, adjust the angle of the beams to cover the desired area effectively. Security lights should be positioned to illuminate key entry points without causing excessive glare or casting unnecessary shadows. The angle should provide adequate coverage of dark areas, but be mindful of not directing the light into neighbors’ homes or windows, which could cause disturbances. Adjusting the angle of your lights allows you to target specific areas, such as front doors, backyards, or side alleys, enhancing the overall security coverage of your property.
8. Set the Timer or Light Sensor
Some security lights come equipped with timers or dusk-to-dawn sensors, allowing you to control when the lights turn on and off. If your lights have this feature, program the timer to suit your schedule, ensuring that lights turn on at dusk and off at dawn automatically. Dusk-to-dawn sensors are particularly useful because they adjust based on the natural lighting conditions, requiring minimal intervention. By properly configuring the timer or light sensor, you ensure that the lights are on when they are needed most, saving energy during daylight hours and providing continuous protection at night.
9. Test the Lights and Make Adjustments
After installing your security lights, it’s important to test the system to ensure everything is functioning as intended. Walk around your property to see how well the lights illuminate key areas, and observe the motion sensors’ responsiveness. Check if there are any dark spots that may need additional lighting. If the light is too bright or too dim, make adjustments to the bulb wattage or fixture angle as needed. Testing the system ensures that your lights provide the coverage necessary to deter intruders and improve the overall safety of your property.
10. Regular Maintenance and Upgrades
Once your security lights are installed, maintaining them is key to ensuring long-term functionality. Regularly clean the light fixtures to remove dust, dirt, or cobwebs that may affect the light output. Periodically check the bulbs and replace them as needed to prevent outages. If your lights are powered by solar panels or batteries, ensure that they are receiving adequate sunlight or replace the batteries when they run low. Over time, technology may improve, so consider upgrading to more energy-efficient or feature-rich lighting systems. Keeping your security lights in optimal condition ensures they continue to protect your property effectively.

Conclusion
Installing security lights is a powerful deterrent against potential intruders, adding an extra layer of protection to your home or business. By following these ten essential methods, you can ensure that your lighting system is both effective and energy-efficient. From selecting the right type of lights to properly placing and maintaining them, each step is critical to the overall success of your security lighting setup. Thanks for reading our blog post on how to install security lights! We hope you found it helpful and informative.

