In today’s world, ensuring the safety of our homes is more important than ever. A home security system provides peace of mind by offering protection against potential intruders and alerting homeowners to any unusual activity. This guide will walk you through how to activate home security system, whether it’s a new installation or an upgrade to an existing system. By following these instructions, you’ll ensure that your security system is set up properly and efficiently, offering you and your family the safety and security you deserve.

Types of Home Security Systems
There are several types of home security systems available, each offering unique features tailored to different needs and budgets. The most common types include:
- Monitored Systems: These systems provide continuous surveillance and are often connected to a professional security service. In case of a breach, the service is alerted and can contact the police if necessary. This type of system offers peace of mind but usually entails a monthly fee.
- Unmonitored Systems: These rely on loud alarms and sirens to alert homeowners and neighbors of a disturbance. While they do not offer the same level of protection as monitored systems, they are usually more affordable and do not require a monthly subscription.
- Wireless Systems: These systems are easy to install and can be customized to include various sensors and cameras. They use Wi-Fi for connection and are often controlled via a smartphone app, making them a flexible option for tech-savvy users.
- Wired Systems: More traditional, wired systems require a more complex installation process involving running wires throughout the home. They are often perceived as more reliable since they aren’t susceptible to Wi-Fi interruptions, but they can be less adaptable than wireless systems.
Differences Between Wired and Wireless Security Systems
When choosing between wired and wireless security systems, understanding their key differences can significantly impact your decision. Wired security systems require a complex installation process involving physical cables run through the walls of a home. This makes them a more permanent solution, and they are often considered to be more reliable because they are not affected by wireless signal interruptions or interference. However, the installation can be more time-consuming and potentially more expensive, particularly in existing homes where retrofitting is required.

On the other hand, wireless security systems offer a high degree of flexibility and ease of installation. Users can often install the system themselves without the need for professional help, making them ideal for renters or those who plan to move. Wireless systems use Wi-Fi or other wireless technologies to transmit data, which allows for easy integration with smart home features.
10 Methods How to Activate Home Security System
1. Familiarize Yourself with the System Components
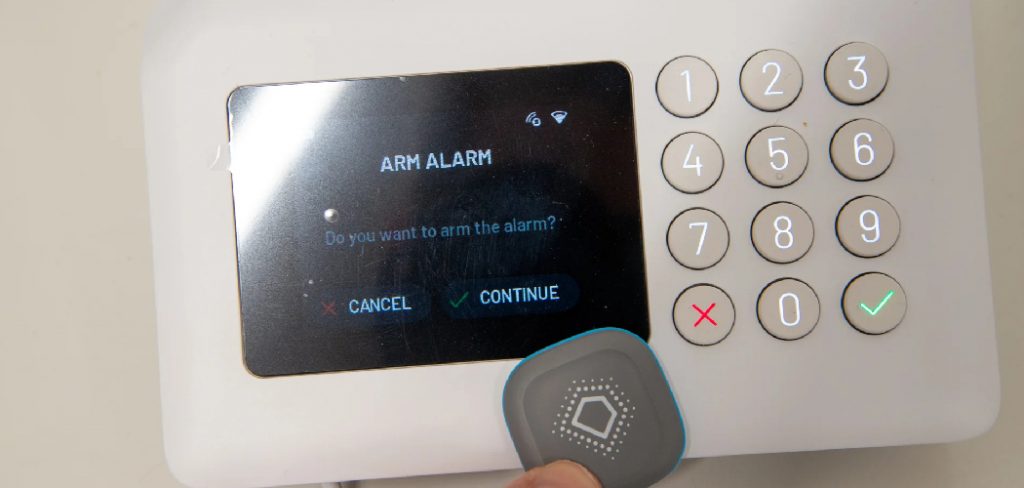
Before activating your home security system, it’s important to familiarize yourself with its components. These typically include a control panel, sensors (for doors, windows, and motion), cameras, alarms, and possibly smart devices like lights or locks. Understanding how these components work together will make the activation process smoother. The control panel is the central hub, while the sensors and alarms communicate directly with it.
2. Install the Security System Properly
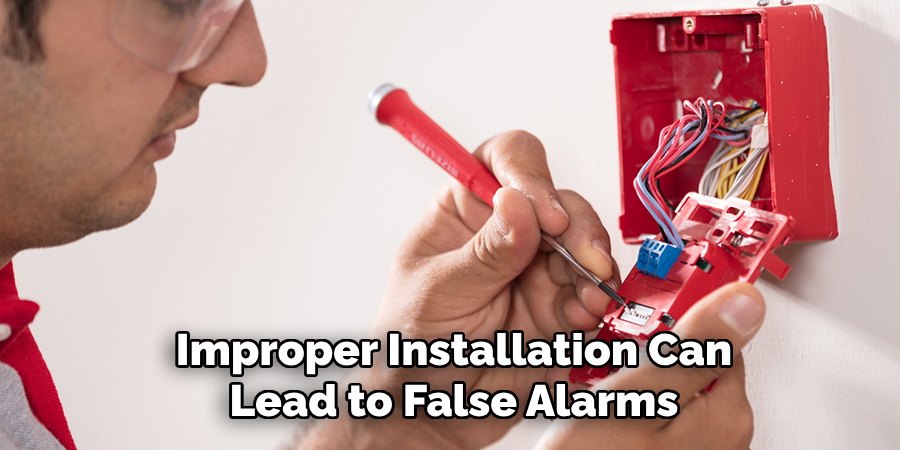
Before activating the system, ensure that it has been installed correctly. Improper installation can lead to false alarms or, worse, a compromised system. Check that door and window sensors are aligned properly, that motion detectors are placed in optimal locations (such as hallways or entryways), and that any cameras have a clear, unobstructed view of the areas they are supposed to monitor. Installing the system correctly helps ensure that each component is functional, and the system can work at its best once activated.

3. Connect the Security System to Your Wi-Fi Network
Most modern home security systems are connected to the internet, allowing you to monitor and control them remotely through an app. To activate the system, ensure it is connected to your Wi-Fi network. This allows real-time communication between the sensors, cameras, and your control panel, while also enabling remote access through your smartphone or other devices. In the system’s setup menu, you will typically find an option to connect to a Wi-Fi network. Make sure that your Wi-Fi connection is secure and reliable to avoid disruptions in the system’s performance.
4. Create and Configure User Accounts
Once your security system is installed and connected to your network, the next step is to create user accounts for everyone who needs access. Most systems allow you to set up multiple accounts, with each user having a unique code to arm or disarm the system. If your system has a mobile app, configure the accounts through the app and assign appropriate permissions. For example, you can set different access levels for family members or house staff, restricting certain features to specific users.
Configuring user accounts not only makes the system more accessible but also adds an extra layer of security by tracking who is arming and disarming it.
5. Set the Arm and Disarm Codes
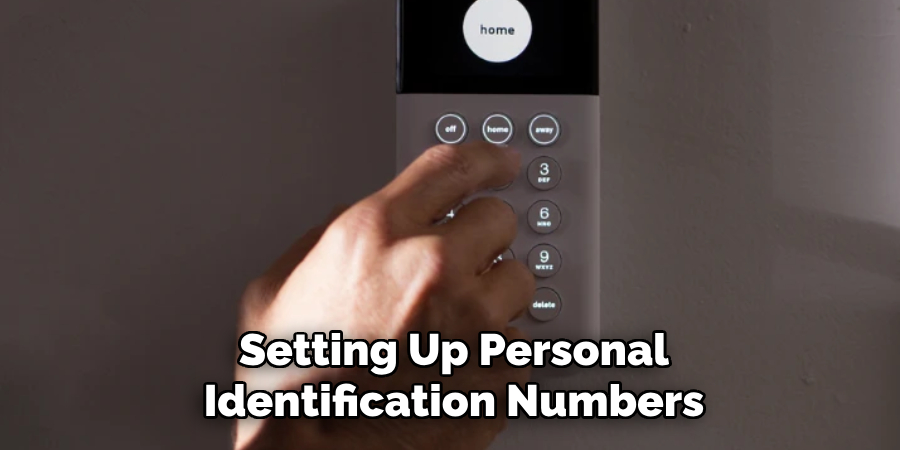
Activating a home security system involves setting up personal identification numbers (PINs) or passwords to arm and disarm the system. This is a critical step, as the PIN code ensures only authorized individuals can deactivate the system. Choose a code that is easy for you and your household members to remember but hard for outsiders to guess. Avoid using obvious combinations like “1234” or birthdates.

Some systems also allow for temporary codes, which you can give to trusted visitors, such as house sitters or contractors, and then deactivate after use. Ensuring secure and distinct codes keeps your system better protected from tampering.
6. Activate Different Modes: Home, Away, and Disarm
Home security systems typically come with three main modes: Home, Away, and Disarm. Each mode offers different levels of security and is tailored to suit your needs at any given time. The Home mode is designed for when you are inside the house, typically arming perimeter sensors while leaving indoor motion detectors inactive.
Away mode activates all sensors, including those inside the house, to secure the entire property while you’re out. Disarm mode deactivates all alarms and sensors. Activating the appropriate mode based on your presence or absence ensures the system is optimized for protection and minimizes false alarms.
7. Test the System
Before relying on the system to protect your home, it’s essential to perform a thorough test to ensure all sensors, alarms, and cameras are working as intended. Start by activating the system and testing each door and window sensor to see if the system alerts you when they are opened. Walk in front of motion detectors to trigger alarms and check if they respond accurately. If your system includes security cameras, verify that they are capturing footage and sending notifications in real-time.
Most security systems have a “test mode” that allows you to conduct these checks without triggering the actual alarm.
8. Set Up Notifications and Alerts
Most modern security systems allow you to set up real-time notifications that are sent to your smartphone, email, or control panel when a sensor is triggered. Activating these alerts ensures that you are immediately informed of any suspicious activity, even when you’re away from home. To do this, navigate through your system’s app or control panel and customize the types of notifications you want to receive. You can set alerts for events like motion detection, door or window openings, or tampering with sensors.

9. Activate Professional Monitoring (Optional)
While many home security systems offer self-monitoring, professional monitoring services can provide an added layer of security. In professional monitoring, an external security company is notified when your system detects a breach. They can assess the situation and, if needed, dispatch emergency services to your home. To activate professional monitoring, you’ll usually need to subscribe to a monthly plan and connect the system to the monitoring service.
Some systems allow you to switch between self-monitoring and professional monitoring as needed. If you choose professional monitoring, be sure to confirm that all aspects of the system are working properly with the monitoring center.
10. Integrate with Smart Home Devices
Many home security systems are compatible with smart home devices like smart lights, locks, thermostats, and voice assistants (like Amazon Alexa or Google Home). Integrating these devices with your security system allows you to automate certain functions for added convenience and security. For example, you can set your smart lights to turn on when the alarm is triggered, making it appear as though someone is home. You can also control your security system with voice commands or lock the doors automatically when the system is armed. To activate these integrations, use the app or hub provided by your security system to connect with your existing smart home devices.
Conclusion
Activating a home security system involves more than simply turning it on—it requires careful configuration to ensure optimal performance and maximum protection. By following these ten methods, including familiarizing yourself with the system, installing it correctly, setting up accounts, and testing it thoroughly, you can ensure that your security system is activated and functioning effectively. Thanks for reading our blog post on how to activate home security system! We hope you found it helpful and informative.
About
Safety Fic is a distinguished figure in the world of Diy design, with a decade of expertise creating innovative and sustainable Diy solutions. His professional focus lies in merging traditional craftsmanship with modern manufacturing techniques, fostering designs that are both practical and environmentally conscious. As the author of diy, Safety Fic delves into the art and science of Safety Fic-making, inspiring artisans and industry professionals alike.
Education RMIT University
(Melbourne, Australia) Associate Degree in Design (Safety Fic) Focus on sustainable design, industry-driven projects, and practical craftsmanship. Gained hands-on experience with traditional and digital manufacturing tools, such as CAD and CNC software.
Nottingham Trent University
(United Kingdom) Bachelor’s in diyfastly.com and Product Design (Honors) Specialized in product design with a focus on blending creativity with production techniques. Participated in industry projects, working with companies like John Lewis and Vitsoe to gain real-world insights.
Publications and Impact
In diy, Safety Fic his insights on indoor design processes, materials, and strategies for efficient production. His writing bridges the gap between artisan knowledge and modern industry needs, making it a must-read for both budding designers and seasoned professionals.
