Are you looking for a way to connect your Skybell Doorbell to your home network? Look no further! In this guide, we will walk you through the steps on how to connect to Skybell Doorbell so that you can start monitoring your front door.

Connecting to a Skybell Doorbell is a straightforward process that enhances your home’s security and convenience. Following a series of simple steps, you can integrate this smart doorbell into your Wi-Fi network, allowing you to monitor and communicate with visitors from your smartphone. Whether at home or on the go, the Skybell Doorbell provides real-time video and audio feeds, ensuring you never miss a visitor.
This guide will walk you through the essential steps to successfully install and connect your Skybell Doorbell to your home network, ensuring a seamless and efficient setup experience.
What Will You Need?
Before starting the setup process, make sure you have the following items on hand:
- A Skybell Doorbell
- A smartphone or tablet with a reliable internet connection
- The Skybell app (available for both iOS and Android)
- A Wi-Fi network with 2.4GHz frequency support
- A screwdriver (if needed to mount the doorbell)
Once these items are ready, let’s begin the setup process.
10 Easy Steps on How to Connect to Skybell Doorbell
Step 1. Download and Install the Skybell App:
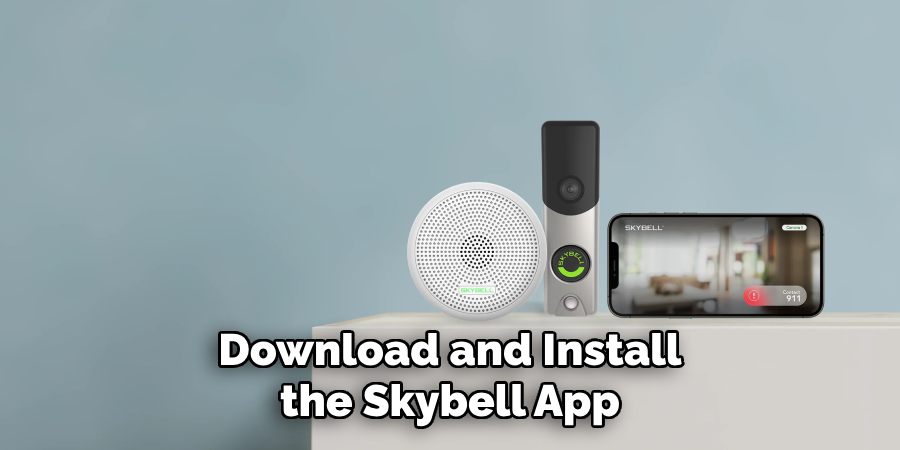
To begin the setup process, the first crucial step is downloading and installing the Skybell app on your smartphone or tablet. This app serves as the central hub for your Skybell Doorbell, allowing you to monitor and manage its functions seamlessly. To download the app, visit either the Apple App Store using an iOS device or the Google Play Store for Android devices.
Search for “Skybell,” locate the official app associated with the Skybell Doorbell brand, and initiate the download. Once the app is installed, open it and create a new account if you haven’t already. This account will be essential for syncing your device with your smartphone, granting you access to all the features Skybell has to offer.

Step 2. Connect Your Skybell to Power:
Position your Skybell Doorbell in the desired location near your front door. Connect your Skybell Doorbell to a power source using the existing doorbell wires. If no doorbell wires are already in place, you may need to seek professional installation. Once securely connected to power, ensure the LED on the Skybell Doorbell flashes red, indicating it’s ready to be connected to your network. If the LED does not light up, verify your power connection and consult the Skybell Doorbell installation guide for further troubleshooting. An adequately powered device is crucial for the following setup stages, enabling you to connect to the Wi-Fi network and start interacting with your Skybell Doorbell.
Step 3. Connect to Your Wi-Fi Network:
Now that your Skybell Doorbell is powered on and ready, the next step involves connecting it to your home Wi-Fi network. Open the Skybell app on your smartphone or tablet, and log in using your credentials. Follow the on-screen instructions to add a new device to your account. When prompted, select your home Wi-Fi network from the app’s list. Input your Wi-Fi password carefully to avoid any errors during this step.
Ensure your smartphone is connected to the same 2.4GHz Wi-Fi network to facilitate a seamless setup process. Once you have entered the correct Wi-Fi details, the doorbell’s LED should change color to indicate a successful connection. If you encounter any issues connecting to the network, refer to the troubleshooting section in the Skybell app or user manual for additional guidance.

Step 4. Configure Device Settings:
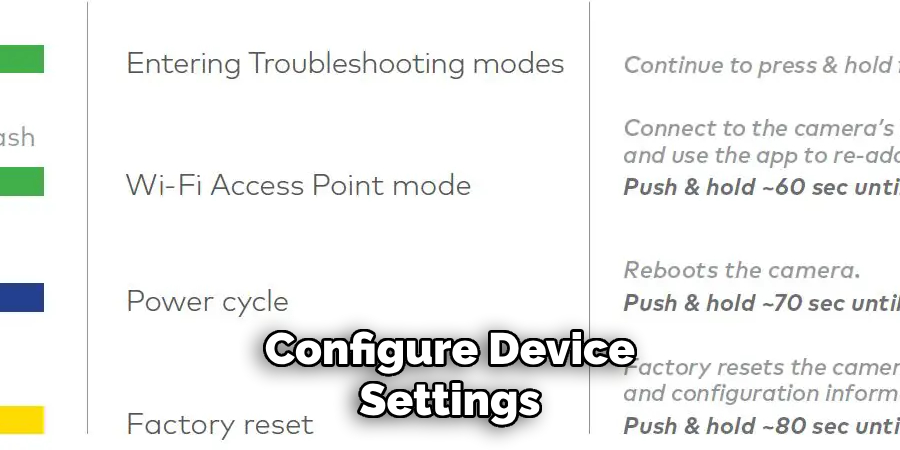
After successfully connecting your Skybell Doorbell to your Wi-Fi network, it’s time to configure the device settings to suit your preferences. Within the Skybell app, navigate to the settings menu to customize various features. Adjust settings such as motion detection sensitivity, video quality, and notification preferences according to your requirements.
You can also set up privacy zones to avoid receiving unwanted alerts from specific areas within the camera’s view. Furthermore, you can integrate the doorbell with other smart home devices, enhancing your overall home security ecosystem. Make sure to save any changes before exiting the settings menu to ensure your customized options are applied.
Step 5. Test Your Skybell Doorbell:
Once you have configured the settings to your liking, it’s essential to test your Skybell Doorbell to ensure everything is working correctly. Start by pressing the button on the doorbell to see if it triggers a notification on your smartphone. Ensure the video and audio feeds are explicit, and verify that the motion detection alerts function by moving in front of the camera. If you have integrated your Skybell with other smart devices, test those connections as well to confirm they are operating seamlessly. Should you encounter any issues during testing, revisit the configuration settings or consult the troubleshooting section within the Skybell app for further assistance.
Step 6. Mount Your Skybell Doorbell:
Once testing is complete and you are satisfied with the performance of your Skybell Doorbell, you can proceed with mounting the device at its permanent location. Begin by selecting a secure and strategic position at your front door where the camera can capture the most comprehensive view. Use the backplate provided in the Skybell package to mark the screw holes on your door frame or wall. Using a screwdriver, drill the screws into place to secure the backplate. Attach the Skybell Doorbell unit to the mounted backplate, ensuring it clicks firmly into place. Check that the device is positioned correctly and that the view is unobstructed.

Step 7. Maintain Your Skybell Doorbell:
Regularly maintaining your Skybell Doorbell ensures it continues to operate efficiently and effectively and enhances your home security. Start by periodically cleaning the camera lens and surrounding areas using a soft, dry cloth to maintain clear video footage. Check the device for any signs of physical damage or wear, particularly after severe weather conditions. Additionally, regularly update the Skybell app and firmware to benefit from the latest features, improvements, and security patches. If you notice any consistent performance issues or anomalies, consult the user manual’s troubleshooting guide or contact Skybell’s customer support for professional assistance.
Step 8. Troubleshoot Common Issues:
You might encounter issues with your Skybell Doorbell even after a successful setup. Common problems include connectivity issues, delayed notifications, or unclear video quality. Begin by checking your Wi-Fi connection, ensuring it provides a stable and strong signal to your device. If connectivity issues persist, try restarting your router and the Skybell Doorbell. For problems with video or audio quality, verify that the camera lens is clean and unobstructed.
Adjust the video quality settings in the Skybell app to see if a lower resolution improves performance. If you are experiencing delayed notifications, ensure the Skybell app is up to date and that your smartphone’s notification permissions are correctly configured. For further assistance, consult the Skybell Doorbell user manual or contact customer support. Troubleshooting is an essential part of maintaining a smoothly operating home security system.
Step 9. Utilize Advanced Features:
Once your Skybell Doorbell is set up and functioning well, take advantage of its advanced features to maximize your home security system. One such feature is the activity history, which allows you to review past activities captured by the doorbell, providing a reliable log of events at your doorstep. Utilize the two-way audio functionality to communicate with visitors or deter unsolicited guests effectively.
For homes with multiple users, configure shared access settings within the app to allow family members or trusted individuals to access the Skybell Doorbell features. Additionally, explore any integrations with other smart home systems or voice assistants to create a more cohesive smart home environment. Embracing these advanced features ensures you leverage your Skybell Doorbell’s full potential for a secure and intelligent home.
Step 10. Secure Your Skybell Doorbell with Password Protection:
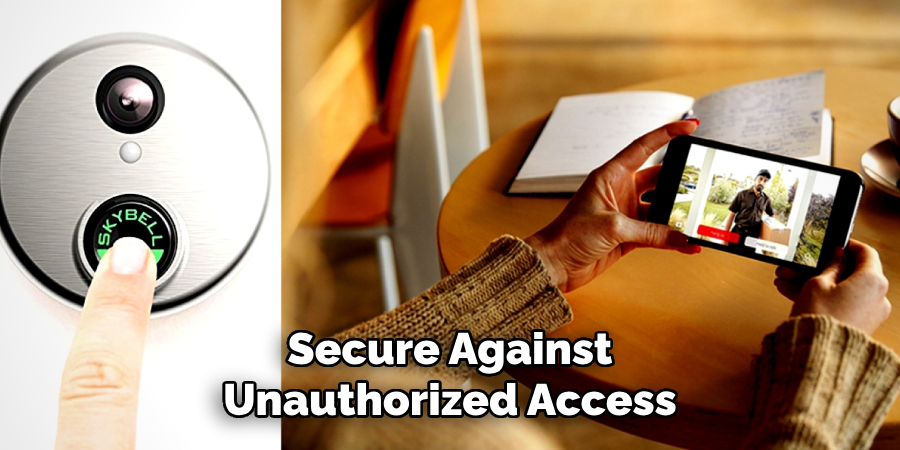
To ensure your Skybell Doorbell remains secure against unauthorized access, it is critical to implement robust password protection. Begin by setting a strong, unique password for your Skybell account, using a combination of upper and lowercase letters, numbers, and symbols. Avoid using easily guessable information such as birthdays or common words. Consider changing your password regularly to enhance security further. Additionally, enable two-factor authentication if available, which provides an extra layer of protection by requiring a verification code to be sent to your smartphone or email when logging in. Regularly review and manage account access to ensure only trusted individuals can utilize the Skybell Doorbell features.

By following these steps, you can ensure that your Skybell Doorbell is set up correctly and efficiently to enhance your home security.
Conclusion
In conclusion, connecting your Skybell Doorbell requires careful attention to detail across several vital steps.
Begin by ensuring a reliable Wi-Fi connection and proper configuration settings, which are foundational to the device’s performance. Thoroughly test each function, from video and audio quality to motion detection, verifying their efficacy before proceeding to permanent installation. Regular maintenance, including software updates and lens cleaning, will help sustain the security system’s efficiency over time. Utilize advanced features to their fullest potential and reinforce your device’s security with strong passwords and user access controls.
By following these comprehensive steps on how to connect to Skybell Doorbell, you can effectively integrate your Skybell Doorbell into your smart home ecosystem, enhancing security and peace of mind through a seamless connection.

