Maintaining the functionality of your Blink Doorbell requires regular battery changes to ensure it operates smoothly. This guide on how to change batteries in blink doorbell will walk you through the simple steps necessary to replace the batteries efficiently and safely.

Whether you’re a seasoned DIY enthusiast or new to home maintenance, this straightforward process will help keep your Blink Doorbell powered and ready to use. Let’s explore how to change the batteries without hassle.
Why Do I Need to Change the Batteries?
The Blink Doorbell uses two AA lithium batteries to operate, and they typically last for up to 2 years. However, factors such as weather conditions, frequency of use, and motion detection sensitivity can affect battery life. It’s essential to regularly check the battery levels and replace them when necessary to ensure your doorbell functions correctly.
It’s also worth noting that leaving old or depleted batteries in the doorbell for an extended period can lead to corrosion and damage to the device. So, it’s always best to replace them as soon as you notice a decline in performance.
What You’ll Need
Before we dive into the steps, here are some things you’ll need:
- Two Aa Lithium Batteries (Ensure They Are Fully Charged)
- A Screwdriver (Most Likely a Phillips Head)
- A Soft Cloth or Tissue
8 Step-by-step Guides on How to Change Batteries in Blink Doorbells
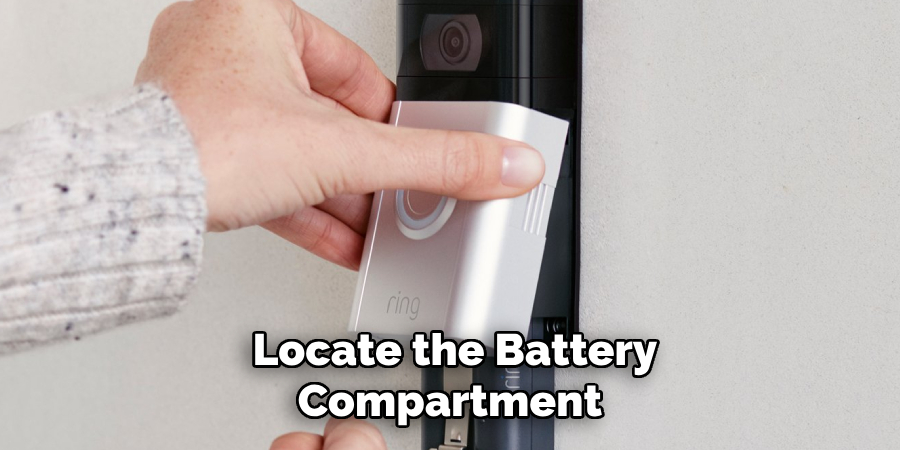
Step 1: Locate the Battery Compartment
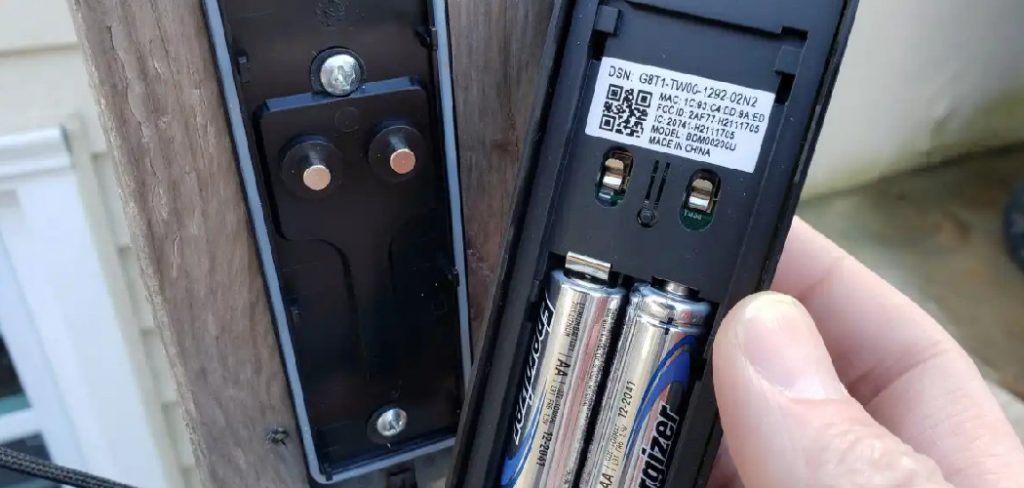
To start, you need to locate the battery compartment of your Blink Doorbell. The battery compartment is found on the back of the device. To access it, you will first need to remove the doorbell from its mounted position. Gently slide the doorbell upwards to detach it from the mounting bracket.
Once removed, you will see a small, rectangular panel on the backside—this is the battery compartment cover that needs to be opened to change the batteries.

Step 2: Remove the Cover
With the doorbell removed from its mounting bracket, it’s time to open the battery compartment. Use a Phillips head screwdriver to remove the screw securing the battery compartment cover. Once the screw is removed, gently lift the cover off using your fingers.
Be sure to keep the screw in a safe place as you will need it later to secure the cover back on. If the cover is difficult to remove, you may use a soft cloth or tissue to get a better grip, but be careful not to force it to prevent any damage.
Step 3: Remove the Old Batteries
Now that the battery compartment is open, carefully remove the old batteries and dispose of them appropriately. It’s essential to handle old batteries with care as they may still hold a charge and can be dangerous if mishandled.
It’s also a good idea to clean the compartment with a soft cloth or tissue before inserting the new batteries. Ensure there is no dirt, dust, or debris that may interfere with the battery connection.
Step 4: Insert the New Batteries
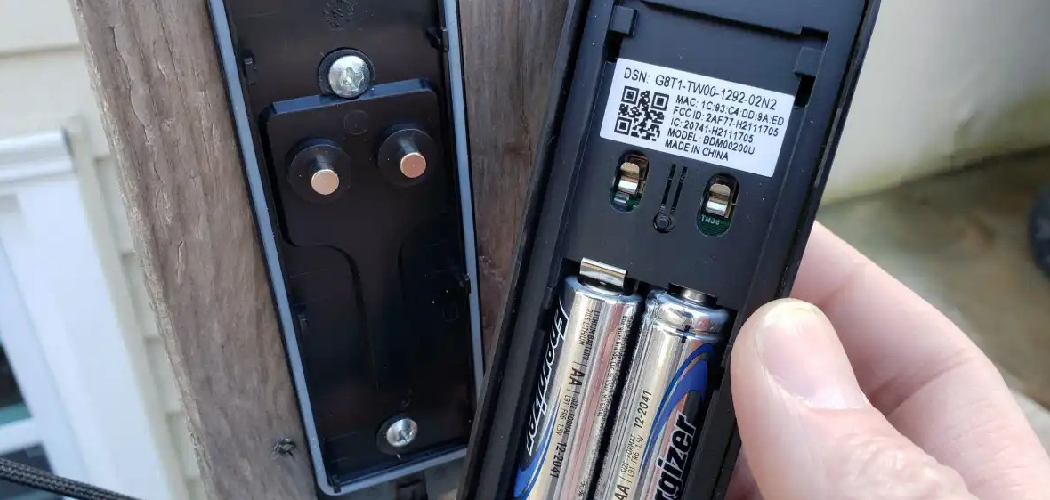
Take two new AA lithium batteries and insert them into the battery compartment as indicated by the markings inside. The positive (+) end should be facing upwards, while the negative (-) end should be facing downwards.
There may also be markings on the doorbell itself to guide you with the battery orientation. Slide the batteries in gently, making sure they are secure and properly aligned.

Step 5: Replace the Battery Compartment Cover
With the new batteries securely in place, it’s time to replace the battery compartment cover. Take the cover and align it correctly with the opening on the back of the doorbell. Gently press the cover down until it fits snugly into place.
Once the cover is properly seated, take the screw you set aside earlier and use the Phillips head screwdriver to secure it back into position. Be sure not to overtighten the screw, as this could strip the threads or damage the cover. A firm but gentle tightening will suffice to keep the cover secure.
Step 6: Reattach the Doorbell
With the new batteries in place and the cover secured, it’s time to reattach the doorbell to its mounting bracket. Align the doorbell with the bracket and gently slide it downwards until it clicks into place.
Ensure that the doorbell is firmly attached, as any loose connections may cause issues with functionality or performance.

Step 7: Test the Doorbell
After replacing the batteries and reattaching the doorbell, it’s crucial to test if everything is working correctly. Press the button on your doorbell, and you should hear a chime or see a notification on your connected device (such as a smartphone or tablet).
If the doorbell doesn’t respond, try pressing the button a few more times to ensure it’s not just a weak connection. If it still doesn’t work, double-check that the batteries are properly inserted and that the cover is securely in place.
Step 8: Dispose of Old Batteries
Once you’re satisfied that your Blink Doorbell is working correctly with the new batteries, be sure to dispose of the old ones safely. Many recycling centers accept used batteries and will recycle them appropriately. You can also check with your local government for specific guidelines on battery disposal in your area.
Following these simple steps on how to change batteries in blink doorbell will help you change the batteries in your Blink Doorbell quickly and efficiently. With proper maintenance, your doorbell will continue to function at its best, keeping your home safe and secure.
Additional Tips for Maintaining Your Blink Doorbell
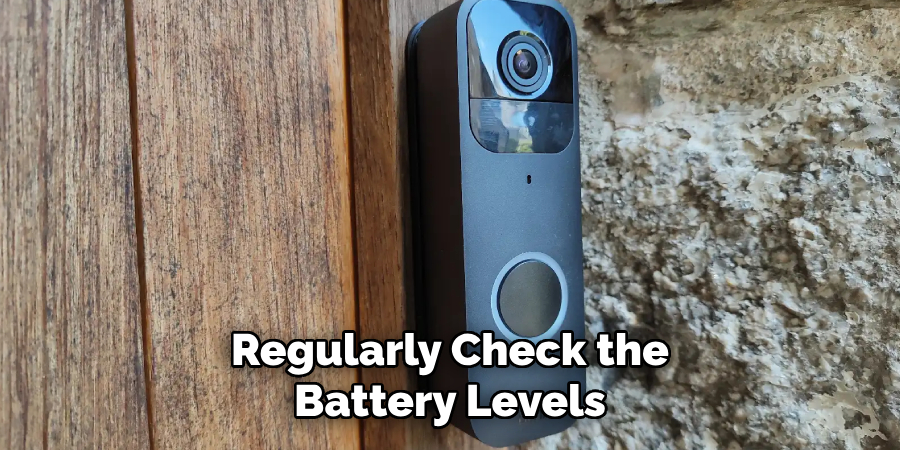
- Regularly check the battery levels on your doorbell to ensure it’s always powered.
- Keep the battery compartment clean and free from dust, dirt, or debris.
- Adjust the motion detection sensitivity to conserve battery life. The higher the sensitivity, the more frequently your doorbell will activate and use up battery power.
- Consider purchasing rechargeable batteries for a more eco-friendly and cost-effective option in the long run. Just make sure they are compatible with your Blink Doorbell model.
- If you plan on being away from home for an extended period, consider removing the batteries from your doorbell to prevent any potential damage caused by corrosion or leakage. So, always be prepared with spare batteries when traveling.

With these tips and steps on how to change batteries in blink doorbell in mind, changing batteries in a Blink Doorbell should be a breeze, ensuring your home security system remains in optimal condition. So, regularly check and maintain your doorbell to keep it functioning at its best and provide you with peace of mind. Happy blinking!
Frequently Asked Questions
Q: How Often Do I Need to Change the Batteries in My Blink Doorbell?
A: The frequency of battery changes depends on usage, but it’s recommended to check and replace them every 6-12 months. The Blink mobile app also provides a battery life indicator for your convenience.
Q: Can I Use Different Types of Batteries in My Blink Doorbell?
A: It’s best to use the recommended AA lithium batteries as they provide optimal power and performance. However, if necessary, you may use other types of AA batteries, such as alkaline or rechargeable. Just make sure they are the same size and voltage as the recommended ones.
Q: Why is My Blink Doorbell Not Working After I Changed the Batteries?
A: There may be several reasons for this issue, such as incorrect battery insertion or a loose connection. Double-check the battery orientation and make sure the cover is securely in place. If the problem persists, try resetting your doorbell or contacting Blink customer support for further assistance. So, always keep spare batteries handy to avoid any inconvenience.
Q: Can I Use Non-Lithium Batteries in My Blink Doorbell?
A: While non-lithium batteries may work in your Blink Doorbell, they are not recommended as they may provide lower performance and may need to be replaced more often. It’s best to stick with the recommended AA lithium batteries for optimal performance and longevity. It’s also essential to note that using different types of batteries may void your Blink Doorbell’s warranty. So, always stick to the recommended batteries for the best results.
Conclusion
Changing the batteries in your Blink Doorbell is a straightforward process that can be accomplished with just a few simple tools and steps. By following the detailed instructions on how to change batteries in blink doorbell provided, you can ensure that your doorbell remains functional and reliable. Consistent maintenance, including regular battery checks and keeping the battery compartment clean, will help extend the life of your device and prevent any unexpected issues.
Remember to dispose of old batteries properly and consider eco-friendly options like rechargeable batteries for long-term cost savings. With these practices in place, your Blink Doorbell will continue to serve as an essential component of your home’s security system, offering peace of mind and convenience.

