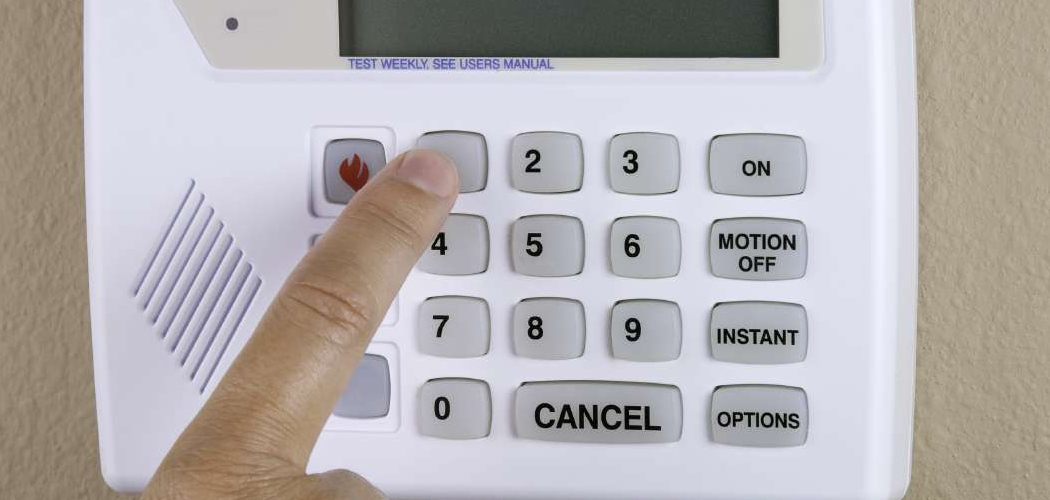
Maintaining a fully functional home security system is crucial for ensuring the safety and peace of mind of your household. One of the essential maintenance tasks is changing the battery when needed to keep the system running smoothly.
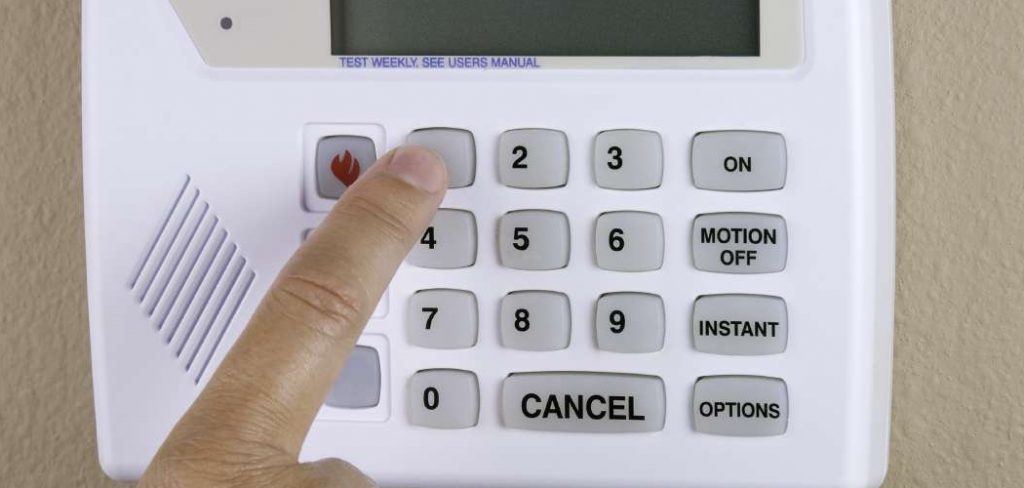
If you’re using a Brinks Home Security System, knowing how to replace the battery can prolong the life of your device and avoid any interruptions in your home security. This article will guide you through the simple step-by-step process of how to change battery in brinks home security system, helping you maintain optimal performance and security.
Why Changing the Battery Is Important
Changing the battery in your Brinks Home Security System is vital for several reasons. A fresh battery ensures that your security system operates without interruption, providing continuous protection for your home. A depleted battery can lead to false alarms, malfunctioning of sensors, or even complete system failure, potentially leaving your home vulnerable to intrusions.
Additionally, timely battery replacement can prevent more extensive maintenance problems and costly repairs in the future. An operating security system also helps in maintaining the validity of any home insurance policies related to security protection. Therefore, routinely checking and replacing the battery is a simple yet critical step in home safety management.
Identifying When to Change the Battery
Recognizing the right time to change the battery in your Brinks Home Security System is crucial for its uninterrupted functionality. Common indicators include frequent low battery alerts or warnings from the system, which are often accompanied by beeping sounds. Additionally, if you notice a decline in the sensitivity of motion detectors or other sensors not responding as promptly as they normally do, it might be time to inspect the battery. It’s also a good practice to replace the battery at regular intervals as recommended by the manufacturer, typically every 1 to 2 years. Proactively replacing the battery based on these signs can help maintain your system’s reliability and efficiency, ensuring that your home remains secure at all times.
10 Methods How to Change Battery in Brinks Home Security System
1. Identify the Components with Replaceable Batteries
The first step in changing the battery is to identify which components of your Brinks Home Security system require a battery replacement. The system consists of various devices, such as the control panel, motion detectors, door/window sensors, and smoke detectors, all of which may require different types of batteries. The control panel often uses a rechargeable backup battery, while other devices, such as sensors, typically use standard AA or lithium batteries.
To find out which device’s battery is low, check the notifications in the Brinks security app or monitor the system’s control panel, which will often display a low battery alert for specific devices.
2. Gather the Necessary Tools and Batteries
Before beginning the battery replacement process, gather the tools and replacement batteries you’ll need. You will typically need a small Phillips-head screwdriver to access battery compartments, and it’s essential to have the correct battery type for each device. Refer to the user manual for each device or check the battery compartment for information on the required battery type (e.g., AA, AAA, CR123A lithium).
Having all the tools and batteries ready in advance ensures a smoother and quicker battery replacement process, especially if you’re replacing multiple device batteries at once.
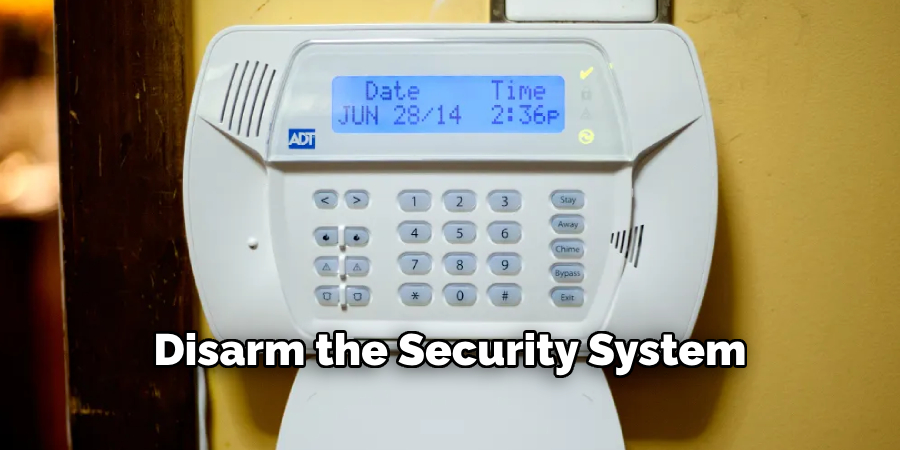
3. Disarm the Security System
Before changing any battery, it’s important to disarm your Brinks security system. This prevents the system from triggering any false alarms while you’re handling the sensors or other components. Open the Brinks Home Security app or use the control panel to disarm the system. If you have professional monitoring enabled, you may also want to notify the monitoring service that you’ll be replacing the batteries, as this might temporarily interrupt the system’s normal operation.
Disarming the system not only prevents unnecessary alerts but also ensures your safety while you work on the devices.
4. Access the Battery Compartment
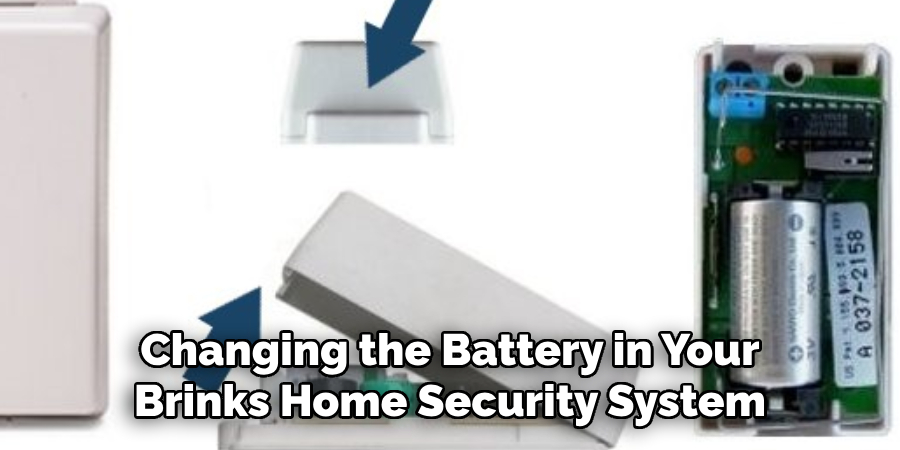
Once you’ve disarmed the system, access the battery compartment of the device needing a battery replacement. For sensors, such as door/window sensors, this usually involves gently prying off the front cover of the device. For motion detectors and the control panel, you may need to unscrew the back cover to expose the battery.
Use a small screwdriver or the tool provided with the system to carefully open the compartments without damaging the casing. Some devices, especially the control panel, may have security screws to prevent tampering, so ensure you have the appropriate tool for this task.
5. Remove the Old Battery
After opening the battery compartment, carefully remove the old battery. Depending on the type of device, the battery may be held in place by a small clip or connector. For sensors that use standard AA or AAA batteries, you can simply pull them out. For devices like the control panel that use a backup battery, you may need to disconnect a small wire or plug.
Dispose of the old batteries in accordance with local regulations, as some batteries contain chemicals that are harmful to the environment. Proper disposal ensures that you’re not contributing to environmental waste.
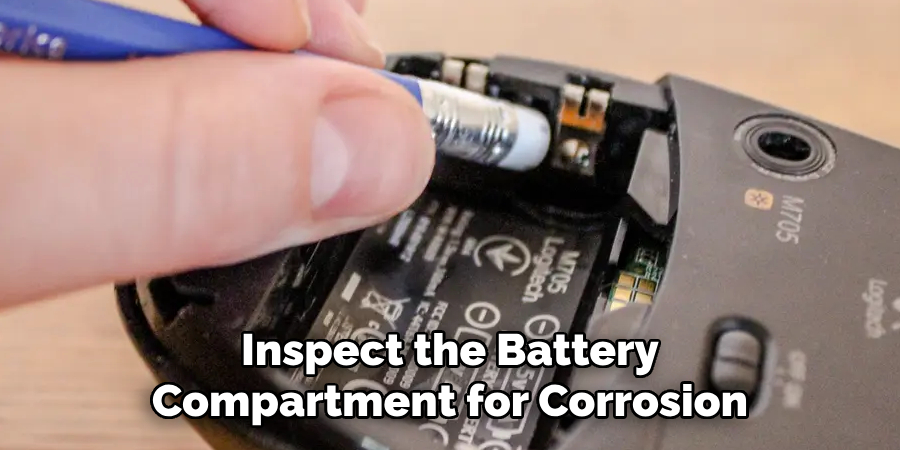
6. Inspect the Battery Compartment for Corrosion
Before inserting the new battery, inspect the battery compartment for any signs of corrosion or damage. Over time, batteries can leak, causing a buildup of corrosion around the terminals. If you notice any corrosion, use a soft cloth or a cotton swab dipped in vinegar or a battery terminal cleaner to gently clean the affected areas.
Ensuring that the terminals are clean will help maintain good contact between the battery and the device, preventing future issues like intermittent power or device failure.
7. Insert the New Battery
Now it’s time to insert the new battery. Make sure the battery is installed with the correct polarity, as indicated inside the battery compartment (usually marked with a + and – sign). Incorrect installation can prevent the device from functioning and could potentially damage the component.
For devices like sensors that use AA or AAA batteries, simply place them into the compartment with the positive and negative ends aligned correctly. For backup batteries in the control panel, reconnect the wire or clip if necessary. Ensure the battery is seated properly to avoid loose connections.
8. Close the Battery Compartment
After successfully installing the new battery, close the battery compartment securely. For sensors, snap the front cover back into place, ensuring it clicks firmly. For devices that required screws to open, such as the control panel, carefully screw the back cover on and tighten it enough to hold the battery compartment securely without over-tightening.
Securing the compartment is important for keeping the battery in place and protecting it from dust, moisture, or accidental tampering, which could compromise the device’s functionality.
9. Test the Device
Once you’ve replaced the battery and closed the compartment, it’s time to test the device to ensure it’s working correctly. Arm your Brinks Home Security system and check if the previously low-battery device now functions properly. For sensors, trigger them by opening a door or window to ensure they send an alert. For the control panel, verify that the system shows no battery warnings.
If any device doesn’t respond as expected, double-check that the battery is installed correctly and that the device’s cover is properly secured.
10. Update Battery Replacement Schedule
To avoid future battery issues, it’s helpful to create a schedule for regular battery replacements. While some devices may alert you when their battery is low, it’s a good practice to replace all batteries at least once a year to maintain optimal performance. Keeping a log of when you last replaced each device’s battery can help you stay ahead of any potential issues and ensure your security system always functions properly.
Additionally, consider using long-lasting lithium batteries for sensors and devices where appropriate, as they typically offer a longer lifespan compared to standard alkaline batteries, reducing the frequency of replacements.
Common Mistakes to Avoid
While replacing batteries in your Brinks Home Security system is a straightforward task, there are several common pitfalls you should be aware of to ensure a smooth process. First, avoid rushing through the disarm process; failing to properly disarm the system before starting can trigger false alarms. Another frequent mistake is neglecting to check for battery corrosion, which can lead to inadequate contact between the battery and the terminals, causing device malfunctions. It’s also crucial to respect battery polarity; inserting a battery incorrectly can damage the device and hinder its operation. Make sure to use the appropriate tools to open and close the battery compartments to prevent damage from improper handling.
Conclusion
Maintaining your Brinks Home Security system by regularly replacing its batteries is a straightforward yet essential practice to ensure your home’s safety and security. By following the steps outlined—from disarming the system to updating your battery replacement schedule—you can effectively manage your security devices’ power needs and avoid unnecessary service interruptions. Thanks for reading, and we hope this has given you some inspiration on how to change battery in brinks home security system!

