Insulating a broken window is essential for maintaining energy efficiency and comfort in your home. When a window becomes damaged, it can lead to drafts, increased heating or cooling costs, and reduced indoor air quality.

Fortunately, with the right materials and techniques, you can temporarily or permanently insulate a broken window to prevent heat loss and improve the overall ambiance of your living space. Whether you’re dealing with a cracked pane or a full break, understanding the steps on how to insulate broken window to properly insulate can help you save on energy bills and keep your home environment stable.
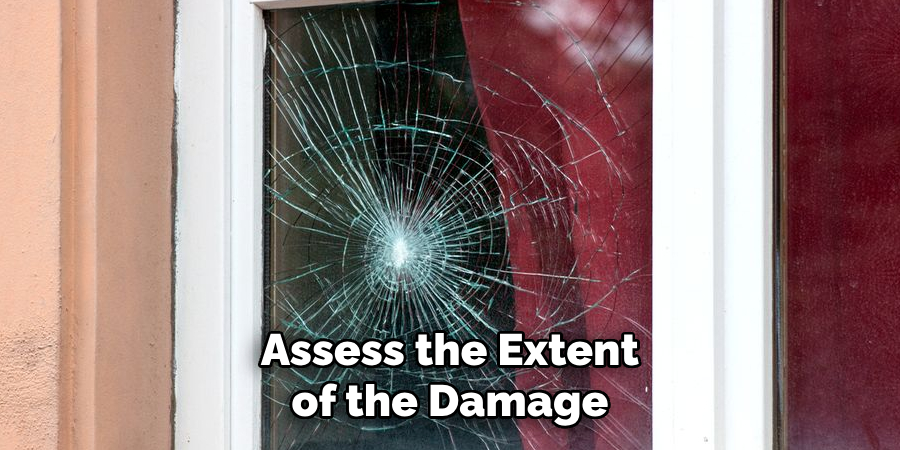
Assess the Damage
Before deciding on the best approach to insulate a broken window, it’s crucial to assess the extent of the damage. Begin by examining the window pane for any visible cracks or breaks. Check if the glass is completely shattered and slightly cracked or if there are gaps around the frame. It’s also important to inspect the window frame and seals for any damage that might compromise the window’s integrity.
Understanding the full scope of the damage allows you to choose the most effective insulation method, whether it involves a simple sealant application for minor cracks or a more comprehensive repair for larger breaks. This initial assessment is vital in deciding whether a temporary fix is sufficient or if a professional repair or replacement is necessary.
Materials Needed
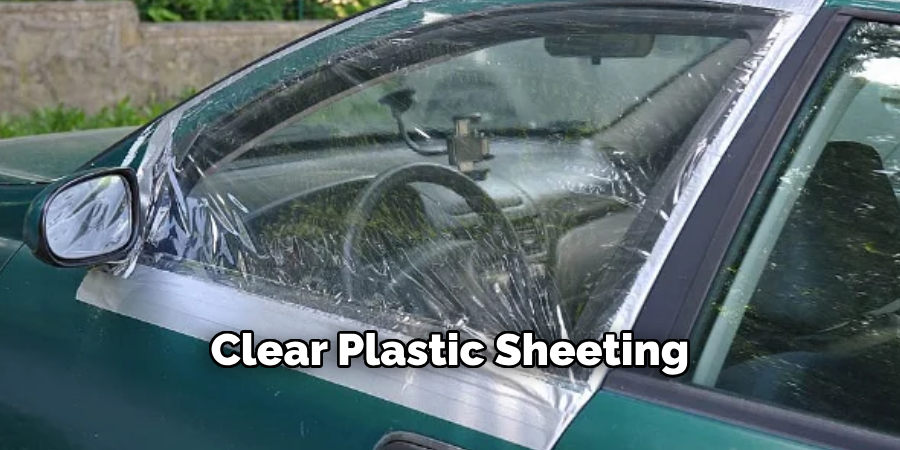
Clear Plastic Sheeting or Shrink Film:
Clear plastic sheeting or shrink film is an affordable and effective solution for insulating a broken window. It can be easily found at most hardware stores and comes in various sizes to fit different window types. The plastic sheeting creates an airtight seal over the window, preventing drafts and reducing heat loss.
Caulk or Sealant:
Caulk or sealant is a common material used for repairing small cracks in windows. This flexible substance adheres well to glass and wood surfaces, creating a tight seal that prevents air from entering or escaping through the crack. It’s also easy to apply and dries quickly, making it a convenient option for temporary fixes.
Insulating Foam:
Insulating foam is another effective solution for broken windows. It comes in spray or sealant form and expands to fill small cracks and gaps around the window frame, creating a tight seal that prevents air from escaping. This type of insulation is typically long-lasting and can also help with noise reduction.
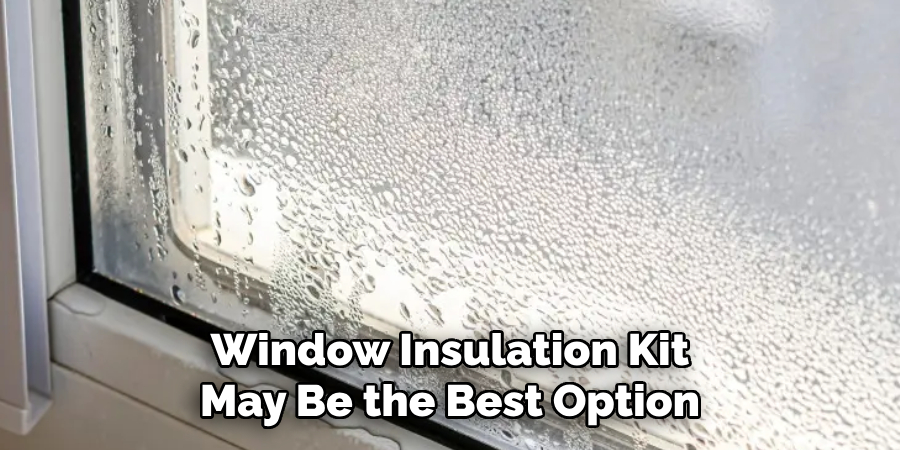
Window Insulation Kit:
If you prefer a comprehensive solution, a window insulation kit may be the best option for you. These kits come with all the necessary materials, including clear plastic sheets or shrink film, double-sided tape, and sometimes even caulk or insulating foam. They are designed to provide efficient and easy-to-install insulation for broken windows.
8 Step-by-step Guidelines on How to Insulate Broken Window
Step 1: Clean the Window Surface
Before applying any insulation materials, it’s imperative to clean the window surface thoroughly. Begin by removing any loose glass shards if the window is shattered, and ensure that you wear protective gloves to prevent injury. Use a soft brush or cloth to clear away dust, dirt, and debris from the window pane and frame. If there’s any sticky residue or grease, use a mild detergent diluted in water to wipe it away gently.
Dry the surface completely with a clean, lint-free cloth to ensure the adhesion of insulation materials like plastic sheeting, sealant, or tape. A clean surface is crucial for a successful insulation process, as it ensures that the materials adhere properly and provide an effective barrier against air leaks.
Step 2: Measure and Cut the Insulating Material
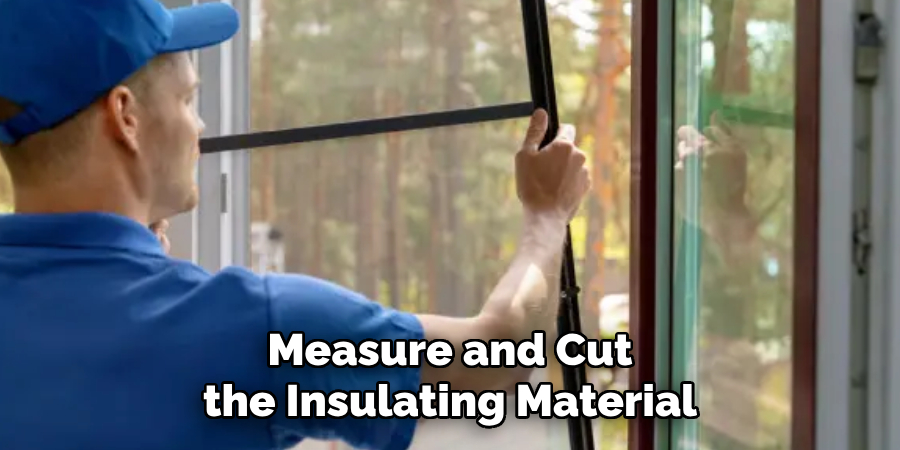
Once the window surface is clean, the next step is to measure and cut the insulating material to fit the damaged area precisely. Start by measuring the dimensions of the window pane and the frame where the insulating material will be applied. If you are using clear plastic sheeting or shrink film, make sure to measure a few extra inches on each side to allow for adequate coverage and proper sealing.
After obtaining the measurements, carefully cut the plastic sheeting or shrink film using scissors or a utility knife, ensuring that the cuts are as straight as possible for a neat application. If you are using other materials, like insulating foam or sealant, ensure you have calculated the amount needed to cover all cracks and gaps effectively. Proper measurement and cutting are key in creating an airtight seal that will prevent drafts and maintain the energy efficiency of your home.
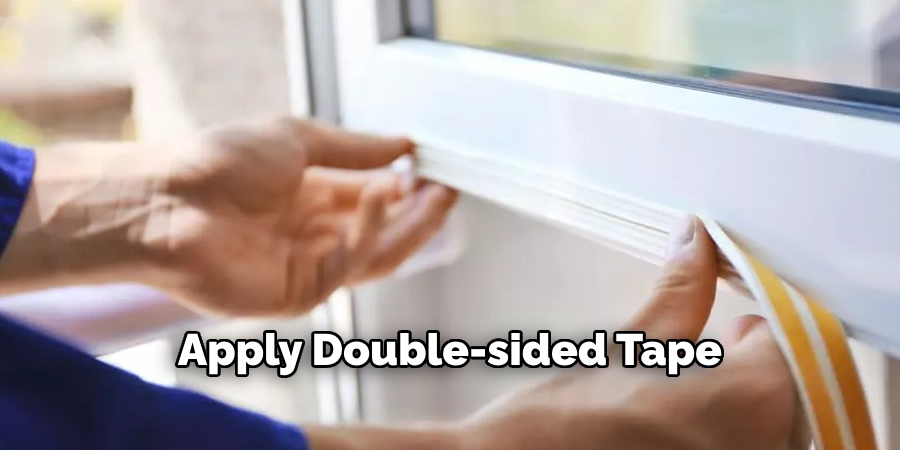
Step 3: Apply Double-sided Tape
To create a secure seal, it’s crucial to apply double-sided tape around the window frame. This will hold the insulating material in place and prevent air from leaking through gaps between the window and the frame. Begin by cutting strips of double-sided tape to fit along each edge of the window frame. Carefully remove one side of the adhesive backing and press it firmly onto the frame.
Make sure to leave a small space between each strip of tape for easy application of the insulating material. Once all sides are covered with tape, remove the second backing layer, leaving only the sticky side exposed.
Step 4: Apply Caulk or Sealant
With the double-sided tape securely in place, the next step is to use caulk or sealant on any visible cracks or gaps around the window pane and frame. Begin by choosing a caulk or sealant that is suitable for the materials present in your window, such as silicone for glass or acrylic for wood. Load the caulk into a caulking gun and cut the nozzle at a 45-degree angle to control the flow.
Apply a steady, continuous bead of caulk along the edges of the window frame where gaps are present, starting from the top and working your way around the perimeter. Be sure to fill in any noticeable cracks in the window glass if they are not too large. Use a caulk smoothing tool or a damp finger to smooth the caulk line, ensuring a clean finish and optimal sealing. Allow the caulk to dry completely according to the manufacturer’s instructions before proceeding to the next steps in the insulation process. Proper application of caulk or sealant will create a durable barrier against drafts, enhancing the effectiveness of the insulating materials.
Step 5: Install the Insulating Material
With the double-sided tape and caulk in place, it’s time to install the insulating material. Begin by carefully placing the cut plastic sheeting or shrink film over the window pressing it firmly onto the sticky surface of the tape. If using a window insulation kit, follow the instructions provided for proper application.
Ensure that there are no wrinkles or creases in the material to maintain an effective seal against air leaks. Use a hairdryer on low heat setting or a heat gun to gently apply heat evenly across the material, causing it to shrink and create a tight barrier over the window opening.
Step 6: Smooth Out Any Bubbles
During the installation process, air bubbles may form between the insulating material and the window surface. These can reduce the effectiveness of the insulation and cause an uneven finish. Use a credit card or similar flat object to smooth out any bubbles gently. Be careful not to puncture or tear the material while doing this.
The smooth surface will enhance the appearance of the window and optimize the insulation’s effectiveness.
Step 7: Clean up Any Excess Material
Once you have completed the installation, it’s essential to clean up any excess insulating material. Use a sharp utility knife or scissors to carefully trim away any overhang on the edges of the window frame. This step will ensure that your finished window looks neat and tidy while also preventing potential damage to the material from exposure.
You can also use a damp cloth to wipe away any caulk or sealant that may have squeezed out during the installation process. Make sure to dispose of all waste materials properly according to your local regulations.
Step 8: Repeat for Other Damaged Windows
If you have more than one broken window that requires insulation, simply repeat the steps above for each damaged area. Make sure to clean the surface, measure and cut the insulating material precisely, and apply double-sided tape and caulk around each window before installing the material.
Taking these steps on how to insulate broken windows will ensure that all your windows are adequately insulated and protected against drafts and air leaks, creating an energy-efficient home.
Frequently Asked Questions
Q: Is It Necessary to Insulate a Broken Window?
A: Yes, insulating a broken window is necessary to prevent drafts and air leaks which can lead to energy loss and discomfort in your home. It also helps maintain the energy efficiency of your home by creating an airtight seal.
Q: Can I Use Any Type of Insulation for My Broken Window?
A: It’s essential to choose the right type of insulation for your specific window material. For example, clear plastic sheeting or shrink film works well on glass windows, while insulating foam or sealant is suitable for wooden frames. Always read the labels and instructions carefully before choosing an insulation product.
Q: How Long Will the Insulation Last?
A: The lifespan of your window insulation will depend on the type of material and how well it’s installed. With proper application and maintenance, most insulating materials can last for several years. It’s recommended to inspect and replace any damaged or worn insulation to maintain its effectiveness.
Q: Is Window Insulation Only Suitable for Winter?
A: No, window insulation is beneficial all year round. In colder months, it helps keep warm air inside, reducing heating costs. In warmer months, it can prevent cool air from escaping, keeping your home cooler and potentially decreasing cooling costs.
Conclusion
Insulating broken windows is a cost-effective and efficient way to improve your home’s comfort and energy efficiency. By following the outlined steps on how to insulate broken window, you can create an effective barrier against drafts and air leaks that could otherwise impact your energy bills and indoor climate.
Whether you’re addressing a temporary or long-term repair, the methods discussed equip you with the knowledge to ensure your home remains well-insulated. Remember to periodically check the condition of your insulation to ensure it remains effective, allowing you to enjoy a more energy-efficient and comfortable living environment year-round.
About
Safety Fic is a distinguished figure in the world of Diy design, with a decade of expertise creating innovative and sustainable Diy solutions. His professional focus lies in merging traditional craftsmanship with modern manufacturing techniques, fostering designs that are both practical and environmentally conscious. As the author of diy, Safety Fic delves into the art and science of Safety Fic-making, inspiring artisans and industry professionals alike.
Education RMIT University
(Melbourne, Australia) Associate Degree in Design (Safety Fic) Focus on sustainable design, industry-driven projects, and practical craftsmanship. Gained hands-on experience with traditional and digital manufacturing tools, such as CAD and CNC software.
Nottingham Trent University
(United Kingdom) Bachelor’s in diyfastly.com and Product Design (Honors) Specialized in product design with a focus on blending creativity with production techniques. Participated in industry projects, working with companies like John Lewis and Vitsoe to gain real-world insights.
Publications and Impact
In diy, Safety Fic his insights on indoor design processes, materials, and strategies for efficient production. His writing bridges the gap between artisan knowledge and modern industry needs, making it a must-read for both budding designers and seasoned professionals.
