
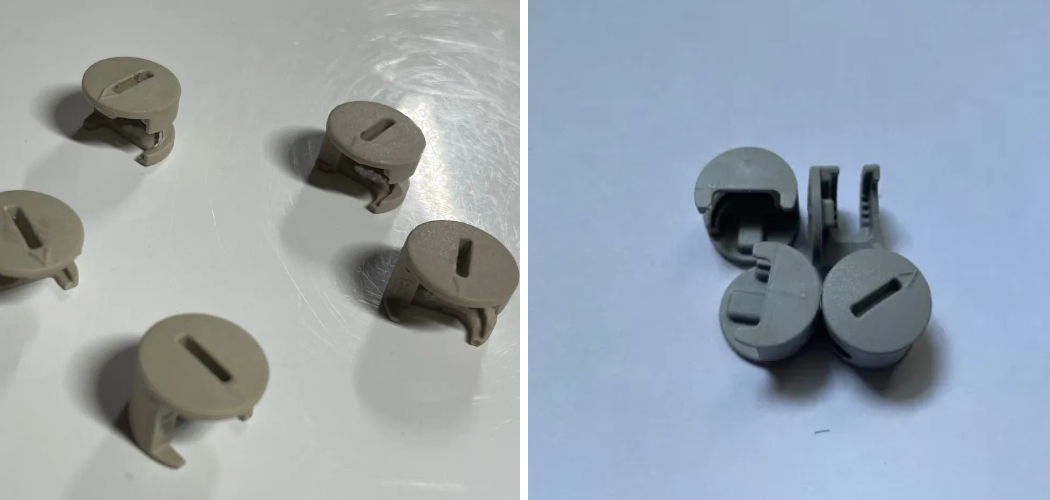
If you’ve ever found yourself in a pickle while trying to open stuck Ikea plastic cam locks, then you know how frustrating the experience can be. With multiple parts and pieces that are difficult to maneuver, getting around this unique lock is a daunting task. However, don’t despair—there are effective solutions for getting these locks open without damaging your furniture or causing injury!

In this blog post on how to get ikea plastic cam locks out, we’ll show you exactly how to get that dreaded IKEA plastic cam locks out of your furniture and take back control over your space!
Safety Precautions
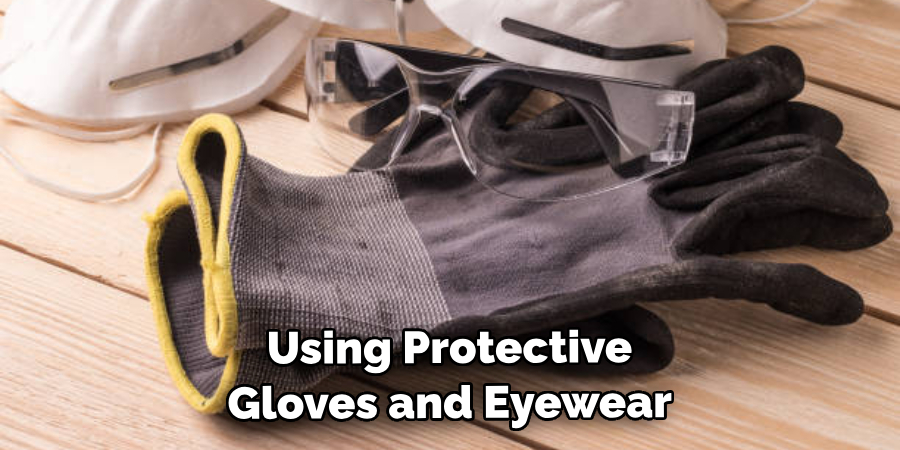
Before attempting to remove an IKEA plastic cam lock, it’s important that you take the necessary safety precautions beforehand. Make sure you’re wearing protective gloves and eyewear to protect yourself from any splinters or sharp edges during the removal process. Additionally, make sure to work in a well-ventilated area so that fumes emitted by plastic materials won’t pose as a health threat.
10 Step-by-step Guidelines on How to Get Ikea Plastic Cam Locks Out
Step 1: Use the Provided Hex Key
The first step to removing an IKEA plastic cam lock is using the provided hex key. This tool should be included with the furniture you purchased and can be used to unlock the locking mechanism that holds the lock together. Insert the hex key into the top of the locking mechanism and turn it counter-clockwise until you hear a “click” sound, indicating that the lock is now unlocked.
Step 2: Remove the Plastic Cam Lock Retaining Clip
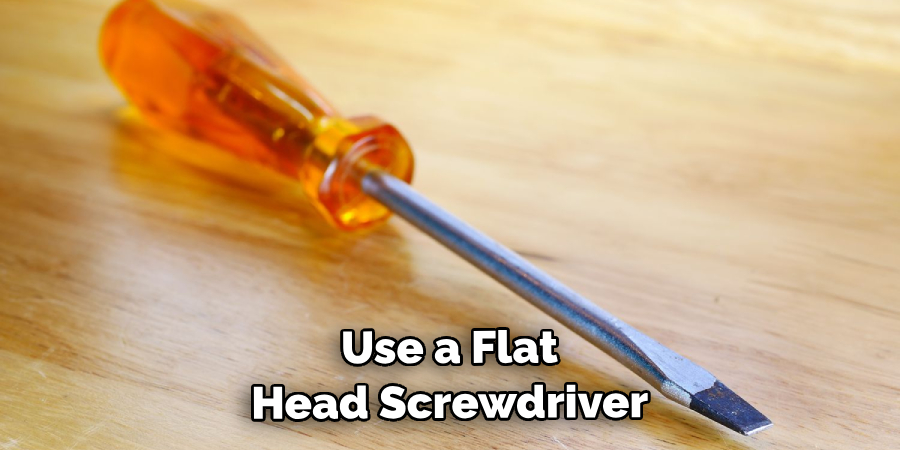
After unlocking the locking mechanism with the provided hex key, remove the plastic cam lock retaining clip. This clip holds the plastic cam lock in place and needs to be removed so that it doesn’t interfere with your attempts to remove the lock. Use a flat-head screwdriver or an appropriate pry tool to carefully push out the plastic retaining clip from its slot on the locking mechanism.
Step 3: Pull Out the Plastic Cam Lock
Once you’ve removed the plastic cam lock retaining clip, you can now pull out the plastic cam lock from its slot on the locking mechanism. To do this, carefully grasp both ends of the lock and slowly pull it outwards until it’s completely removed from its slot. This should be done with one hand, so as not to damage the plastic.
Step 4: Unscrew The Nuts Holding The Plastic Cam Lock
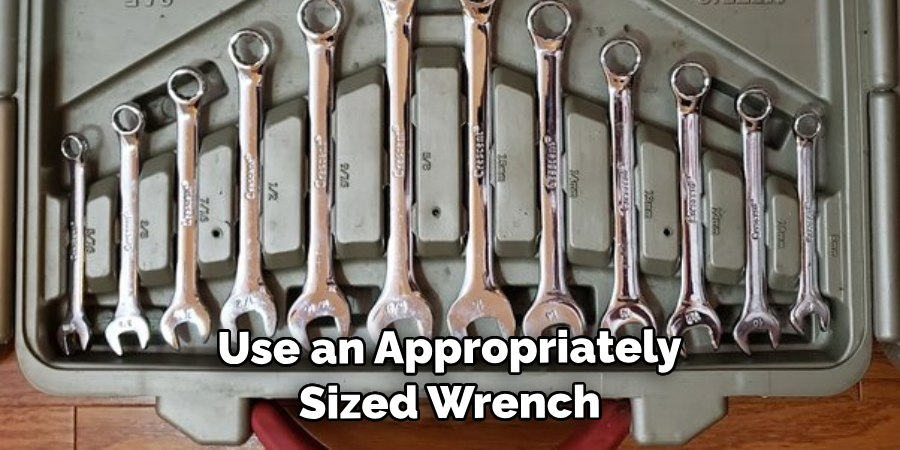
After removing the plastic cam lock from its slot, you’ll need to unscrew the nuts that are holding it in place. Use an appropriately sized wrench or socket to loosen the two nuts on either side of the lock until they come off completely. It’s important to be gentle in this step as too much force can cause the nuts to become stripped or damaged.
Step 5: Unhook The Spring
Now you can unhook the spring on the backside of the plastic cam lock. This spring needs to be removed in order for the lock to come off completely so use a pair of needle-nose pliers or tweezers to unhook it from its slot. It’s important to be gentle when doing this as any forceful tugging may cause the spring to break.
Step 6: Pull Off The Plastic Cam Lock
Once you’ve successfully unhooked the spring, you can now pull off the plastic cam lock from its slot. To do this, carefully grasp both ends of the lock and slowly pull it away from its slot until it’s completely removed. You may need to use a little bit of force during this step, so make sure that you’re using protective gloves and eyewear for safety.
Step 7: Install The New Plastic Cam Lock
Now that you’ve successfully removed the old plastic cam lock, you can now install a new one. To do this, insert the new plastic cam lock into its slot and make sure that it’s securely attached to the locking mechanism. Next, re-hook the spring back into place on the backside of the lock and then screw in the two nuts on either side until they’re both secure.
Step 8: Test The Lock
Once you’ve installed your new plastic cam lock, the next step is to test it out. To do this, try locking and unlocking the lock with your hex key a few times to make sure that everything is functioning properly. It’s also important to make sure that the lock is not too loose or too tight, as this can affect its function.
Step 9: Re-install the Plastic Cam Lock Retaining Clip
Now it’s time to re-install the plastic cam lock retaining clip to hold the lock in place. To do this, simply push the clip back into its slot on the locking mechanism until it clicks securely into place. It’s important to make sure that the clip is firmly in place so that the lock doesn’t come loose while you’re using it.
Step 10: Test The Lock Again
The final step in getting your IKEA plastic cam lock properly installed is to test it out once again. Use your hex key to try locking and unlocking the lock a few times to ensure that everything is functioning properly and that the lock is secure. Always make sure that the plastic cam lock is firmly in place before using it.
Now that you know how to get Ikea plastic cam locks out, you can easily take control of your furniture and space! With this simple 10-step guide in hand, getting stuck IKEA plastic cam locks out of your furniture has never been easier. Give it a try today
Tips
- Always Use Protective Gloves and Eyewear When Attempting to Remove an Ikea Plastic Cam Lock.
- Make Sure to Work in a Well-ventilated Area So That No Fumes Are Inhaled.
- Be Careful Not to Damage the Furniture or Cause Yourself Injury During the Removal Process.
- Use a Flathead Screwdriver or an Appropriate Pry Tool to Remove the Plastic Cam Lock Retaining Clip.
- Use an Appropriately Sized Wrench or Socket to Loosen the Two Nuts on Either Side of the Lock Until They Come Off Completely.
- Test Out Your New Plastic Cam Lock a Few Times Before Re-installing It Onto Your Furniture.
- Make Sure That All Components Are Securely Attached So That the Lock Doesn’t Come Loose While You Are Using It.
Now that you know how to get Ikea plastic cam locks out, you’re ready to take back control over your space and furniture! With this simple 10-step guide in hand, getting stuck IKEA plastic cam locks out of your furniture has never been easier. So don’t wait any longer and give it a try today!
How Much Could It Cost?
It’s important to note that the cost of replacing a plastic cam lock varies based on the type of lock and furniture you have. Generally speaking, most IKEA plastic cam locks can be purchased online for less than $10 USD and installation typically costs around $20 USD. It may be worth it to invest in a professional locksmith if you feel like you don’t have the necessary skills or time to get the job done yourself.
Frequently Asked Questions
Q1. What is the Best Way to Remove Ikea Plastic Cam Locks?
A1. The best way to remove IKEA plastic cam locks is to use a hex key provided with the furniture, carefully remove the plastic cam lock retaining clip, pull out the plastic cam lock from its slot, unscrew the nuts holding it in place, unhook the spring on the backside, and then pull off the plastic cam lock from its slot.
Q2. How Can I Install a New Plastic Cam Lock?
A2. To install a new plastic cam lock, simply insert it into its slot and make sure that it’s securely attached to the locking mechanism. Re-hook the spring back into place on the backside of the lock and then screw in the two nuts on either side until they’re both secure. Finally, test it out with your hex key to make sure that everything is functioning properly.
Q3. Where Can I Find Replacement Parts for Ikea Plastic Cam Locks?
A3. For replacement parts for IKEA plastic cam locks, you can visit the official IKEA website or your local IKEA store. Alternatively, you can also look for parts on websites like Amazon and eBay. It’s important to make sure that you get genuine IKEA replacement parts to ensure that they will fit properly and securely with your furniture.
Conclusion
Ultimately, getting Ikea plastic cam locks out can be a tricky endeavor. Fortunately, the steps outlined in this post will make the process easier. It’s always important to be patient and systematic when dealing with these types of mechanisms as rushing can lead to damaging the lock or unscrewing tabs. The best advice is to go slow and work methodically. You may also choose to take the lock to a local hardware or locksmith store for assistance.
Additionally, it’s recommended that you change your entire locking system if it has been compromised or damaged in any way, as this will help improve safety and security in your space. Hopefully, this blog post on how to get ikea plastic cam locks out has given you helpful information on how to successfully remove an Ikea plastic cam lock without damaging anything else around it. All it takes is a bit of know-how and time! Good luck!