

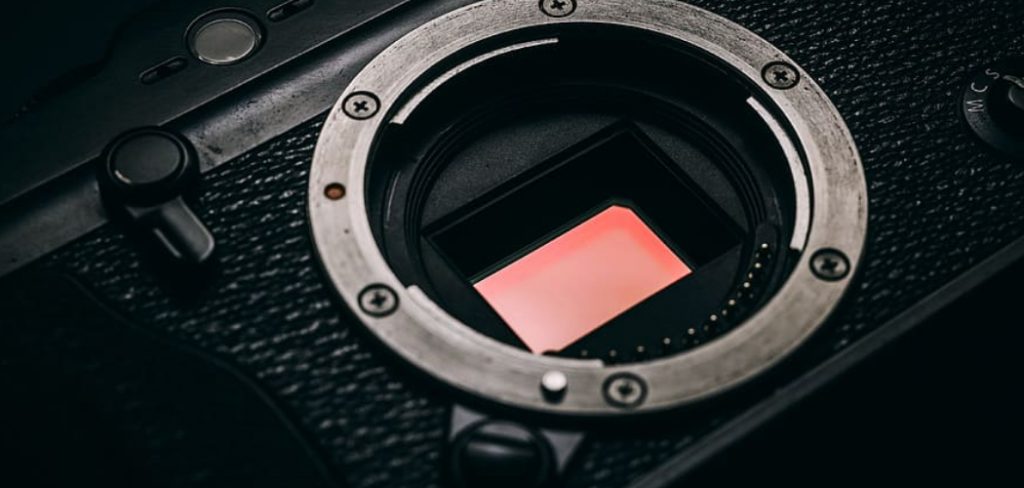
The camera sensor is the heart of any camera, playing a crucial role in capturing high-quality images by converting light into digital data. However, due to its delicate nature and exposure during lens changes or usage in dusty environments, it is prone to accumulating dust and debris. Even small particles on the sensor can negatively impact photo quality, leading to visible spots, smudges, or distortions in your pictures. This can be particularly frustrating for photographers striving for flawless imagery.
For those without access to specialized equipment, learning how to clean camera sensor without kit can provide a practical solution. However, it’s vital to adopt a cautious approach and proper techniques during the cleaning process to prevent any potential damage to this sensitive component. By understanding safe cleaning practices and knowing when to seek professional help, photographers can maintain their camera’s performance and extend its lifespan.
Understanding the Camera Sensor and Contamination
What Is the Camera Sensor?
The camera sensor is a highly sensitive component responsible for converting light into digital signals, which are then processed into images. It acts as the “eye” of your camera, capturing the details and colors of a scene based on how light falls onto its surface. Sensors come in various sizes and designs, such as full-frame or APS-C, with their quality and characteristics significantly impacting the resolution, clarity, and overall dynamic range of the images produced. A clean and well-maintained sensor ensures the highest possible image quality, making its care an essential part of a photographer’s routine.
Common Contaminants
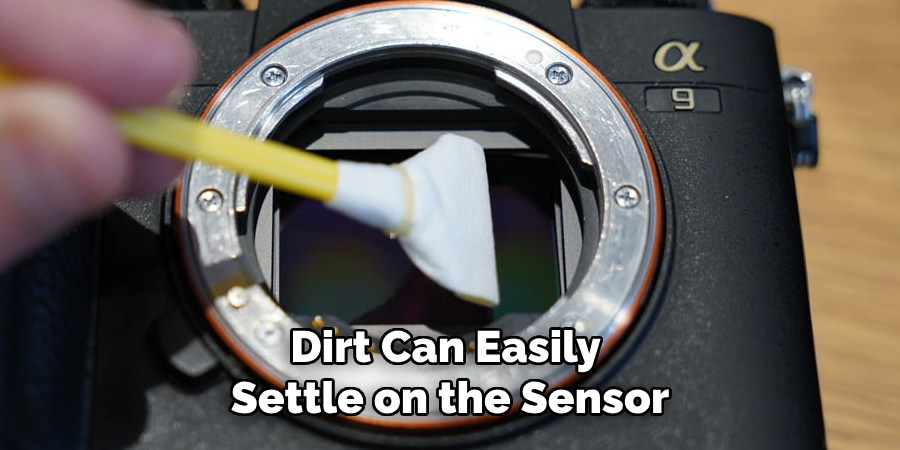
Camera sensors are vulnerable to various contaminants, primarily due to their exposure during lens changes and operation in challenging environments. Dust particles and dirt can easily settle on the sensor, especially when shooting outdoors or in windy, dusty conditions. Oils or smudges from accidental contact with the camera’s internal components can also pose a threat, further degrading performance over time. Left unaddressed, these contaminants can significantly affect the quality of your images.
Signs Your Sensor Needs Cleaning
One of the most noticeable signs that your sensor requires attention is the appearance of spots or smudges in your photos. These imperfections are especially evident when shooting at smaller apertures, such as f/16 or f/22, where increased depth of field makes even the smallest particles visible. Distorted or blurred areas within an image may also indicate it’s time for cleaning. Recognizing these signs allows photographers to take timely action and maintain the integrity of their work.
Precautions Before Cleaning
Ensure a Controlled Environment
Before starting cleaning, ensure you are in a clean, dust-free environment. Working in a space with minimal airborne particles reduces the risk of introducing new contaminants to the sensor. Avoid open windows, fans, or any sources of airflow that could stir up dust. A clean, dedicated workspace is ideal for maintaining the integrity of the camera’s internal components.
Power Off the Camera
Always turn off the camera before beginning any cleaning procedure. When the camera is powered on, the sensor carries a static charge that can attract dust and make cleaning more challenging. Powering off the camera deactivates this charge and helps protect the delicate electronic components during handling.
Refer to the Manual
Each camera model has unique specifications for sensor access and cleaning. To avoid damage or improper handling, consult the user manual for detailed guidance. The manual often recommends cleaning tools and techniques that are safe for your specific model. Following these instructions ensures the cleaning process is both effective and risk-free.
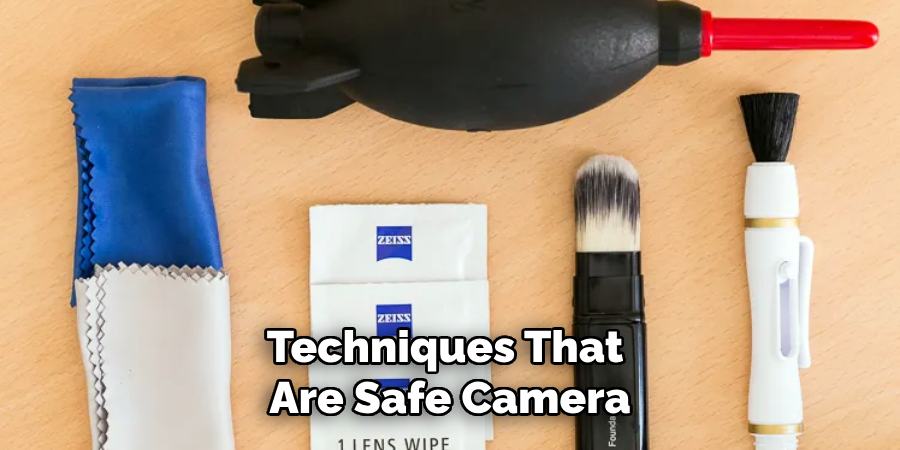
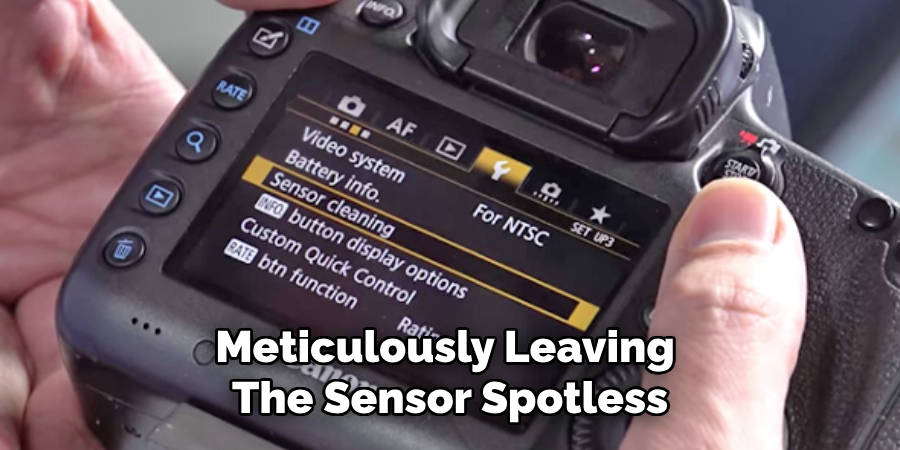
How to Clean Camera Sensor Without Kit: Cleaning the Sensor Using Air Blowing Technique
Use a Manual Air Blower
A manual air blower is one of the safest tools for cleaning your camera’s sensor. It is designed to expel a gentle stream of air, which can remove loose dust particles without directly contacting the sensor. To use this technique, ensure your blower is clean and free from any debris or contaminants that might accidentally be blown onto the sensor. Direct the nozzle of the blower toward the sensor from a safe distance, approximately one to two inches away. Always avoid using canned air, as these products can release moisture or propellant that can cause damage to the sensor or leave residue behind.
Position the Camera Correctly
Proper positioning of the camera is critical to achieving effective results. Hold the camera so the sensor faces downward while you perform the air-blowing process. This positioning encourages any dislodged debris to fall out of the sensor compartment rather than resettling elsewhere inside the camera. Be sure to maintain a steady hand and keep the blower positioned at an appropriate angle to ensure maximum efficiency in particle removal.
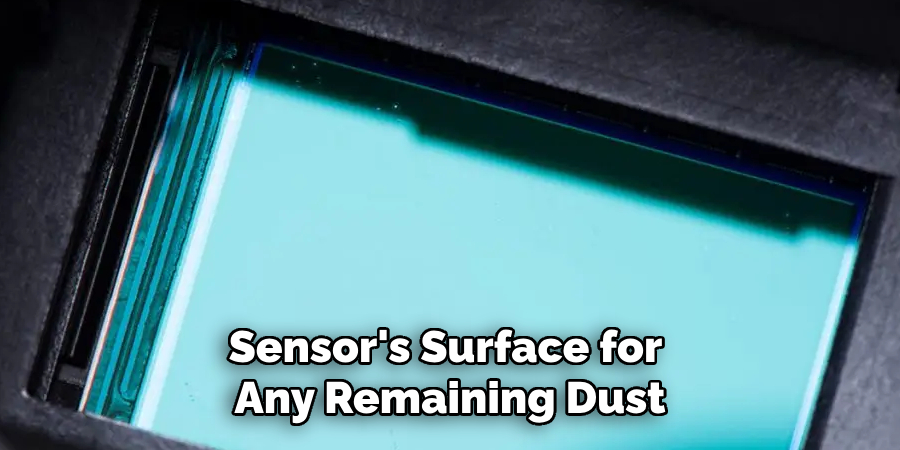
Inspect the Sensor
After using the air blower, inspecting the sensor to verify whether all visible debris has been successfully removed is vital. A magnifying loupe designed for camera sensors can help you closely examine the sensor’s surface for any remaining dust or particles. Alternatively, you can take a test photo of a plain, bright surface like a piece of white paper or a clear sky set at a small aperture (e.g., f/16 or higher). Check the image for any visible dark spots, which indicate areas where dust particles may remain. If debris persists, additional cleaning steps or professional assistance may be required.
How to Clean Camera Sensor Without Kit: Cleaning with a Lens Cloth or Brush
When dealing with stubborn debris that an air blower cannot remove, the next step is to clean the sensor using a microfiber cloth or a specialized camera lens brush. This cleaning process should be approached with caution to avoid causing scratches or damage to the sensor’s surface. Below are detailed instructions for safely and effectively cleaning your camera sensor.
Choose a Clean, Soft Microfiber Cloth
To begin, select a high-quality microfiber cloth designed for cleaning sensitive optical equipment. Ensure that the cloth is clean and completely lint-free; any remaining particles on the cloth could scratch the sensor. Gently wipe the sensor’s surface without applying excessive pressure. The goal is to lift away dust and debris while maintaining the integrity of the sensor’s delicate components. Move the cloth slowly and carefully, avoiding sudden or harsh movements.
Use a Camera Lens Brush
If the debris persists or if you prefer a more precise tool, a camera lens brush is an excellent alternative. Opt for a fine, clean brush designed explicitly for optics. These types of brushes are made with ultra-soft bristles to prevent scratching delicate surfaces. Before use, ensure the brush is free of dust or particles by gently flicking it or using a clean air blower on the bristles.
Brush Method
When using the brush, lightly sweep across the sensor’s surface in one direction. Avoid back-and-forth or circular movements to minimize the risk of redepositing dust onto the sensor. Start at one end of the sensor and work toward the other end with smooth, controlled strokes. The sweeping light gently lifts dust from the surface, reducing the chance of smudging or scratching.
Inspect and Repeat if Necessary
After cleaning, thoroughly inspect the sensor for any remaining particles or smudges. Use a magnifying loupe or review test images at small apertures to check for any missed spots. If necessary, repeat the process with either the microfiber cloth or brush, meticulously leaving the sensor spotless. Additionally, inspect the cleaning tools for debris between uses to avoid reintroducing particles during subsequent attempts.
Once cleaning is complete, ensure no fibers, dust, or smudges remain on the sensor. Properly maintaining and storing your cleaning materials will ensure they remain effective for future use. By following this method, you can safely and effectively clean your camera sensor, preserving image quality and extending your device’s lifespan.
Testing the Cleaned Sensor
Capture Test Photos
After cleaning, you must verify your work by capturing test photos. Use your camera to photograph a plain white surface or a clear blue sky. Set your lens to a narrow aperture, such as f/22, to maximize the visibility of any remaining dust or particles. To further enhance detection, slightly defocus the lens so that any debris on the sensor is more apparent in the image.
Analyze the Results
Review your test photos carefully on your camera’s display or by uploading them to a computer. Use photo editing software or zoom in to scrutinize the image for any dark spots, streaks, or smudges that could indicate leftover debris on the sensor. Pay close attention to uniform areas in the photograph, making imperfections easier to spot.
Repeat Cleaning if Needed
If you notice remaining issues, repeat the sensor cleaning process with your cleaning tools, following the same careful approach outlined previously. Be meticulous during the second cleaning to ensure no debris is missed. If spots or smudges persist after multiple attempts, it may be time to consider seeking professional camera sensor cleaning services to address the issue thoroughly and safely.
When to Seek Professional Help
Knowing when to seek professional help for your camera sensor is crucial to maintaining its performance and preventing further damage.
Complex Contamination
If you encounter stubborn smudges, oil spots, or particles that seem embedded in the sensor and cannot be removed safely at home, it’s best to consult an expert. Attempting to remove these contaminants without the proper tools can lead to irreversible damage.
Sensor Damage Concerns
Professional assistance is necessary if your cleaning efforts result in scratches, streaks, or other persistent issues that compromise image quality. Delicate sensor components require precise handling; experts are trained to address such concerns effectively.
Benefits of Professional Cleaning
Professionals use specialized tools and techniques, such as ultrasonic cleaning or vacuum systems, to remove contaminants safely. Their expertise ensures thorough cleaning without risking further damage, giving you peace of mind and optimal sensor performance.
Conclusion
Maintaining a clean camera sensor is essential for capturing sharp, flawless images free of spots or blemishes. Understanding how to clean camera sensor without kit can help manage minor contaminants effectively. Techniques like using a gentle air blower to dislodge dust and a microfiber cloth for careful surface cleaning are safe and accessible options. However, exercising caution throughout the process is critical to avoid scratches or other damage to the sensor. Professional assistance is always recommended for persistent dirt or complex contamination to ensure your camera sensor remains in optimal condition for high-quality photography.