

Are you getting a low battery warning on your Range Rover key fob? Don’t worry; replacing the battery is easy and can be done in just a few simple steps.
How to change battery in Range Rover key fob is a simple yet essential task to ensure the smooth functionality of your vehicle’s remote key features. Over time, the battery in the key fob can lose charge, leading to reduced performance or complete failure to communicate with your vehicle.
This guide will walk you through the steps to replace the battery quickly and efficiently without any special tools or expertise. Keeping your key fob in good working condition is crucial for convenience and security, making this process an essential part of vehicle maintenance.
What Are the Causes of Key Fob Battery Failure?
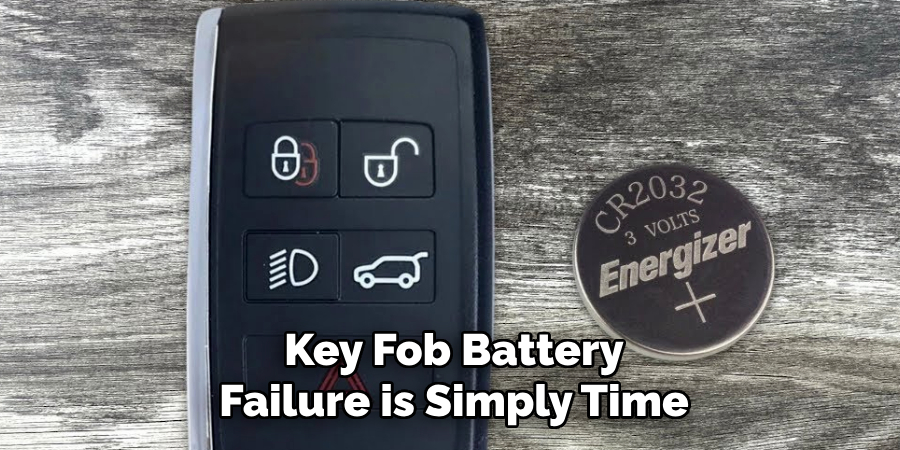
Before we jump into the steps to change the battery, it is essential to understand why it may fail in the first place. One of the main reasons for key fob battery failure is simply time. As with any battery-powered device, the battery will lose its charge and need to be replaced over time. Excessive use or exposure to extreme temperatures can contribute to a shorter lifespan for your key fob battery.
Another common cause of key fob battery failure is a faulty remote itself. If your key fob is not responding even after changing the battery, it may need to be repaired or replaced entirely.
What Will You Need?
To change the battery in your Range Rover key fob, you will only need a few things:
- New CR2032 batteries
- Small flat-head screwdriver or prying tool
- Clean cloth
Once you have these items, you are ready to get started.
10 Easy Steps on How to Change Battery in Range Rover Key Fob
Step 1. Remove the Key Fob
Locate the small release button or latch on your key fob to remove the key. Press or slide this button to release the physical key from the fob. This key is often used as a backup in case the fob’s battery dies completely. Removing the key is also essential for accessing the battery compartment in the fob. Once the key is removed, set it aside in a safe place to ensure it doesn’t get lost while you’re working on replacing the battery.
Step 2. Open the Key Fob Casing
With the key removed, locate the seam or groove on the key fob where the two halves of the casing join. Using a small flat-head screwdriver or prying tool, gently insert it into the groove and carefully pry the casing apart. Apply steady pressure to avoid damaging the plastic. Once the casing opens, use your fingers to separate the halves. Be mindful of any small components that may come loose during this process.
Step 3. Remove the Old Battery
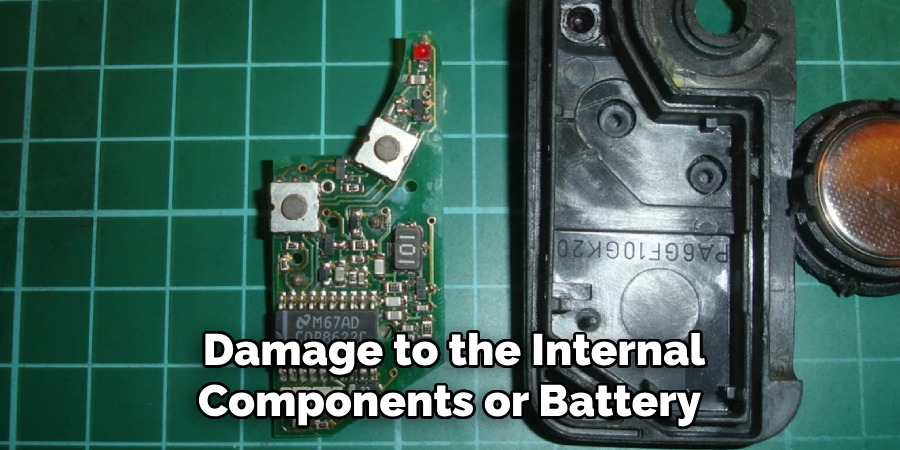
After opening the key fob casing, locate the battery inside. The battery is typically a small, circular coin cell type seated in a designated compartment. Note the battery’s position and orientation, as you’ll need to install the new one similarly. Use your fingers or a small non-metallic tool, such as a plastic spudger, to lift the old battery out of its compartment. Avoid using metal tools to prevent any damage to the internal components or battery contacts. Dispose of the old battery responsibly, following your local recycling guidelines.
Step 4. Install the New Battery
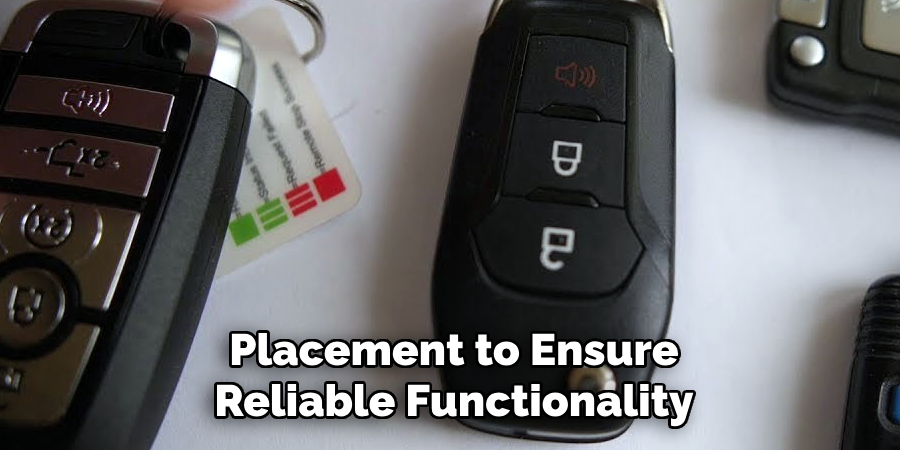
Take the new battery and ensure it matches the type and orientation of the old one. Align the positive (+) and negative (-) sides correctly, as indicated in the compartment. Press the battery into place, ensuring it sits securely in its slot. Avoid forcing it, as this could damage the contacts or other components. Double-check the battery’s placement to ensure reliable functionality once the battery is installed correctly.
Step 5. Reassemble the Device
Carefully position the cover or panel back onto the device, ensuring it aligns appropriately with the casing. Secure it by fastening any screws or latches that were removed during disassembly. Avoid over-tightening screws, as this can crack or damage the casing. Once the device is fully reassembled, gently test the cover to ensure it is firmly in place before proceeding.
Step 6. Test the Device
Turn on the device to ensure that the new battery is functioning correctly. Observe its startup and check for any warning signs or error messages. The battery replacement succeeded if the device powers on and operates as expected. If there are issues, double-check the installation steps to ensure the battery is seated correctly and all components are securely in place. Additionally, verify that the battery is the correct type and fully charged.
Step 7. Dispose of the Old Battery Properly
Properly disposing of the old battery is crucial for environmental and safety reasons. Do not throw the battery in regular household trash, as many contain hazardous materials that can harm the environment. Take the old battery to a designated recycling center or a local electronics store that offers battery recycling services. Ensure it is stored in a safe container and kept away from heat or flammable materials until it can be appropriately disposed of.
Step 8. Perform a Final Test of the Device
Once the replacement battery is installed and the old one has been appropriately disposed of, perform a comprehensive test of your device to ensure that all functions operate as expected. Test features such as connectivity, screen responsiveness, and any specific applications or tools the device supports. This step helps confirm that the new battery is fully compatible and that no steps in the replacement process have compromised the device’s functionality. If any issues persist, consider seeking professional assistance.
Step 9. Maintain Regular Care of Your Device
To maximize the lifespan of the new battery and overall device performance, it is essential to adopt regular maintenance habits. Avoid exposing the device to extreme temperatures, overcharging the battery, or allowing it to fully deplete frequently, as these practices can degrade the battery over time. Keep the device clean and dust-free, and update its software regularly to ensure optimal functionality. Regular care not only prolongs the battery’s life but also enhances the reliability and efficiency of the device.
Step 10. Keep an Extra Battery on Hand
Consider keeping an extra battery on hand in an emergency as a proactive measure. This helps avoid any inconvenience if the primary battery dies unexpectedly and needs replacement. A readily available spare battery ensures uninterrupted use of your device and saves time that would otherwise be required to purchase a new one or schedule repairs. Store the extra battery properly, following manufacturer guidelines, and check its expiration date regularly to ensure it is still usable.
By following these steps, you can successfully replace the battery in your key fob and maintain optimal device performance.
5 Things You Should Avoid
- Using the Wrong Battery Type: Always ensure you are using the correct battery type specified for your key fob. An incompatible battery can damage the key fob or cause it to malfunction.
- Applying Excessive Force: Avoid forcing the key fob open, as this can lead to cracking or damaging the casing. Use gentle pressure and follow the instructions for opening it carefully.
- Ignoring Polarity: Pay attention to the positive (+) and negative (-) markings when inserting the new battery. Placing the battery incorrectly may result in the fob not working.
- Touching the Battery Contacts: Refrain from touching the metal contacts inside the key fob or on the new battery. Finger oils or dirt can disrupt the proper connection and affect functionality.
- Skipping a Functional Test: After replacing the battery, always test the key fob to ensure it works correctly before reassembling it completely. This step can save time revisiting the process if issues arise.
By avoiding these common mistakes, you can extend the lifespan of your key fob and save yourself from potential headaches down the road.
What Battery Goes in a Range Rover Key Fob?
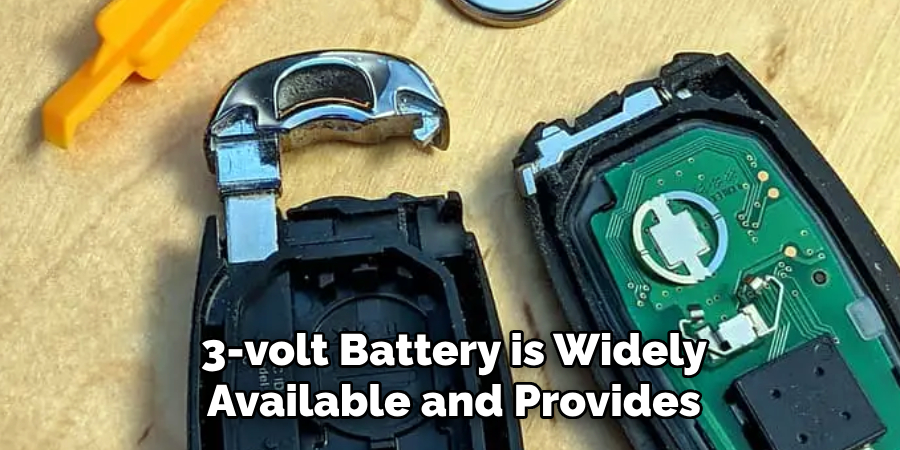
Range Rover key fobs typically use lithium coin-cell batteries, the most common type being the CR2032. This 3-volt battery is widely available and provides reliable performance for a long duration.
Some older models may require a different type, such as the CR2025, so it’s essential to consult your vehicle’s owner’s manual or inspect the existing battery to confirm compatibility.
Always opt for high-quality brands to ensure durability and avoid leakage that can damage the key fob when replacing the battery.
Conclusion
Changing the battery in your Range Rover key fob is straightforward if done carefully and with attention to detail.
By following the proper steps, such as using the right tools, handling the components carefully, and double-checking the battery’s placement and polarity, you can successfully replace the battery without causing damage. Taking the time to avoid common mistakes ensures that your key fob will continue to function reliably, saving you time and effort. Regular maintenance like this is a simple way to keep your vehicle’s accessories in optimal condition.
Hopefully, the article on how to change battery in Range Rover key fob has provided you with the necessary information to carry out this task smoothly. Happy driving!