
Are you tired of the same old traditional alarms that wake you in the morning? Do you want something unique and fun to start your day? Look no further than Chime Alarm!
Installing a chime alarm is a straightforward process that can enhance the security and convenience of your home or office. Whether setting it up for door notifications or as part of a broader security system, following a clear and systematic approach ensures proper functionality. Additionally, most chime alarms come with an installation manual that provides step-by-step instructions.
This guide on how to install chime alarm will walk you through the necessary steps, from gathering tools to configuring the alarm settings, making the installation process stress-free and efficient. Let’s get started!
What Are the Benefits of Installing a Chime Alarm?
Before diving into the installation process, let’s quickly go over some of the benefits of installing a chime alarm in your home or office.
- Enhanced Security: Chime alarms provide an extra layer of security by alerting you whenever someone enters or exits from a specific area.
- Convenience: With chime alarms, you no longer have to rely on traditional doorbells or knocking to know when someone is at your doorstep.
- Customizable Settings: Most chime alarms come with customizable settings that allow you to personalize the sounds and alerts according to your preferences.
- Easy Installation: As mentioned earlier, installing a chime alarm is simple and can be done by anyone with basic handyman skills.
- Affordable: Compared to other security systems, chime alarms are generally cheaper and offer great value for your money.
Once you understand the benefits of installing a chime alarm, let’s move on to the installation process.
What Will You Need?
Before you begin, make sure to have the following tools and materials on hand:
- Chime Alarm System (including chime unit and sensors)
- Screwdriver
- Screws
- Drill
- Batteries (if required)
Once you have all the necessary tools and materials, let’s proceed with the installation process.
9 Easy Steps on How to Install Chime Alarm
Step 1: Choose the Installation Location
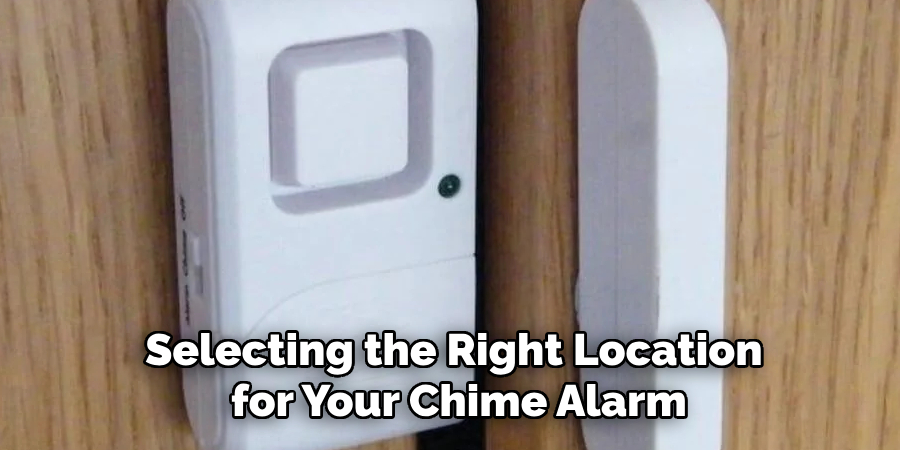
Selecting the right location for your chime alarm ensures optimal performance. Start by identifying areas in your home or workspace where you need to monitor activity, such as entryways, windows, or hallways. For door sensors, choose locations where the sensors can easily align with the door frame to detect movement effectively. Consider factors such as the range of the chime unit and potential obstructions like walls or furniture that could interfere with the signal. Ensure that the installation spot is accessible for maintenance, such as changing batteries, and secure enough to avoid tampering. Once the best location has been pinpointed, mark it for reference before moving to the next step.
Step 2: Gather Your Tools
Before proceeding with the installation, gather all the necessary tools and equipment. Typically, you will need a screwdriver, adhesive strips or mounting brackets (provided with the chime alarm), a drill (if wall mounting is required), and a measuring tape to ensure proper placement. Double-check that you have all the components of the chime alarm system, including the receiver unit, sensors, and any screws or fasteners included in the package. Having everything ready beforehand will streamline the installation process and prevent unnecessary interruptions.
Step 3: Install the Receiver Unit
Begin by installing the receiver unit in the location you previously identified. If the receiver is designed to sit on a flat surface, such as a table or shelf, simply place it in position. For wall-mounted receivers, use the measuring tape to ensure correct alignment and mark the spots where screws or adhesive strips will be attached. If drilling is required, carefully drill holes at the marked points, insert anchors if necessary, and secure the receiver using the provided screws or mounting hardware. Make sure the receiver is stable and positioned for optimal signal reception. Double-check its functionality before moving on to installing the sensors.
Step 4: Install the Sensors
Once the receiver unit is installed, move on to placing the sensors. Begin by referring to the user manual to determine the ideal locations for each sensor based on its purpose and range. Door or window sensors should be attached securely at the designated entry points, ensuring proper alignment for accurate activation. Use adhesive strips or screws provided in the kit, depending on your installation preference. For motion sensors, position them in corners or high-traffic areas, typically at a height recommended in the manual to maximize coverage. Double-check all sensor installations, ensuring they are firmly in place and effectively communicate with the receiver unit.
Step 5: Test the System
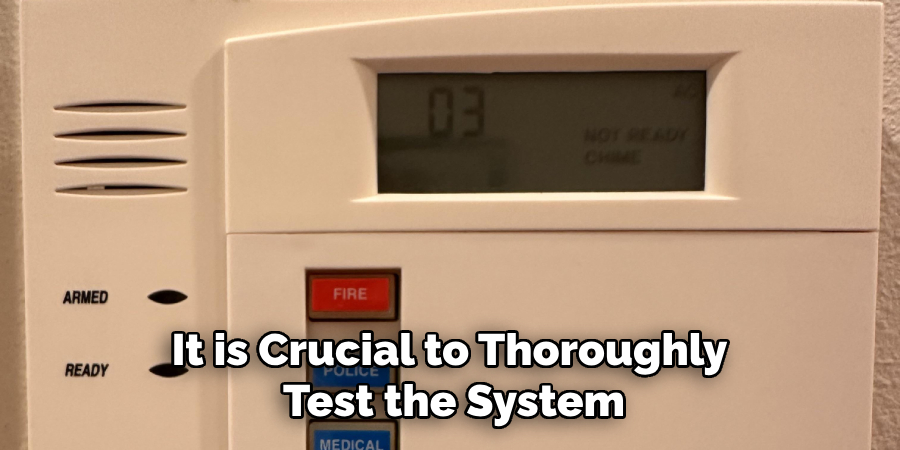
After installing the sensors, it is crucial to thoroughly test the system to ensure everything is functioning as intended. Begin by activating the receiver unit and placing the system in test mode, as instructed in the user manual. Test each sensor by triggering them one at a time, such as opening a door or walking past a motion sensor, to confirm they are properly communicating with the receiver. Check for any delays or missed signals, and adjust the positioning of the sensors if necessary. If any issues arise, consult the troubleshooting section of the manual or contact customer support. Once all components are tested and working correctly, proceed to finalize the setup.
Step 6: Finalize the Setup
With the testing phase complete, secure all components and finalize the setup. Ensure that all sensors and the receiver unit are mounted securely in their designated locations. Tidy up any loose wires or connections to avoid interference or accidental damage. If your system is wireless, confirm that batteries are seated properly and check their charge levels. Finally, switch the system from test mode to operational mode, and verify that it is actively monitoring your property. Refer to the user manual for details on customizing alerts or settings, and enjoy the added security your system provides.
Step 7: Maintenance and Routine Checks
Establish a routine maintenance schedule to ensure your system continues to function optimally. Regularly inspect all components for signs of wear, corrosion, or damage, and replace any faulty parts immediately. For wired systems, check cable connections and ensure no wires are frayed or exposed. Replace batteries as needed for wireless systems and confirm signal strength between devices. Periodically clean sensors and other equipment to remove dust, dirt, or debris that may affect performance. Consult your user manual for specific maintenance guidelines, and test the system frequently to verify its reliability.
Step 8: Troubleshooting Common Issues
Even with proper installation and maintenance, you may encounter occasional issues with your security system. Common problems include false alarms, connectivity issues, or unresponsive devices. To address false alarms, check for any environmental factors such as moving objects, pests, or strong winds that may trigger sensors. For connectivity issues, ensure all devices are within range and free from obstructions that might interfere with signals. If a device becomes unresponsive, reset it according to the manufacturer’s instructions or consult the user manual for specific troubleshooting steps. If problems persist, consider contacting customer support for further assistance.
Step 9: Upgrading Your System
Over time, technological advancements may render specific components of your security system outdated. Regularly assess your system’s performance and consider upgrading to newer models with enhanced features, such as improved motion detection, advanced AI analytics, or higher-resolution cameras. Upgraded systems often provide better integration with smart home devices, allowing for greater convenience and automation. When upgrading, ensure compatibility between old and new components to maintain seamless operation. Always follow the manufacturer’s guidelines during installation or seek professional assistance if needed.
By following these steps and keeping up with maintenance and upgrades, you can ensure your security system continues to provide the utmost protection for you and your property.

5 Things You Should Avoid
1. Skipping the Instruction Manual: One of the most common mistakes is ignoring the instruction manual provided with the chime alarm. It contains essential setup details and troubleshooting guidance tailored to your specific model.
2. Failing to Test the Alarm Placement: Installing the chime alarm without testing the location can lead to poor functionality. Ensure the alarm is positioned in an area with a strong signal and where it can effectively detect movements or triggers.
3. Using Weak or Incorrect Batteries: Avoid using batteries that are incompatible with the device or nearing the end of their lifespan. This can result in inconsistent performance and frequent reinstallation issues.
4. Neglecting to Secure the Mounting: Improperly securing the alarm during installation can cause it to detach, leading to damage or misalignment. Make sure to use the correct tools and hardware for a stable setup.
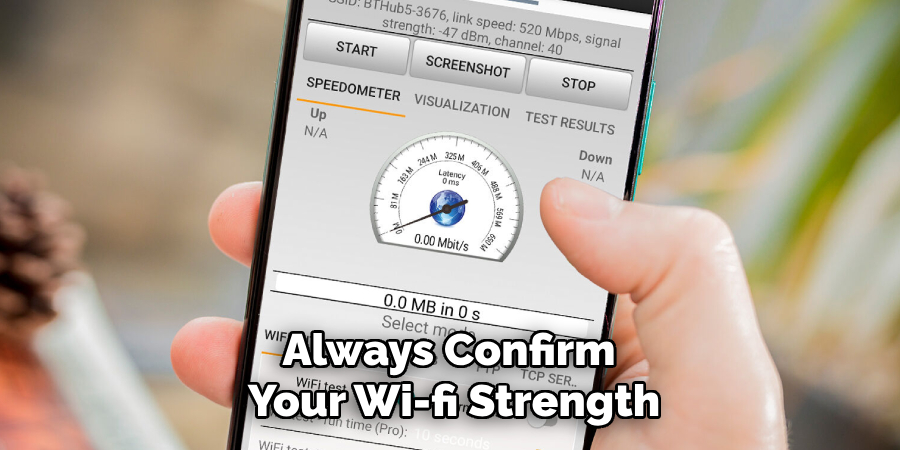
5. Overlooking Wi-Fi Connection Requirements: If your chime alarm relies on a Wi-Fi connection, failing to check the network during installation can result in connectivity problems. Always confirm your Wi-Fi strength and compatibility beforehand.
Conclusion
How to install chime alarm requires careful attention to detail to ensure optimal functionality and longevity.
You can avoid common errors that may impair the device’s performance by following the steps diligently—such as testing the placement, using the correct power source, properly securing the mounting, and confirming Wi-Fi connectivity. A thorough and systematic approach during installation will help you make the most of your chime alarm, providing reliable security and peace of mind.
Hopefully, this guide has provided you with the necessary information to install your chime alarm and avoid any potential pitfalls successfully.