
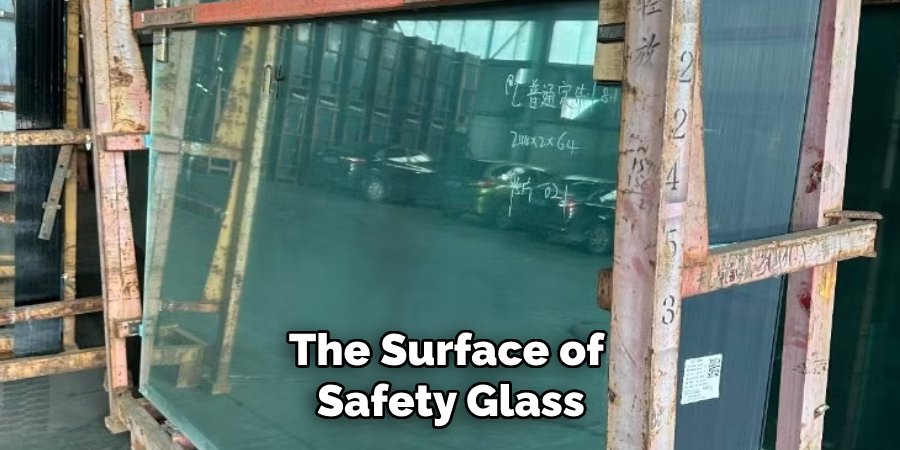
Keeping safety glass clear and in optimal condition is essential for both functionality and safety. Over time, dirt, grime, and other contaminants can accumulate on the surface, reducing visibility and potentially compromising effectiveness. Proper maintenance not only extends the lifespan of the glass but also ensures it provides the necessary protection in critical situations.

This guide on How to maintain safety glass clarity will outline effective methods to maintain the clarity of safety glass, helping you achieve long-lasting performance and reliability.
Why is It Important to Maintain Safety Glass Clarity?
As mentioned, maintaining the clarity of safety glass is crucial for its functionality and effectiveness. Here are some reasons why:
Visibility:
Safety glass is designed to provide clear visibility, whether it’s used in windows, doors, partitions, or other applications. Any build-up of dirt or contaminants can obstruct the view and hinder safe navigation. Maintaining the clarity of safety glass ensures you have a clear and unobstructed view at all times.
Durability:
Regular maintenance helps prevent damage to the surface of safety glass. Over time, dirt, grime, and other particles can scratch or etch the glass, compromising its strength and durability. By keeping the glass clean and free from debris, you can ensure it remains in optimal condition for longer.
Safety:
Safety glass is designed to provide protection in case of impact. Any contamination on the surface can weaken the structural integrity of the glass, making it more susceptible to breaking or shattering. Regular maintenance ensures that safety glass retains its strength and effectiveness in critical situations.
8 Step-by-step Guidelines on How to Maintain Safety Glass Clarity
Step 1: Gather Your Supplies
Before starting the cleaning process, make sure you have all the necessary supplies on hand. This may include:
- Soft, Lint-free Cloths
- Glass Cleaner or a Mixture of Water and Vinegar
- Gentle Cleaning Brush or Sponge
- Bucket of Warm Water (if Using the Water and Vinegar Solution)
Step 2: Remove Any Debris
Start by gently removing any loose debris, dirt, or dust from the surface of the safety glass. Use a soft, lint-free cloth or a gentle cleaning brush to wipe away particles, being careful not to press too hard to avoid scratching the glass. For hard-to-reach areas, you can use a small, soft-bristled brush to dislodge debris.
Removing debris before applying any cleaning solution ensures that the surface is clear and ready for the next steps, reducing the risk of spreading dirt or causing scratches during the cleaning process.
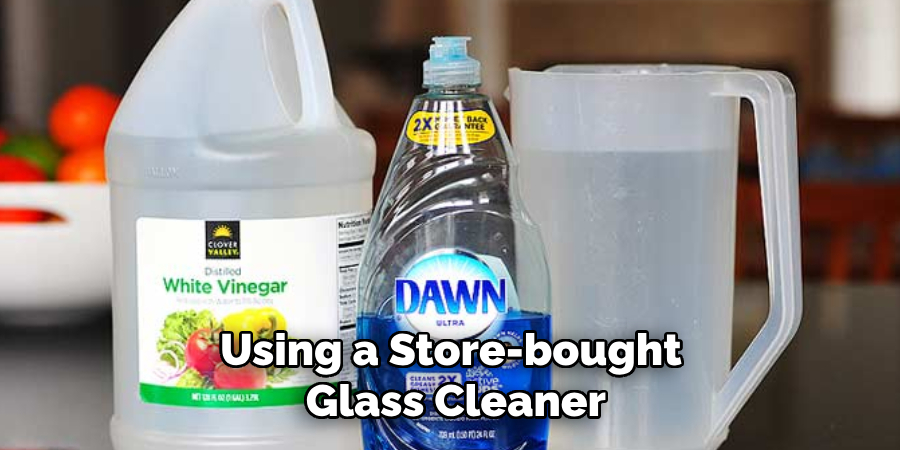
Step 3: Prepare the Cleaning Solution
If you are using a store-bought glass cleaner, simply follow the instructions provided on the product’s label. For a more natural alternative, prepare a homemade cleaning solution by mixing equal parts of water and white vinegar in a bucket or spray bottle. This mixture is effective in breaking down grime and leaves the glass with a streak-free finish.
Ensure that the solution is thoroughly mixed before application. Whether using a commercial cleaner or a homemade mixture, avoid any products containing harsh chemicals or abrasives, as these can damage the surface of the safety glass.
Step 4: Apply the Cleaning Solution
Spray or apply the cleaning solution onto the surface of the safety glass, starting from the top and working your way down. Be sure to cover the entire surface evenly. For larger areas, you may need to work in sections to prevent the solution from drying before you can wipe it clean.
The cleaning solution will start to break down any dirt, grime, or other contaminants on the surface of the glass.
Step 5: Wipe Away Dirt and Grime
Using a soft, lint-free cloth, gently wipe away the cleaning solution and any loosened dirt or grime from the surface of the safety glass. Be sure to use a clean section of cloth for each wipe to avoid spreading dirt around. For stubborn areas, you may need to apply more pressure or use a gentle scrubbing motion.
It is essential to use a soft cloth and gentle pressure to avoid scratching the glass.
Step 6: Rinse with Warm Water
After removing all visible dirt and grime, rinse the surface of the safety glass with warm water. This will help remove any remaining cleaning solution or particles from the surface, leaving it clean and residue-free. Use a clean cloth to wipe away excess water and dry the surface.
There should be no visible streaks or residue on the glass after rinsing and drying.
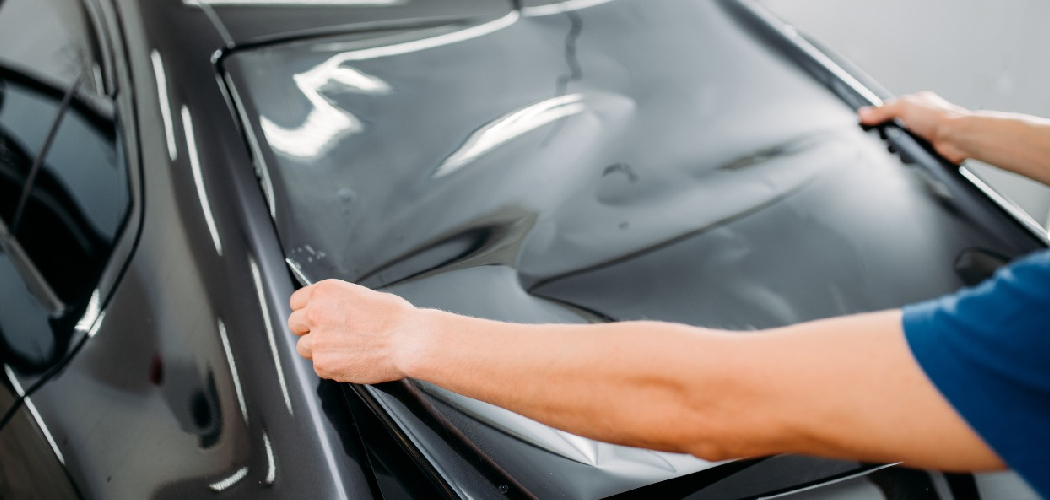
Step 7: Apply Glass Protection Film (Optional)
To further protect the surface of safety glass and maintain its clarity, you can apply a protective film. This film acts as a barrier against potential scratches or damage from regular wear and tear, keeping the glass in optimal condition for longer.
It is essential to follow the manufacturer’s instructions carefully when applying the film to ensure proper adhesion and effectiveness.
Step 8: Regularly Monitor and Clean
Regularly monitoring the condition of safety glass is crucial for maintaining its clarity. Keep an eye out for any build-up of dirt or grime and clean it promptly using the steps outlined above. Additionally, regularly inspecting the surface for any scratches or damage can help prevent further deterioration and maintain optimal functionality.
By following these simple guidelines on How to maintain safety glass clarity, you can effectively maintain the clarity of safety glass, ensuring it continues to provide protection and visibility for years to come. Remember, regular maintenance not only extends its lifespan but also plays a vital role in keeping you and those around you safe.
Additional Tips
- Avoid using abrasive materials or harsh chemicals on safety glass surfaces as they can damage the glass.
- Regularly check for any areas of the glass that may require extra attention, such as corners or edges where dirt and grime can accumulate.
- For larger areas of safety glass, consider using a squeegee to remove excess water after cleaning. This tool can help prevent streaks and leave a streak-free finish.
- If you notice any scratches or damage to the surface of the safety glass, contact a professional for repairs or replacement. Do not attempt to fix it yourself as it may compromise the integrity and effectiveness of the glass.
- Avoid touching the surface of safety glass with bare hands, as oils from our skin can leave smudges and streaks. If necessary, wear gloves during the cleaning process to prevent this.
- In areas where there may be a higher risk of contamination or debris on safety glass surfaces (such as in commercial settings), consider implementing more frequent cleaning schedules to maintain clarity and effectiveness.

By following these guidelines and additional tips, you can effectively maintain the clarity of safety glass and ensure it continues to serve its purpose as a protective barrier for years to come.
Frequently Asked Questions
Q: How Often Should Safety Glass Be Cleaned?
A: Safety glass should be cleaned regularly, at least once a week, to maintain its clarity and effectiveness. However, high-traffic areas or surfaces prone to dirt and grime may require more frequent cleaning.
Q: Can I Use a Regular Glass Cleaner on Safety Glass?
A: While it is generally safe to use a glass cleaner on safety glass, it is essential to check the label for any specific instructions or warnings. Some cleaners may contain chemicals that can damage the surface of safety glass and compromise its effectiveness. It is always best to opt for gentle, non-abrasive cleaning solutions when possible.
Q: How Do I Remove Tough Stains from Safety Glass?
A: For tough stains or residues on safety glass, you can use a mild detergent mixed with warm water. Apply this solution using a soft cloth or sponge and gently scrub the affected area until the stain is removed. Rinse thoroughly with water and dry the surface with a clean cloth. Do not use abrasive materials or harsh chemicals as they can damage the glass.
Q: Can I Use a Pressure Washer to Clean Safety Glass?
A: No, it is not recommended to use a pressure washer on safety glass as it can cause damage to the surface and compromise its effectiveness. Stick to gentle cleaning methods outlined in this guide for optimal results.
Q: How Do I Maintain Safety Glass in Extreme Weather Conditions?
A: In extreme weather conditions, such as heavy rain, snow or windstorms, regularly check the condition of safety glass for any signs of damage or wear. If necessary, clean and dry the surface immediately to prevent any potential damage. Additionally, consider applying a protective film for added durability during severe weather events. Overall, regular maintenance is key in maintaining safety glass clarity and extending its lifespan. By following these tips and guidelines, you can ensure that your safety glass remains clear and effective for years to come.

Conclusion
Safety glass is an essential component of many buildings and structures, providing protection and visibility in various applications. Regular maintenance is crucial for maintaining the clarity and effectiveness of safety glass, ensuring it continues to serve its purpose for years to come.
By following the step-by-step guidelines on How to maintain safety glass clarity outlined in this article, you can effectively maintain the clarity of safety glass and keep it in optimal condition. Remember, when it comes to safety, regular maintenance is key. So, make sure to clean your safety glass regularly in your maintenance routine. Stay safe!