

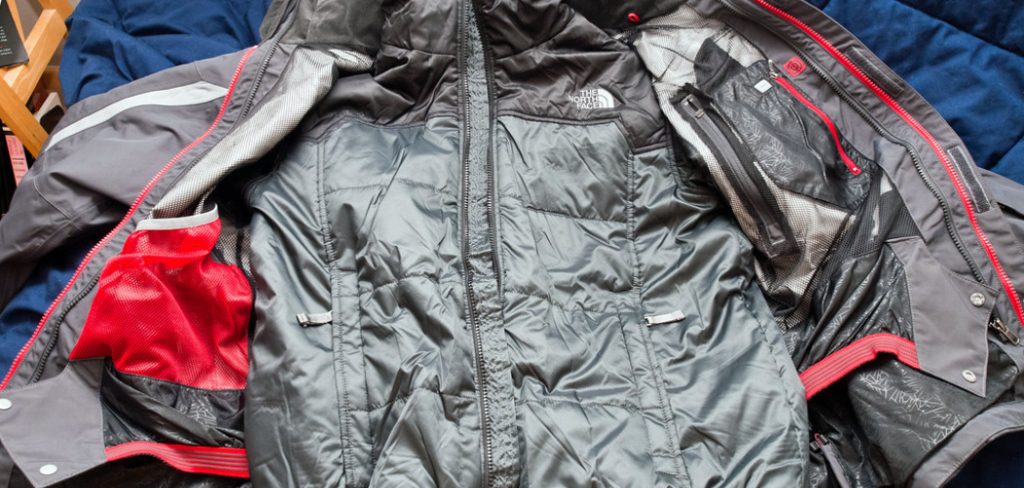
Zippers are an essential component of safety jackets, ensuring both functionality and comfort during use. However, over time, zippers may become stuck, misaligned, or break entirely, rendering the jacket less effective. Fortunately, repairing a zipper is a straightforward process with the right tools and techniques.
This guide on How to repair zippers on a safety jacket will provide step-by-step instructions to help you restore your safety jacket’s zipper to full working condition.
Why is Zipper Repair Important?
A damaged zipper on a safety jacket can compromise its functionality, making it less effective in protecting the wearer. A stuck or misaligned zipper can also be frustrating and inconvenient to use, especially in emergency situations. Additionally, repairing a zipper rather than replacing the entire jacket can save both time and money.
If your safety jacket’s zipper is damaged, it is essential to repair it promptly to ensure the jacket remains functional and reliable in critical situations.
Materials Needed
To repair your safety jacket’s zipper, you will need:
Needle Nose Pliers:
These are essential for realigning zipper teeth and pulling out debris that may be causing the zipper to get stuck.
Tweezers:
Tweezers can also help in removing any small debris or fabric caught in the zipper’s teeth.
Sewing Kit:
A basic sewing kit, including thread and a needle, will be needed to fix any broken stitches on the zipper.
Zipper Pull Replacement:
If the zipper pull is damaged or missing, you may need to purchase a replacement. These are readily available at craft or hardware stores.
8 Step-by-step Guides on How to Repair Zippers on a Safety Jacket
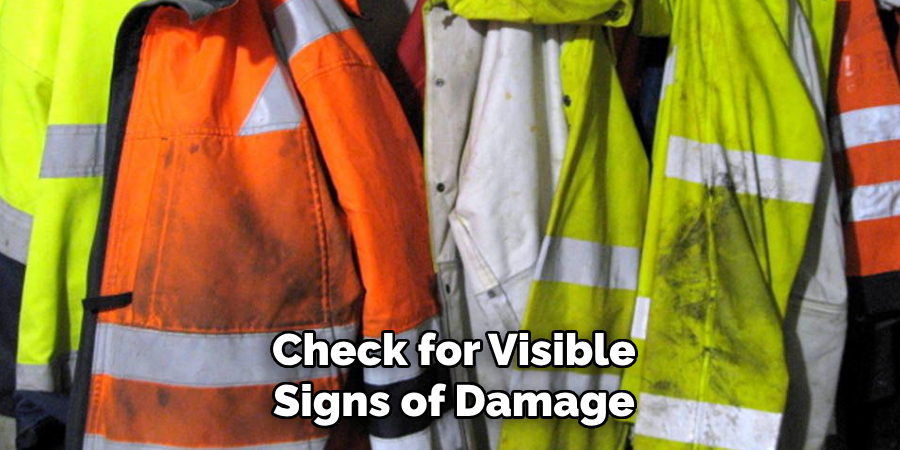
Step 1: Assess the Damage
Begin by carefully examining the zipper to identify the issue. Check for visible signs of damage, such as misaligned or missing teeth, a stuck slider, or a broken zipper pull. Observe if there is any debris, fabric, or thread obstructing the zipper’s movement.
Understanding the type and extent of the damage will help determine the best repair approach and the tools required for the task. Make sure to unzip and zip the zipper gently, if possible, to further diagnose the problem.
Step 2: Remove Debris
If the zipper is stuck, inspect the teeth and slider for any debris, such as dirt, threads, or small fabric pieces. Use tweezers to carefully remove any visible obstructions. For stubborn debris, gently loosen it using needle nose pliers without damaging the teeth or fabric.
Once the area is clear, try moving the slider to see if the zipper operates smoothly. Cleaning the zipper area at this stage is essential, as leftover debris can cause further issues down the line.
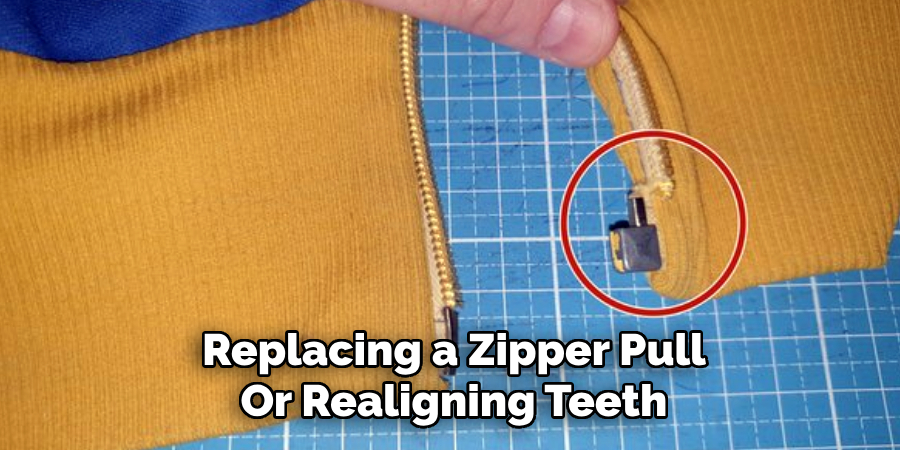
Step 3: Realign the Zipper Teeth
If the zipper teeth are misaligned, use needle nose pliers to gently push them back into place. Be careful not to force them or bend them too much as this may cause further damage. Once the teeth are realigned, move the slider up and down to ensure they interlock properly.
The teeth may require some lubrication to operate smoothly, especially if they have been stuck for a while. You can use a small amount of soap or beeswax on the zipper teeth to help them glide more easily.
Step 4: Repair Broken Stitches
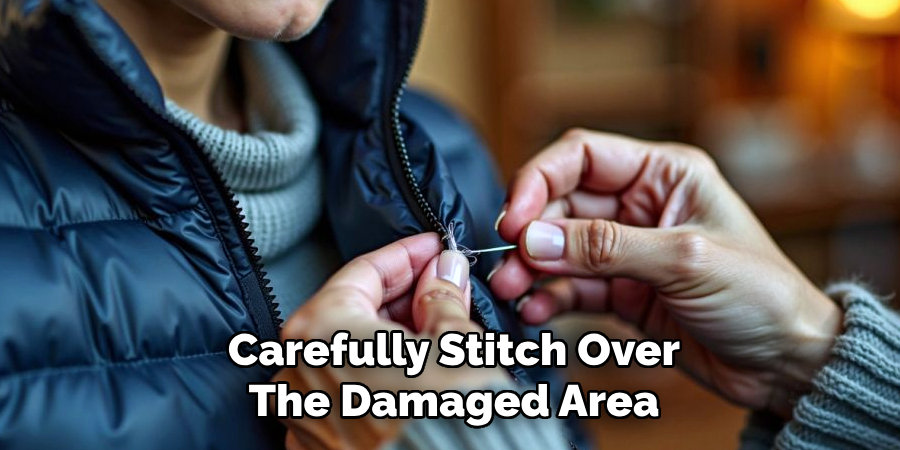
If the stitches on the zipper tape (the fabric that holds the zipper) are broken, use a sewing kit to mend them. Thread your needle and carefully stitch over the damaged area, securing it with a knot at both ends. Make sure not to pull too tight as this can cause puckering in the fabric.
Otherwise, you can also bring your zipper to a professional tailor for more intricate repairs, such as replacing the zipper tape entirely.
Step 5: Replace the Zipper Pull
If the zipper pull is damaged or missing, carefully remove any remaining parts using needle nose pliers. Then, slide on the new zipper pull and secure it in place by pinching it with your fingers.
If you do not have a replacement zipper pull on hand, you can also use a keyring or paperclip as a temporary solution.
Step 6: Test the Zipper Again
After completing any necessary repairs and replacements, test the zipper again by zipping and unzipping it multiple times. Make sure it moves smoothly and without any obstructions.
If the zipper is still not functioning correctly, reassess the steps above or consider seeking professional help.
Step 7: Clean and Lubricate the Zipper
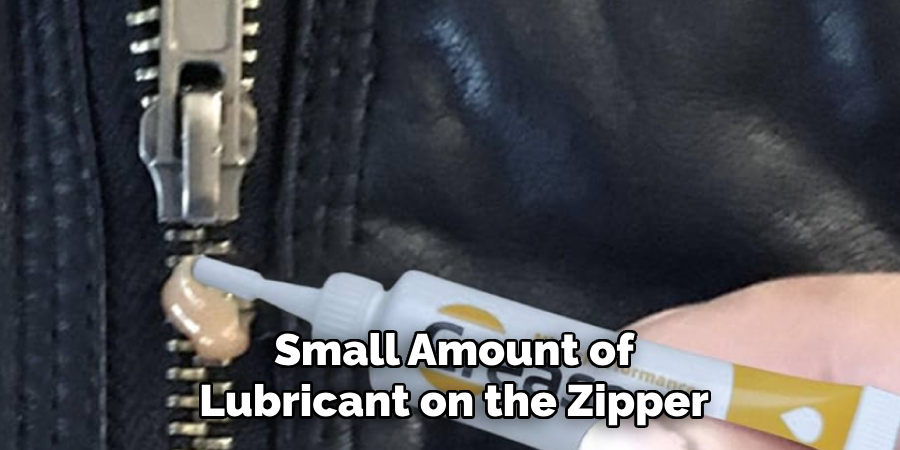
Once your zipper is back in working condition, clean it again using a damp cloth to remove any residual debris. Then, apply a small amount of lubricant on the zipper teeth to prevent future sticking or misalignment.
Make sure to use a lubricant that is safe for fabrics and won’t cause discoloration.
Step 8: Regularly Maintain Your Zippers
To prevent future issues with your safety jacket’s zippers, regularly check them for damage or debris buildup. Clean and lubricate them as needed to ensure they continue to function correctly.
Additionally, make sure not to force the zipper or pull too aggressively, as this can cause damage over time. With proper maintenance, your safety jacket’s zippers should last for a long time without any major issues.
Following these steps on How to repair zippers on a safety jacket, you can successfully repair zippers on a safety jacket and ensure your gear remains fully functional in critical situations. Remember to always prioritize the maintenance and proper use of your safety equipment for optimal performance and longevity.
Do You Need to Use Professionals?
While many zipper issues on safety jackets can be resolved with basic tools and some patience, there are situations where seeking professional help may be beneficial. If the zipper damage is extensive, such as a completely broken zipper track or torn fabric around the zipper, a professional tailor or repair specialist will have the necessary skills and equipment to perform more complex repairs.
Additionally, if you lack the time, confidence, or tools to address the issue yourself, a professional can ensure the repair is done correctly and efficiently. Investing in professional services can save you from potential mistakes and extend the life of your safety jacket, ensuring it remains reliable in critical situations.
How Much Could It Cost?
The cost of repairing a zipper on a safety jacket can vary depending on the extent of the damage and whether you choose to perform the repair yourself or seek professional help. For DIY repairs, expenses are typically minimal, as basic tools like tweezers, pliers, a sewing kit, or a zipper pull replacement usually cost between $5 and $20 in total. These items can often be reused for future repairs, making them a cost-effective option.
If you decide to take your jacket to a professional, the cost can range from $10 to $50, depending on the complexity of the repair and the type of jacket. Simple fixes, such as replacing a zipper pull or realigning teeth, tend to be on the lower end of the price range. However, more significant repairs, such as replacing the entire zipper or repairing torn fabric, can increase the cost.
For specialized safety jackets that require specific materials or expertise, the price may rise further, potentially exceeding $50. It’s essential to weigh the cost of repair against the value of the jacket and consider whether a replacement may be more economical in cases of severe damage.
Frequently Asked Questions
Q1: Can I Use a Zipper Repair Kit for My Safety Jacket’s Zipper?
A: Yes, a zipper repair kit can be used for minor repairs on your safety jacket’s zipper. However, for more severe damage, it is recommended to seek professional help or replace the entire zipper.
Q2: How Do I Lubricate My Safety Jacket’s Zipper?
A: You can use a small amount of soap or beeswax on the zipper teeth to lubricate them. Alternatively, you can also purchase specialized zipper lubricants from outdoor stores or online retailers.
Q3: Can I Replace a Zipper Pull Myself?
A: Yes, replacing a zipper pull is a relatively easy task that can be done at home with basic tools and supplies. However, if you are unsure or uncomfortable with doing it yourself, seeking professional help is always an option.
Q4: How Often Should I Check and Maintain My Safety Jacket’s Zippers?
A: It is recommended to regularly check and maintain your safety jacket’s zippers, especially before using them in critical situations. Aim to clean and lubricate them at least once a month or as needed, depending on usage.
Conclusion
Zippers are an integral part of safety jackets, and keeping them in good working condition is crucial for both functionality and convenience. By following these step-by-step guides on how to repair zippers on a safety jacket, you can save time and money while ensuring that your jacket remains reliable in critical situations.
Remember to regularly maintain your zippers to prevent future issues and always seek professional help if the damage is