
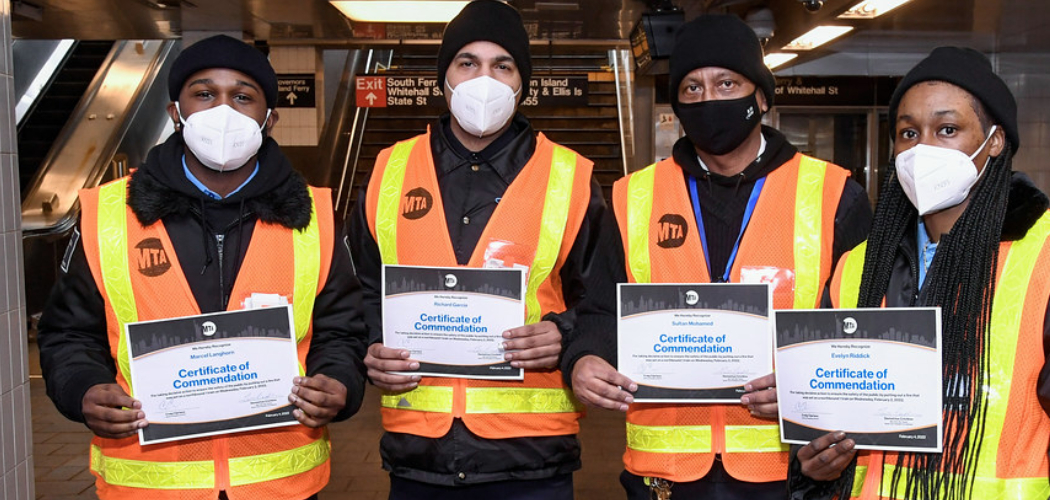
Attaching a name tag to a safety jacket ensures easy identification and enhances workplace safety and organization. Whether you are in a construction zone, a factory, or any other environment requiring high-visibility apparel, adding a name tag makes communication more efficient and personal.

This guide on How to attach a name tag to a safety jacket will walk you through the steps to securely attach a name tag to your safety jacket, ensuring it remains in place during daily activities.
Why Attach a Name Tag to a Safety Jacket?
The primary reason for attaching a name tag to a safety jacket is for easy identification. In high-risk work environments, it is crucial to know who is who and have clear communication among team members. This helps prevent accidents and streamline tasks, ultimately enhancing workplace safety and productivity.
Additionally, attaching a name tag can also serve as a form of personalization and recognition. In large work settings with multiple employees wearing similar safety jackets, adding a name tag can make an individual stand out and feel valued.
Now that we understand the importance of attaching a name tag to a safety jacket let’s dive into the steps to do it correctly.
Needed Materials
A Safety Jacket:
Any safety jacket with a fabric or velcro patch will work. Ensure that the jacket is clean and dry before attaching the name tag.
A Name Tag:
You can use pre-made adhesive name tags or create your own using cardstock paper and a laminator machine.
Strong Adhesive:
Choose an adhesive that is strong enough to hold the name tag in place but also allows for easy removal if needed.
Marker or Pen:
To write on the name tag, choose a permanent marker or pen that won’t smudge or fade easily, especially in outdoor environments.
8 Steps on How to Attach a Name Tag to a Safety Jacket
Step 1: Choose the Location
Decide where the name tag should be placed on the safety jacket. The most common location is on the upper left or right side of the chest area, as this ensures it is easily visible to others. Make sure the area is flat, clean, and free of wrinkles to ensure the name tag adheres properly.
Avoid placing the name tag on highly reflective strips or seams, as this might reduce visibility or affect the adhesive’s ability to stick.
Step 2: Prepare the Name Tag
If using a pre-made adhesive name tag, simply peel off the backing and skip to step 4. If creating your own name tag, write the employee’s name on the cardstock paper, ensuring it is easily visible and legible from a distance. Then, laminate the paper for durability.
It is recommended to use contrasting colors for the name and background to ensure readability.
Step 3: Add Additional Information (Optional)
For added clarity or functionality, you can include additional information on the name tag. This could be the employee’s role, department, or identification number. Including this information can be especially helpful in large teams or job sites where roles and responsibilities must be easily distinguishable.
If space allows, ensure the additional details are written in a smaller font than the employee’s name to avoid cluttering the name tag. Make certain all text remains legible by using a clear font and high-contrast colors. Once you have finished adding the optional information, ensure the text is properly sealed or laminated to prevent damage.
Step 4: Apply the Adhesive
If using an adhesive-backed name tag, remove the protective backing and position the name tag in the chosen location on the safety jacket. Press down firmly on all edges to ensure it adheres securely. If using a separate adhesive, such as a glue stick or double-sided tape, apply the adhesive evenly to the back of the name tag, making sure to cover the entire surface for maximum hold.
Carefully place the name tag onto the jacket in the pre-determined position and press down firmly for a few seconds. Ensure there are no bubbles or loose edges. Allow the adhesive to set according to its instructions before moving or wearing the jacket to ensure the name tag stays firmly in place during use.
Step 5: Consider Adding Reflective Tape
For additional visibility and safety, consider placing reflective tape around the edges of the name tag. This can be especially useful for employees working in low-light conditions or at night. Simply cut small pieces of reflective tape and carefully apply them around the edges of the name tag.
But be mindful not to cover the employee’s name or any important information on the tag.
Step 6: Test the Adhesion
After attaching the name tag, check to ensure it adheres securely to the safety jacket. Gently tug on the edges of the name tag to confirm that it does not shift or peel away. Inspect all corners to verify they are firmly pressed down and free of air bubbles.
If the name tag begins to lift, apply pressure to those areas or add additional adhesive if necessary. Testing the adhesion ensures that the name tag will remain in place during regular use and under various working conditions. Make any necessary adjustments before wearing the safety jacket to ensure optimal durability and functionality.
Step 7: Train Employees on How to Attach Name Tags
For large teams or companies, it may be necessary to train employees on how to properly attach name tags. This will ensure consistency and minimize any issues with adhesion or placement. Include instructions in your safety training or provide a visual guide for reference. Encourage employees to regularly check and reinforce their name tags if needed.
The more important the employees consider attaching and wearing their name tags, the higher the chances of successful implementation.
Step 8: Regularly Check Name Tags for Wear and Tear
Due to regular use and exposure to various working conditions, name tags may need to be replaced periodically. Make sure to regularly check each employee’s name tag for wear and tear, such as fading or peeling edges. If necessary, provide replacements or allocate time for employees to make new ones themselves. This will ensure that all safety jackets have visible and legible name tags at all times.
By following these steps on How to attach a name tag to a safety jacket, you can properly attach a name tag to a safety jacket and enhance workplace safety and communication among team members. Remember to regularly check and reinforce the name tags to ensure they remain visible and legible, especially in hazardous environments.
Additional Tips
- Use a waterproof or weather-resistant adhesive for outdoor use and in wet or humid conditions.
- Avoid using stickers, as they may not adhere well to fabric and can easily peel off.
- Consider using a clear sleeve holder for the name tag if you want to be able to change out the information frequently.
- If attaching multiple name tags on one jacket, make sure there is enough space between each tag for easy readability.
- Always check with your company’s safety regulations before attaching any additional items to safety jackets.
- Encourage employees to regularly check their name tags and report any issues immediately.
- If possible, include the company logo or branding on the name tag for a more professional look.
- Ensure all name tags are removed and properly disposed of before discarding or reusing safety jackets to avoid confusion or misidentification.
Frequently Asked Questions
Q: Can I Use Any Type of Adhesive for Attaching a Name Tag to a Safety Jacket?
A: It is recommended to use an adhesive specifically designed for fabric or clothing, such as double-sided tape or fabric glue. This will ensure maximum hold and durability. However, if using an adhesive-backed name tag, the adhesive provided should be suitable for use on clothing.
Q: Can I Attach a Name Tag to Any Type of Safety Jacket?
A: Yes, as long as the jacket has a flat and clean surface to which the name tag can adhere. Avoid placing the name tag on highly reflective strips or seams that may affect adhesion or visibility.
Q: How Often Should I Replace Name Tags on Safety Jackets?
A: Regularly check and replace name tags as needed, especially if they become faded or damaged. This will ensure all employees have visible and legible name tags at all times for safety and communication purposes.
Q: How Can I Ensure Name Tags Stay Visible and Legible in Hazardous Environments?
A: In addition to regularly checking and replacing name tags, consider using high-visibility colors for the name and background of the tag. You can also add reflective tape around the edges for enhanced visibility in low-light or hazardous conditions. Encourage employees to regularly check their name tags and reinforce them if needed.
Conclusion
By properly attaching a name tag to a safety jacket, you can enhance workplace safety and communication among team members. Remember to follow all the steps on How to attach a name tag to a safety jacket carefully, use suitable adhesives, and regularly check and reinforce name tags as needed.
With these practices in place, employees can easily identify each other while working, promoting a safer and more efficient work environment. So go ahead and attach those name tags to your safety jackets! Happy and safe working!