

Are you looking to beef up the security of your home or office? One effective way to do that is by installing an indoor siren. An indoor siren is a loud alarm that goes off when triggered, alerting you and others nearby of potential danger.
Installing an indoor siren is a straightforward process that enhances the security of your home or office. These devices are designed to provide loud, audible alerts during emergencies, such as break-ins, fires, or other security breaches. Proper installation ensures the siren functions effectively, maximizing its coverage and responsiveness.
This guide on how to install Indoor Siren will walk you through the necessary steps to install an indoor siren safely and efficiently, from preparing your tools to testing the system for optimal performance.
What Are the Benefits of Installing an Indoor Siren?
Before we dive into the installation process, let’s first understand the benefits of having an indoor siren.
- Deterrent: The presence of a loud alarm can be enough to deter potential intruders or criminals from targeting your home or office.
- Quick Response: In case of a break-in or emergency, the loud siren will immediately sound off, alerting you and others nearby to take necessary action.
- Peace of Mind: With an indoor siren installed, you can know that your home or office is more secure and better prepared for any unforeseen events.
- Added Layer of Security: Along with other security measures, an indoor siren provides protection for your property and loved ones.
These are just some of the many benefits of installing an indoor siren. Now, let’s move on to the installation process.
What Will You Need?
Before you begin installing your indoor siren, make sure you have the following tools and materials ready:
- Indoor siren and its components (mounting bracket, screws, wires)
- Screwdriver
- Drill
- Wire stripper
- Electrical tape
- A power source (batteries or electrical outlet)
Once you have all the necessary tools and materials, you can start the installation process.
10 Easy Steps on How to Install Indoor Siren
Step 1: Choose a Suitable Location

Selecting the right location for your indoor siren is crucial for its effectiveness. Begin by identifying a central spot in your home or office where the siren can be heard throughout the premises. Avoid areas with heavy insulation or soundproofing, as these can muffle the siren’s sound. Ideally, the siren should be placed high on a wall or ceiling, away from any obstructions like furniture or curtains that could block sound waves.
Ensure the location is near an accessible power source if the siren requires electrical connectivity. Additionally, consider whether the siren is close enough to your security sensors or control panel to maintain a strong and consistent connection. A well-chosen location will enhance the siren’s range and ensure prompt response during emergencies.
Step 2: Gather the Necessary Tools and Equipment
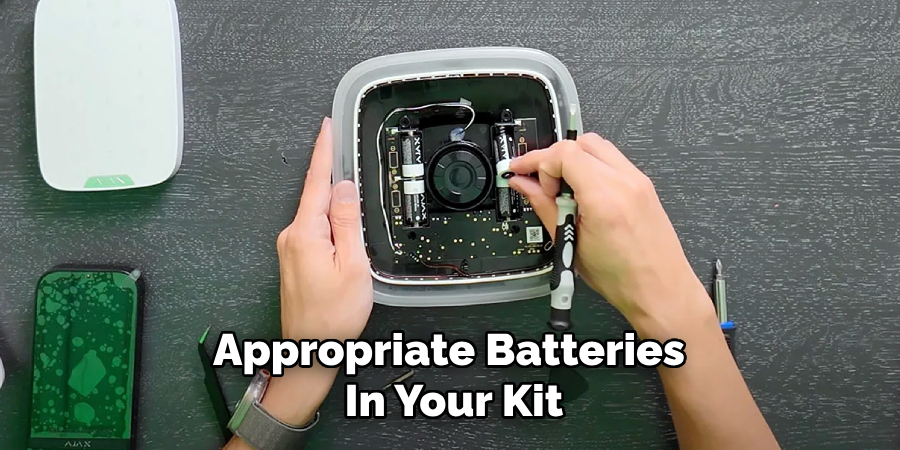
Before installing, ensure you have all the necessary tools and equipment ready. Common tools required include a drill, screws, wall anchors, a screwdriver, measuring tape, and a pencil for marking. If a battery powers your siren, include the appropriate batteries in your kit. For electrically powered sirens, check that you have compatible cables and possibly a power adapter. The right tools will make the installation smoother and prevent unnecessary delays. Double-check the indoor siren’s user manual for any specific tools or components that might be required.
Step 3: Mark the Mounting Location
Using a measuring tape and pencil, carefully mark the exact spot where the siren will be installed. Ensure the location aligns with the user manual’s recommendations and consider factors such as accessibility, signal range, and audibility. If mounting on a wall, use the siren’s mounting bracket or template (if provided) to mark where the screws or anchors will need to be placed. Double-check your measurements to ensure accuracy before proceeding to the next step.
Step 4: Drill Holes and Insert Anchors
Once the mounting location is marked, use a drill to create holes where the screws or anchors will be placed. Make sure to use a drill bit size that matches the specifications mentioned in the user manual or the mounting hardware provided. If installing the siren on drywall or other less sturdy surfaces, insert wall anchors to ensure a secure installation. After inserting the anchors, align the mounting bracket or template with the drilled holes and prepare for the next step.
Step 5: Attach the Siren to the Mounting Bracket
Carefully position the siren onto the mounting bracket or template. Secure it in place using the screws provided in the installation kit, ensuring they are appropriately tightened but not overtightened to avoid damage. Once attached, double-check that the siren is stable and firmly fixed. Ensure it is appropriately aligned and all components securely fastened before proceeding to the wiring or setup phase.
Step 6: Connect the Wiring
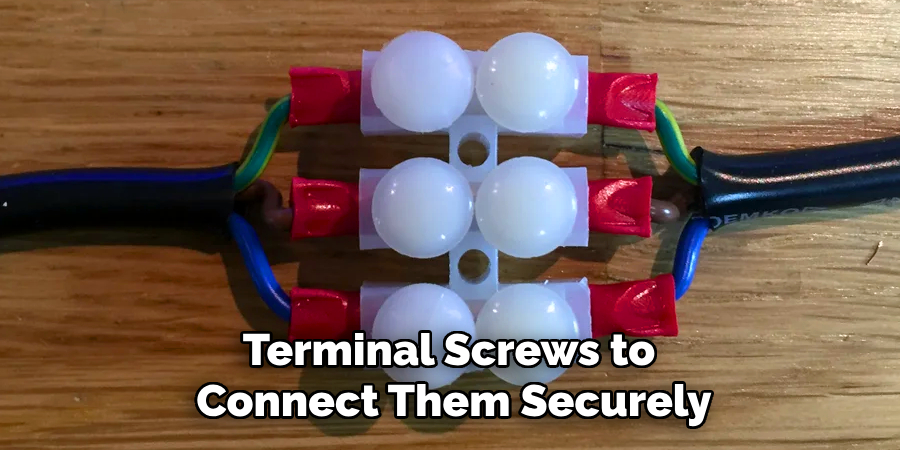
Begin by identifying the wires from the siren and the corresponding connections from your alarm system or power source. Refer to the wiring diagram provided in the user manual to ensure proper connections. Carefully strip the ends of the wires if needed, and use wire connectors or terminal screws to connect them securely. Double-check each connection to confirm there are no loose wires, and ensure that the connections match the polarity and specifications outlined. Once finished, neatly organize the wires to avoid tangling or interference.
Step 7: Test the Siren
After completing the wiring, it’s essential to test the siren to ensure it is functioning correctly. Activate your alarm system’s testing mode as outlined in the user manual. Trigger the siren to verify it produces the appropriate sound and responds accurately to the alarm system’s signals. Check for any irregularities, such as weak sound output or delays in activation. If issues are identified, recheck the wiring connections and consult the manual’s troubleshooting section. Once the siren operates appropriately, proceed to finalize the installation.
Step 8: Finalize the Installation
It’s time to finalize the installation with the siren tested and functioning correctly. Secure the siren in its designated mounting location using screws or brackets, ensuring it is firmly attached and positioned for optimal sound projection. Double-check all mounting hardware to confirm it is tight and secure. Gather and fasten any loose wires with cable ties to maintain a clean and organized setup. Finally, restore your alarm system to its normal operational mode as outlined in the user manual. Your siren installation is now complete, and your alarm system is ready for use.
Step 9: Perform a System-Wide Test
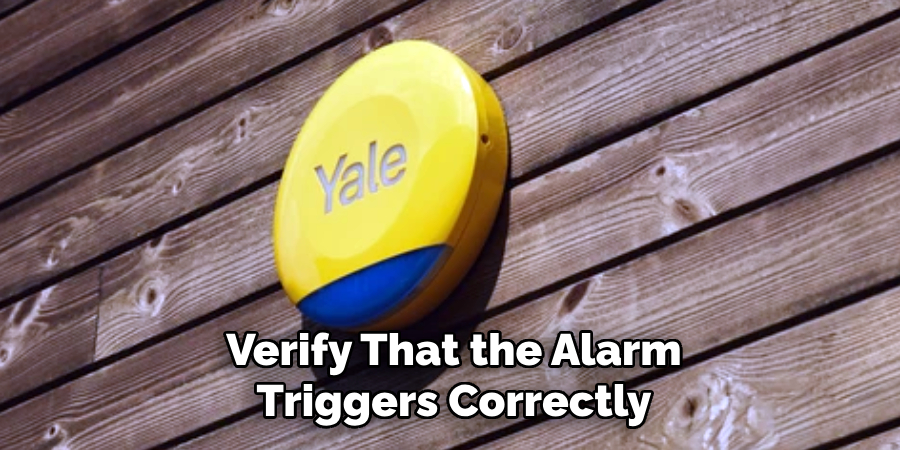
After completing the installation and securing all components, conduct a system-wide test to ensure every part of the alarm system functions as intended. Activate the alarm using the test mode outlined in the user manual and check all connected devices, including sensors, control panels, and the newly installed siren. Verify that the alarm triggers correctly and that the siren produces the desired sound output. Address any issues or inconsistencies immediately by following the manual’s troubleshooting section. Once the system passes all tests, your alarm system is fully operational and ready to provide security and peace of mind.
Step 10: Regular Maintenance and Monitoring
Establish a regular maintenance schedule for your alarm system to ensure long-term reliability. Inspect all components, including the siren, sensors, and control panels, for signs of wear or damage. Clean the devices to prevent dust buildup, which can hinder performance. Test the system periodically to confirm that it remains fully operational, and replace batteries or faulty components as needed. Review the user manual for recommended maintenance guidelines specific to your model. Consistent upkeep will extend the life of your alarm system and maintain its effectiveness in protecting your property.
By following these steps and regularly maintaining your alarm system, you can ensure that your newly installed siren will continue to provide reliable and effective protection for years.
5 Things You Should Avoid
- Placing the Siren in an Obstructed Area: Avoid installing the siren in a location where furniture, curtains, or other objects can block the sound. This reduces its effectiveness in alerting people to emergencies.
- Ignoring the Manufacturer’s Instructions: Skipping or misreading the provided installation guide can lead to improper setup, affecting the device’s functionality and reliability.
- Mounting Near Noise Sources: Do not install the siren near televisions, speakers, or other devices that generate constant noise. This can interfere with the siren’s ability to be distinctly heard during an emergency.
- Using Improper Tools: Avoid using incorrect tools or insufficient mounting hardware during installation, as this can compromise the stability and durability of the device.
- Neglecting Regular Maintenance Checks: Once installed, neglecting to test and maintain the siren routinely can result in malfunction during critical moments. Always check the battery or power supply and clean the unit periodically to ensure optimal performance.
Conclusion
How to install Indoor Siren is essential to ensure its reliability and effectiveness during emergencies.
You can achieve an optimal setup by following the manufacturer’s instructions, choosing an appropriate location, using the correct tools, and avoiding common installation mistakes. Additionally, conducting regular maintenance checks will help prolong the device’s lifespan and maintain its functionality.
By adhering to these guidelines, you ensure that your indoor siren will perform as intended and provide the necessary alerts when needed most.