

Are you tired of being stuck in your car because you can’t unlock your seatbelt? It’s a frustrating experience that many people have encountered before. Luckily, unlocking a seatbelt is a simple process that takes a few seconds.
Unlocking a seatbelt is a straightforward yet essential skill to ensure travel safety and convenience. Whether in a car, an airplane, or another vehicle equipped with seatbelts, knowing how to release the buckle properly is crucial for exiting quickly and securely. Additionally, having this knowledge can also be helpful in emergencies.
This guide on how to unlock a seatbelt will walk you through the simple steps needed to unlock a seatbelt efficiently, helping you stay prepared for various situations.
What Are the Causes of a Stuck Seatbelt?
There are various reasons why a seatbelt may become stuck and seemingly impossible to unlock. Some common causes include:
- A malfunctioning or damaged release button or latch
- A twisted or tangled seatbelt
- Dirt, debris, or other foreign objects get trapped in the buckle mechanism.
If you encounter any of these issues, follow the steps outlined below to unlock your seatbelt safely.
10 Easy Steps on How to Unlock a Seatbelt
Step 1. Stay Calm and Assess the Situation:
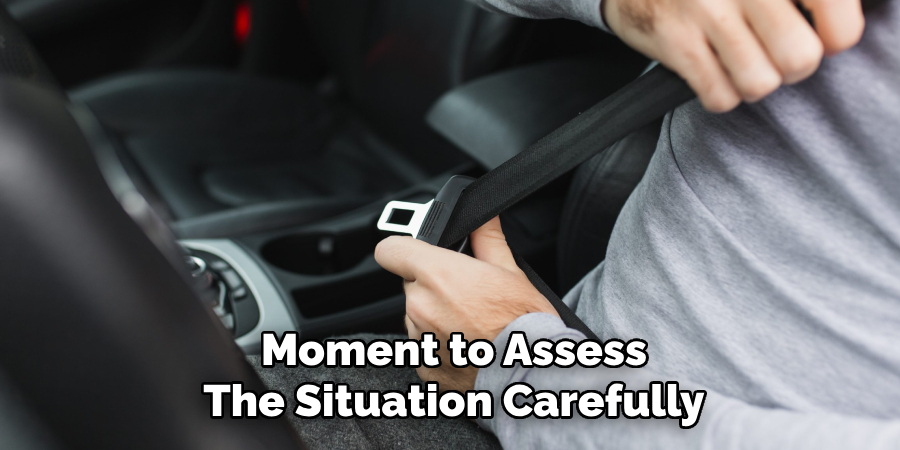
When you realize your seatbelt is stuck, remaining calm and avoiding panicking is essential. Take a moment to assess the situation carefully. Is the seatbelt simply tangled, or does it appear that the buckle itself is jammed? Determining the root cause will help you decide the best course of action. If you’re in a moving vehicle, ensure the driver is aware of the issue and focus on your safety until the car can be brought to a safe stop. Staying composed will help you think clearly and prevent you from inadvertently making the problem worse by pulling or tugging aggressively on the seatbelt.
Step 2. Inspect the Seatbelt for Twists or Tangles:
Carefully examine the seatbelt to see if it is twisted or tangled. Sometimes, the belt can get caught in a loop or fold over itself, causing it to lock up. Gently pull the seatbelt outward and straighten any twists or knots you find. Be cautious not to yank it too hard, as this could worsen or damage the mechanism. If untangling the seatbelt resolves the issue, test it by slowly pulling and retracting it to ensure it moves freely.
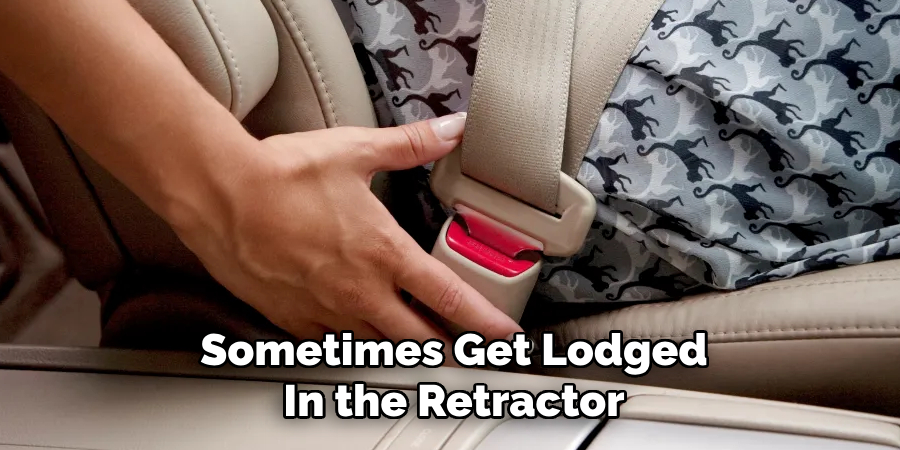
Step 3. Check for Obstructions in the Seatbelt Mechanism:
Inspect the area where the seatbelt retracts into the mechanism. Dirt, debris, or small objects can sometimes get lodged in the retractor, preventing the seatbelt from functioning properly. Use a flashlight to look inside the opening carefully, and if you notice any obstructions, gently remove them using a pair of tweezers or a similar tool. Avoid forcing anything into the mechanism, as this could cause additional damage. Once clear, test the seatbelt by pulling it out and letting it retract to see if the issue has been resolved.
Step 4. Lubricate the Seatbelt Mechanism (If Necessary):
The mechanism may need lubrication if the seatbelt still doesn’t retract smoothly. Use a silicone-based spray lubricant, as it is safe for use on seatbelt components and won’t cause damage or residue buildup. Spray a small amount onto the retractor mechanism, careful not to oversaturate it. Allow the lubricant to penetrate the moving parts, then gently test the seatbelt by pulling and retracting it several times. This should help improve its movement and restore functionality.
Step 5. Seek Professional Assistance:
If the seatbelt still does not function properly after cleaning and lubricating, it may indicate a deeper issue with the retractor mechanism or internal components. At this point, it is best to consult a professional mechanic or visit a certified repair shop. Attempting further repairs without the necessary expertise could lead to additional damage or compromise the safety of the seatbelt system. A professional will have the tools and knowledge to thoroughly assess and fix the issue, ensuring your seatbelt operates safely and effectively.
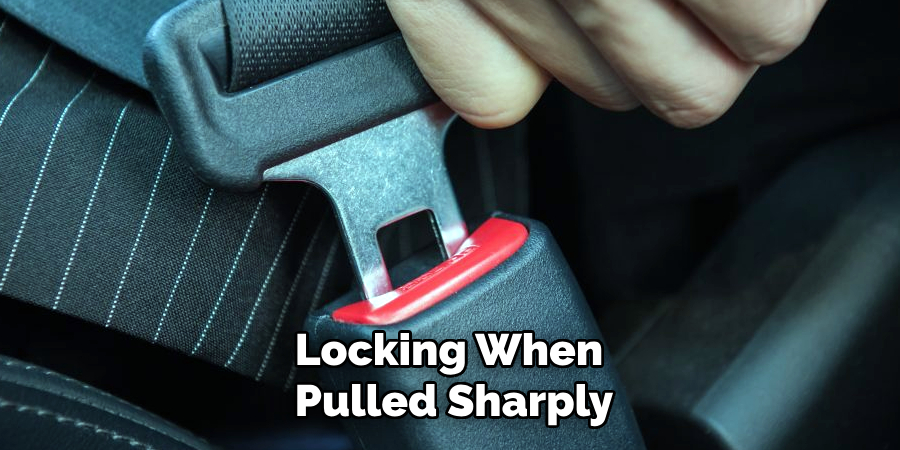
Step 6. Test the Seatbelt Thoroughly:
Once the seatbelt appears to be functioning correctly, ensure you test it thoroughly before considering the repair complete. Secure the seatbelt across your body as you normally would, checking for smooth retraction and proper locking when pulled sharply. Additionally, try multiple retractions and extensions to confirm consistent performance. This final step is crucial to guarantee the seatbelt is safe and reliable for everyday use. If any issues persist, do not hesitate to revisit the previous steps or seek professional assistance.
Step 7. Practice Regular Maintenance:
To avoid future issues with your seatbelt, it’s vital to incorporate regular maintenance into your routine. Periodically inspect the seatbelt for signs of wear and tear, such as fraying, stiffness, or dirt accumulation. Clean the seatbelt using a mild fabric cleaner and a soft cloth, ensuring no abrasive materials are used that could damage the fabric. Keeping the seatbelt’s retractor mechanism free of debris is also essential for smooth operation. Proactive care not only extends the lifespan of the seatbelt but also ensures that it remains a reliable safety feature in your vehicle.
Step 8. Address Seatbelt Repairs Promptly:
If you notice any visible damage, fraying, or malfunctioning components during your inspection or testing, it’s crucial to address repairs immediately. Damaged seatbelts can compromise vehicle safety and fail to protect occupants during an accident. Consult your vehicle’s manual for guidance, or seek the help of a certified professional to repair or replace the seatbelt as needed. Timely repairs ensure the seatbelt retains its effectiveness and complies with safety standards.
Step 9. Keep Seatbelts Clean and Free of Debris:
Regularly cleaning seatbelts is essential to maintain their functionality and longevity. Use a mild soap and warm water to gently clean the webbing, avoiding harsh chemicals that could weaken the material. Ensure the seatbelt is fully dry before retracting it to prevent moisture from entering the mechanism. Additionally, check for any debris or dirt accumulation in the retractor or buckle, as these can interfere with proper operation. Keeping seatbelts clean preserves their condition and ensures they function effectively when needed.
Step 10. Troubleshooting Additional Issues:

While most seatbelt problems can be resolved using the above steps, there may be instances where the issue is more complex. Some common problems with seatbelts include damaged buckles, faulty sensors or wiring, and broken retractors or locking mechanisms. It’s best to seek professional assistance for a thorough diagnosis and repair in these cases. Remember always to prioritize your safety when dealing with any vehicle malfunctions, and never hesitate to seek help if you are unsure how to proceed. Your seatbelt is a critical safety feature that should always function properly to protect you in an accident.
By following these steps, you can address common issues with your vehicle’s seatbelt and ensure it remains a reliable safety feature.
5 Things You Should Avoid
- Forcing the Buckle: Never apply excessive force to pull or hit the buckle. This can damage the internal mechanism and make the seatbelt unusable.
- Using Sharp Objects: Avoid inserting sharp objects such as knives, screwdrivers, or keys to pry open the buckle. This could cause permanent damage or injury.
- Ignoring Debris or Obstructions: If there is dirt or debris in the buckle, do not continue forcing it open. Attempting to unlock it without addressing the obstruction could worsen the problem.
- Panicking in Emergency Situations: Staying calm is crucial. Panicking may lead to impulsive actions that can break the buckle or delay your ability to exit safely.
- Skipping Maintenance: Failing to inspect and clean your seatbelt mechanisms regularly can lead to wear and tear, increasing the likelihood of malfunctions over time. Always ensure the seatbelt is in proper working order.
By following these tips, you can safely and efficiently unlock your seatbelt. Remember always to prioritize safety and avoid unnecessary actions that could cause harm.
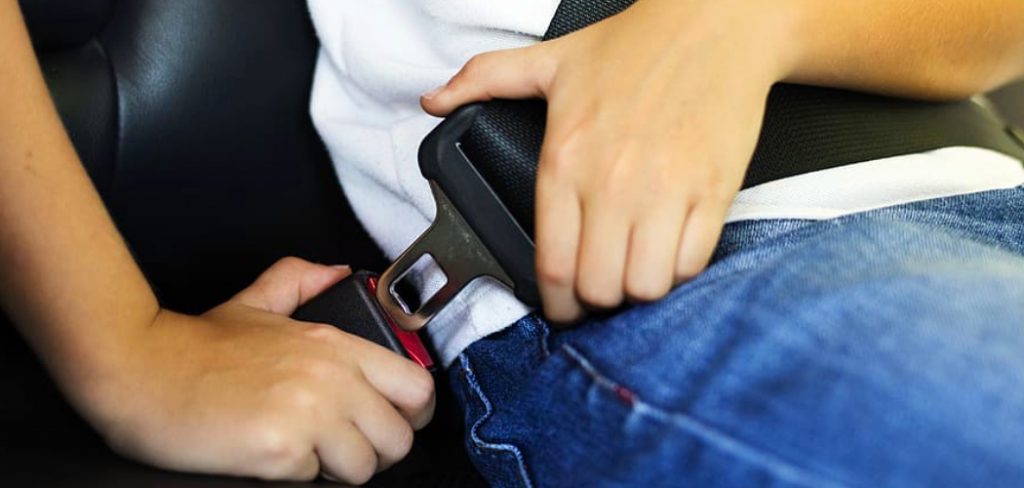
How Do You Buckle a Seatbelt?
To properly buckle a seatbelt, follow these steps:
- Sit in the designated seating position and check that the seatbelt is easily accessible.
- Pull out the lap belt portion of the seatbelt and fasten it across your lap, ensuring it is snug but not too tight.
- Pull the shoulder belt across your chest until it clicks into place on the opposite side of your body.
- Adjust the shoulder belt to fit comfortably on your body, and ensure no twists or tangles in the belt.
- Double-check that both seatbelt parts are securely fastened and that there is no slack in either part.
It’s important to note that seatbelts should always be worn when a vehicle is in motion. Failure to properly buckle up can have serious consequences in an accident or sudden stop.
Conclusion
Locate the release button on the seatbelt buckle to unlock a seatbelt, typically positioned on the side or top of the buckle mechanism. Press the button firmly to disengage the latch, allowing the seatbelt to retract.
Once the latch is released, guide the belt back to its resting position to prevent it from twisting or tangling. Always ensure the seatbelt is fully retracted and ready for the subsequent use. Proper handling of seatbelts promotes longevity and provides safety for future rides.
Hopefully, the article on how to unlock a seatbelt has given you valuable information and tips to operate and maintain your seatbelt safely. Happy driving!