

Are you having trouble with your engine’s performance? Your vehicle’s camshaft sensor could be the culprit. Don’t worry; the article on resetting the camshaft sensor is here to help you.
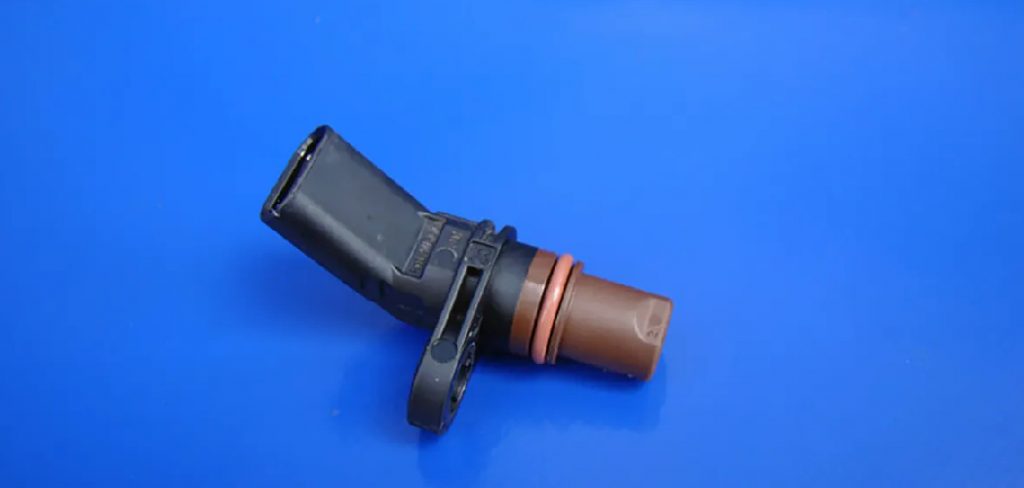
The camshaft sensor is a crucial component in many modern vehicles, as it monitors the position and speed of the camshaft to ensure optimal engine performance. If the sensor malfunctions, it can lead to issues such as rough idling, engine misfires, or difficulty starting the vehicle. Resetting the camshaft sensor can resolve these problems without the need for a replacement.
This guide on how to reset camshaft sensor will provide a step-by-step approach to safely and effectively reset your camshaft sensor, helping to restore your vehicle’s functionality and performance.
What Are the Benefits of Resetting Your Camshaft Sensor?
Resetting your camshaft sensor can have several benefits, including the following:
- Improved Engine Performance: As mentioned earlier, a malfunctioning camshaft sensor can cause engine performance issues. By resetting it, you can improve the overall functioning of your engine and potentially resolve any problems causing disruptions.
- Cost-effective Solution: In many cases, a simple reset may solve the issue with a faulty camshaft sensor, saving you from spending money on a replacement part. This is especially beneficial for those on a budget or looking to avoid unnecessary expenses.
- Prevent Further Damage: Ignoring an issue with your camshaft sensor can lead to more significant problems down the line, such as engine misfires or stalling. It is crucial to address any warning signs and take preventative measures to avoid more costly repairs in the future.
- Better Fuel Efficiency: A faulty camshaft sensor can also decrease fuel efficiency due to incorrect timing and fuel injection. By resetting it, you can improve your vehicle’s overall performance and potentially save money on gas in the long run.
What Will You Need?
To reset a camshaft sensor, you will need the following tools and materials:
- Socket wrench
- Sockets of various sizes (depending on your vehicle)
- Screwdriver (if necessary)
- New camshaft sensor (if needed)
- Pen and paper (optional for documenting any error codes or diagnostic trouble codes)
Once you have gathered all the necessary tools and materials, you can begin resetting your camshaft sensor.
8 Easy Steps on How to Reset Camshaft Sensor
Step 1. Turn Off the Engine
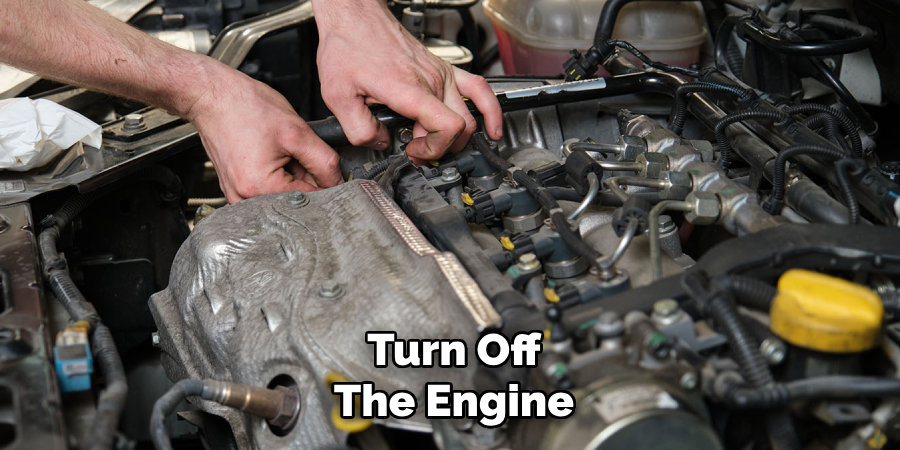
Before proceeding, ensure the vehicle is parked on a level surface and the ignition is completely off. It’s crucial to prioritize safety, so double-check that the engine is fully turned off and has cooled down adequately to avoid burns or other injuries. Disconnecting the car battery’s negative terminal is also recommended as a precautionary measure to eliminate any risk of electrical shock or accidental ignition. This step will set the foundation for safely working on your vehicle during the reset process.
Step 2: Locate the Reset Button or Fuse
Next, identify the location of the reset button or fuse associated with the system you are working on. Refer to your vehicle’s user manual for specific instructions, as the location can vary depending on the make and model of your car. Common areas to check include underneath the dashboard, near the driver’s side footwell, and inside the engine compartment. If it’s a fuse you need to reset, locate the fuse box and use the diagram on the cover or in the manual to identify the correct one. Make sure to handle all components gently to avoid damage.
Step 3: Test the System
Once you have identified and possibly replaced or reset the required fuse, it’s time to test the system to ensure everything functions properly. Start your vehicle and check the feature or component linked to the fuse you worked on. If it operates correctly, the issue is resolved. If the problem persists, re-examine the fuse or seek professional assistance, as the problem might originate from a different component or wiring issue. Always prioritize safety throughout the process.
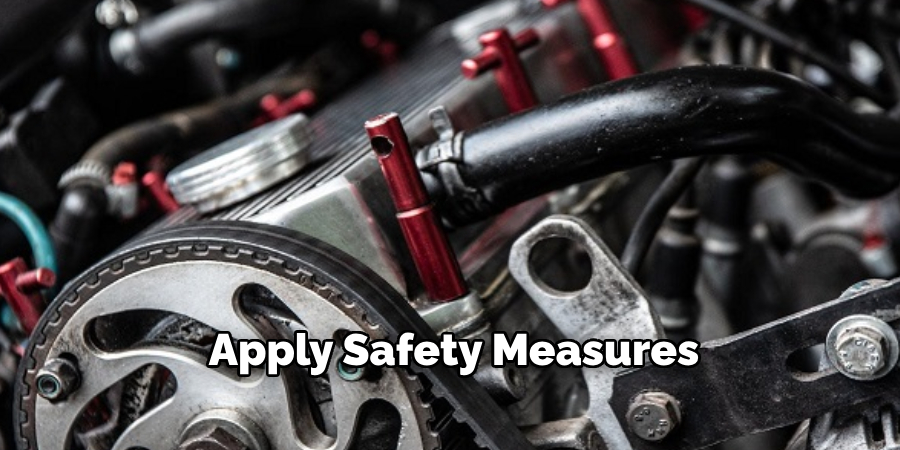
Step 4: Apply Safety Measures
Safety should always be the top priority when working on any electrical components in a vehicle. Before beginning any work, it is important to disconnect the battery and wait for at least 5-10 minutes before starting. This will ensure that all capacitors are fully discharged and reduce the risk of electric shock.
Additionally, make sure to wear protective gear, such as gloves and safety glasses, when handling fuses or working with any electrical components. It is also recommended that a fire extinguisher be nearby in case of any accidents.
If you are unsure about your abilities or lack proper knowledge of vehicle electrical systems, it is best to seek professional assistance rather than risk further damage or injury.
Step 5: Taking Precautions
When working with electrical components, taking the necessary precautions to ensure safety is always essential. This not only protects you from potential harm but also prevents damage to your vehicle and other equipment.
One of the first precautions is ensuring all capacitors are fully discharged before working on any electrical components. Capacitors can store electricity even when the power source is disconnected, so it is crucial to discharge them properly.
In addition, wearing protective gear such as gloves and safety glasses can help minimize the risk of injury while handling fuses or other electrical parts. It is also a good idea to keep a fire extinguisher nearby in case of any accidents.
Step 6: Troubleshooting
When troubleshooting electrical components, a systematic approach is essential to identify and resolve issues effectively. Start by inspecting the circuit visually to check for noticeable signs of damage, such as burnt components, loose connections, or broken wires.
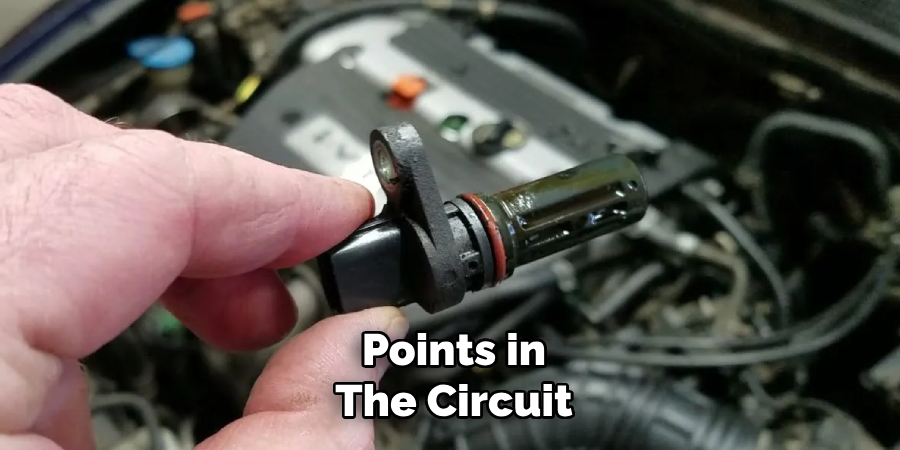
To pinpoint irregularities, use a multimeter to measure voltage, current, and resistance at key points in the circuit. Make sure to check for blown fuses or tripped circuit breakers, as these are common causes of electrical failures. Keep an eye out for overheating components, which can indicate overloading or short circuits.
Step 7: Final Testing
Once all suspected issues have been addressed, it’s time to conduct the final testing of the circuit. Start by reconnecting all components securely and ensuring that connections are tight and suitably insulated. Gradually supply power to the circuit while closely monitoring its performance. Use your multimeter to verify that voltage, current, and resistance levels fall within the expected ranges specified for the circuit design.
Pay attention to signs of irregular operation, such as flickering lights, unresponsive components, or unusual noises, as these could indicate lingering issues. If the circuit includes moving parts or complex functionalities, test each feature thoroughly to confirm proper operation. For added safety, consider using a variable power supply during initial testing, allowing you to slowly ramp up voltage and detect problems without risking further damage.
Step 8: Keep a Record of Your Circuit Design
Maintaining a detailed record of your circuit design is an essential step in any successful project. Begin by documenting the original design schematic, including all components, their specifications, and their placement within the circuit. Note any changes or modifications you made during the building or testing phases, as these adjustments could be critical for troubleshooting or replicating the circuit later.
Keep track of component values, part numbers, and suppliers in case replacements are needed or if you intend to scale the design for more significant production. It’s also good to include visual references, such as drawings, photos, or layout screenshots, to make the documentation more comprehensive and easier to interpret.
Following these steps will give you a well-documented and organized circuit design that can be easily reproduced or modified.
5 Things You Should Avoid
- Skipping the Diagnostic Process: Avoid resetting the camshaft sensor without first properly diagnosing the issue. Resetting it without identifying the underlying problem can lead to recurring errors or potential damage to the engine.
- Using Incorrect Tools: Never attempt to reset or replace the sensor with tools not designed for the job. This can result in improper installation, damage to the sensor, or injury during the process.
- Ignoring Manufacturer Guidelines: Manufacturers provide specific instructions for resetting or replacing the camshaft sensor. Failing to follow these guidelines can cause further issues or void warranties.
- Resetting Without Disconnecting the Battery: Always disconnect the battery before performing any work on the camshaft sensor. Skipping this step can lead to electrical shorts or system errors.
- Neglecting to Test After Reset: Once the reset is complete, it’s essential to test the engine and run diagnostics to ensure the issue is resolved. Ignoring this step can leave you unaware of remaining or unresolved problems.
By avoiding these common mistakes and following proper procedures, you can successfully reset your camshaft sensor without causing further damage to your engine.
Conclusion
How to reset camshaft sensor requires careful attention to detail and following proper procedures to ensure both safety and effectiveness.
By avoiding common mistakes, such as neglecting to disconnect the battery or skipping post-reset tests, you can prevent unnecessary issues and ensure a successful reset. Always consult your vehicle’s manual and follow the recommended guidelines to perform the reset accurately. With the right tools and precautions, you can quickly address camshaft sensor issues and restore optimal engine performance.
Hopefully, this guide has provided valuable insights and tips for resetting your camshaft sensor.
About
Safety Fic is a distinguished figure in the world of Diy design, with a decade of expertise creating innovative and sustainable Diy solutions. His professional focus lies in merging traditional craftsmanship with modern manufacturing techniques, fostering designs that are both practical and environmentally conscious. As the author of diy, Safety Fic delves into the art and science of Safety Fic-making, inspiring artisans and industry professionals alike.
Education RMIT University
(Melbourne, Australia) Associate Degree in Design (Safety Fic) Focus on sustainable design, industry-driven projects, and practical craftsmanship. Gained hands-on experience with traditional and digital manufacturing tools, such as CAD and CNC software.
Nottingham Trent University
(United Kingdom) Bachelor’s in diyfastly.com and Product Design (Honors) Specialized in product design with a focus on blending creativity with production techniques. Participated in industry projects, working with companies like John Lewis and Vitsoe to gain real-world insights.
Publications and Impact
In diy, Safety Fic his insights on indoor design processes, materials, and strategies for efficient production. His writing bridges the gap between artisan knowledge and modern industry needs, making it a must-read for both budding designers and seasoned professionals.