
Losing the key to a locked drawer can be an incredibly frustrating experience, especially when you need immediate access to its contents. Fortunately, several effective methods exist for resolving this situation without breaking or damaging the drawer. Knowing how to unlock a drawer without a key in a non-destructive way is essential for preserving both the drawer itself and the integrity of the locking mechanism, ensuring it remains functional for future use.

Whether you’ve misplaced the key, it’s broken, or the lock has jammed, this article aims to provide a practical, step-by-step guide to unlocking a drawer safely. By using common tools and straightforward techniques, anyone can learn to address this issue with minimal hassle and no harm done to the drawer or its contents. Read on to discover how to unlock a drawer without a key easily and effectively.
Materials and Tools Needed
Before attempting to unlock a drawer without a key, gathering the appropriate materials and tools is essential. Having the right items on hand can make the process smoother and prevent accidental damage to the drawer or the locking mechanism. Below is a list of essential and optional tools that may be required:
Basic Tools for Unlocking a Drawer
- Small flathead screwdriver or butter knife – Useful for prying open simple lock mechanisms or as a substitute tension tool.
- Paperclip or hairpin – Ideal for creating a makeshift lockpick for certain types of locks.
- Lubricant (e.g., WD-40 or graphite powder) – Helps loosen stiff or jammed locks, making them easier to manipulate.
- Pliers or tweezers (optional) – Can assist in bending or adjusting improvised tools like paperclips or hairpins.
- A tension wrench – Often necessary for applying the correct amount of pressure while using lockpicking techniques.
Optional Items
- Unlocking kit – If available, specialized kits are tailored to specific lock types, making the process more efficient.
- Locksmith’s pick set – These tools offer precision and effectiveness for those familiar with lockpicking methods.
- Spare key or duplicate key – If accessible, this is the simplest and most reliable solution to unlock the drawer.
By gathering these tools in advance, you’ll be well-prepared to handle most drawer-lock-related issues safely and effectively.
Assessing the Type of Lock
Understanding the type of lock on your drawer is essential to ensure the correct approach to unlocking it. Commonly, drawer locks can be categorized into three types:
Common Types of Drawer Locks
- Pin Tumbler Locks – These are frequently found in office and desk drawers. They consist of a series of pins, and unlocking requires aligning the pins to the correct height using a key or lockpicking tools.
- Spring-Lock Mechanisms – These are often used in home or kitchen drawers. They rely on a spring-loaded latch that holds the drawer in place and can sometimes be opened with minimal effort.
- Keyless Locks – Some modern drawers have touch-lock systems or push-button mechanisms, eliminating traditional keys entirely. These locks often require specific combinations or manual overrides.
Determining the Lock Type
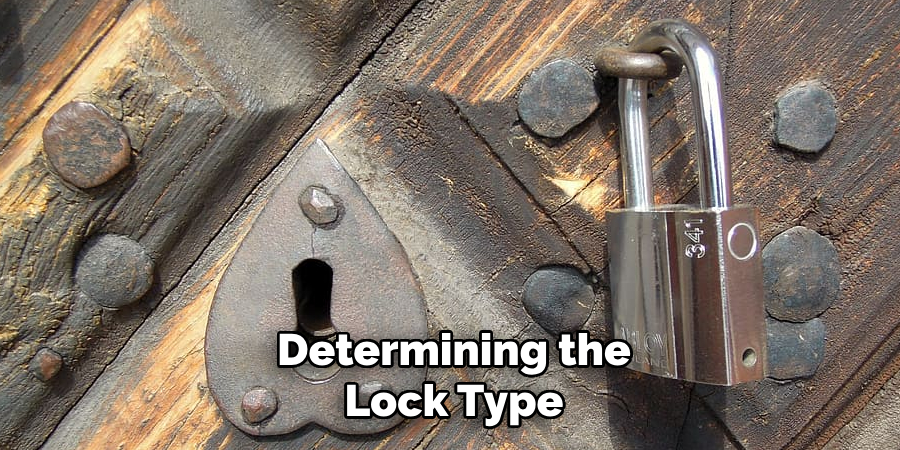
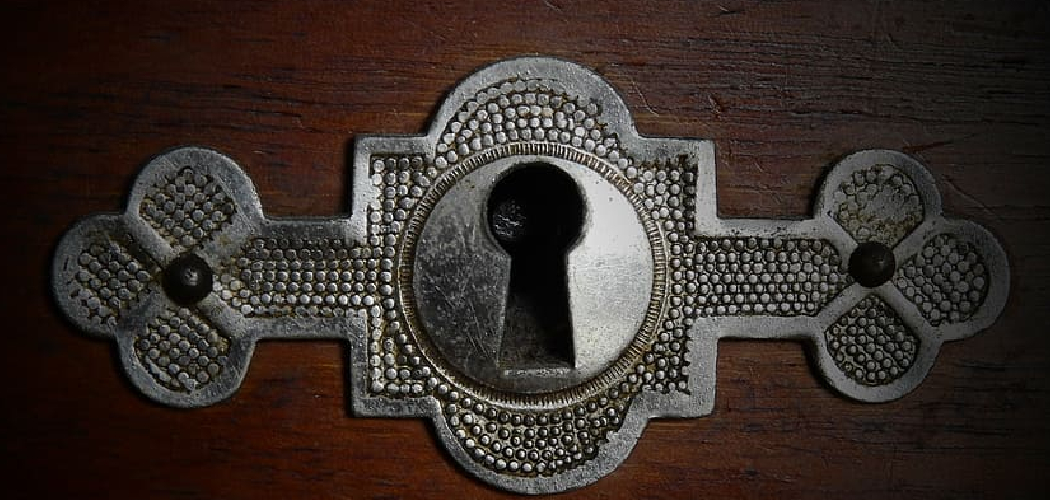
To begin, visually examine the drawer’s locking mechanism. Observe the keyhole, latch, or any distinguishing design features, which can provide critical clues about the type of lock installed. Recognizing the lock type is essential, as each category demands a distinct unlocking technique. For instance, pin tumbler locks require precision tools, while a spring-lock mechanism might only need a slim piece of metal to unfasten. Identifying the correct approach will save time and reduce the risk of damaging the drawer.
How to Unlock a Drawer Without A Key: Using a Flathead Screwdriver or Butter Knife
Step 1: Inserting the Tool
Gently insert a flathead screwdriver or butter knife into the gap between the drawer and the locking mechanism. Position the tool carefully to avoid scratching or damaging the surface of the drawer. Once the tool is in place, twist or wiggle it slightly to see if you can manipulate the locking latch or catch. This initial step helps assess how much resistance the mechanism offers and whether the tool can effectively interact with the lock.
Step 2: Forcing the Lock Mechanism
Apply gentle pressure to disengage the locking pin or catch. Focus on subtle, controlled movements to avoid using excessive force that could damage the drawer or the lock itself. If the lock resists, try tweaking the angle or position of the tool to maximize its effect. A steady hand is critical here, as sudden jerks or rough movements may cause unintended damage to the wood or the locking mechanism.
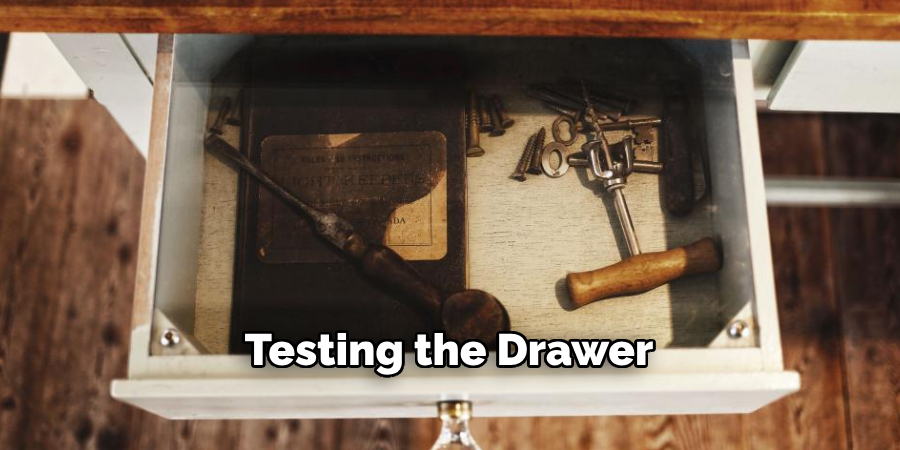
Step 3: Testing the Drawer
While manipulating the tool, slowly pull on the drawer to test if the lock gives way. This step requires patience, as abrupt pulling could increase the risk of damaging the drawer or breaking the lock altogether. If successful, the drawer will begin to open, signaling that the locking mechanism has been successfully bypassed. If the drawer remains stuck, take a moment to reassess the tool’s positioning and repeat the process carefully.
Using a Paperclip or Hairpin
Step 1: Straighten the Paperclip or Hairpin
Begin by straightening the paper clip or hairpin to create a long, thin tool suitable for the task. You can bend one end of the tool into a small hook for added precision and better control. This hook can help you catch the lock’s internal components more effectively, increasing your chances of success.
Step 2: Inserting the Paperclip
Carefully insert the straightened paper clip or hairpin into the lock mechanism where the key is typically inserted. Gently wiggle the tool as you push it further into the lock mechanism. The goal is to locate the pin or spring mechanism within the lock, which is key to unlocking the drawer.
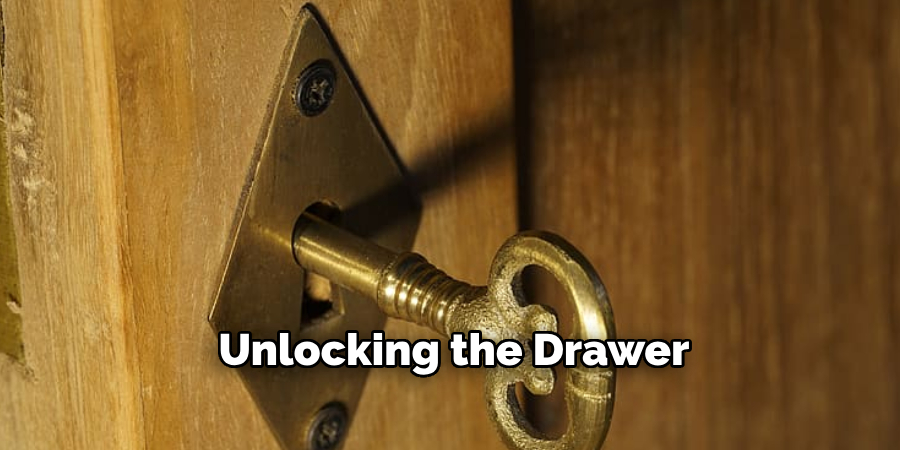
Step 3: Unlocking the Drawer
Once the pin or spring is identified, manipulate the paper clip or hairpin. Move the tool back and forth or apply slight pressure to the pin to gradually disengage the lock. This step may require patience, as it can take several attempts to release the locking mechanism successfully.
Step 4: Unlocking Success
After you feel the pin move or notice the latch beginning to loosen, carefully pull the drawer open. Avoid applying excessive force, as this could damage the lock or drawer. If the drawer opens smoothly, your effort to manually bypass the lock using the paper clip or hairpin has been successful.
Lubricating the Lock Mechanism
Step 1: Applying Lubricant
Use a small amount of lubricant, such as WD-40 or graphite powder, and carefully spray or apply it into the keyhole. Ensure the lubricant reaches deep inside to coat the lock’s internal components. This can help loosen any dirt, rust, or debris preventing the lock from operating smoothly. Once applied, allow the lubricant to sit for a few minutes to break down any residue within the locking mechanism effectively.
Step 2: Trying the Key or Tool
After giving the lubricant time to work, attempt to turn the lock with the original key, if it is available. Insert the key gently and wiggle it slightly to encourage movement. If the key is unavailable, you can use a flathead screwdriver, paper clip, or similar tool to attempt unlocking. The lubrication should make it easier to manipulate the lock and allow the internal components to move seamlessly. If successful, the locking mechanism should now respond appropriately and function as intended.
Advanced Technique: Using a Tension Wrench and Pick Set
If conventional methods fail to unlock the mechanism, you can try an advanced technique using a tension wrench and pick set. This option is suitable for individuals who are familiar with the art of lockpicking.
Step 1: Inserting the Tension Wrench
Begin by inserting the tension wrench into the bottom of the keyhole. Apply gentle and consistent pressure in the direction the lock naturally turns. This pressure will hold the pins in place as you manipulate them. Be cautious not to apply excessive force, as this could damage the lock’s internal components.
Step 2: Manipulating the Pins with a Pick
Use a small lockpick to interact with the pins inside the lock. Starting with the pick, carefully lift each pin individually to its proper height. You will often feel a slight click when a pin is aligned correctly. Work systematically from the back to the front of the lock to ensure all pins are aligned. This process requires a steady hand and a good sense of touch to detect the subtle movements of the pins.
Step 3: Unlocking the Drawer
Once all the pins have been raised to their correct positions, apply a bit more pressure with the tension wrench. The lock should release, allowing the mechanism to turn. When successful, gently open the drawer and ensure no damage has occurred. This advanced technique can take time and practice to perfect but is highly useful in a pinch.
When to Call a Locksmith
If the above methods do not work or you risk damaging the drawer, it is time to call a professional locksmith. Signs that you should seek professional help include encountering a particularly complex lock or handling an especially valuable drawer, such as an antique or one containing important documents. Locksmiths possess the tools and expertise to safely pick or replace the lock without causing damage. Additionally, they can often create a new key if needed, providing a long-term solution. Relying on a professional ensures your drawer’s integrity and its contents’ security.
Conclusion
Learning how to unlock a drawer without a key can be a useful skill in unexpected situations. Various methods, such as using simple tools like screwdrivers and paperclips or applying lubricants, can help resolve the issue. Advanced lockpicking techniques may be required for more complex locks. However, it is crucial to proceed gently to avoid causing damage to the drawer or its contents. To prevent future lockouts, consider keeping spare keys in a secure location or exploring alternative locking mechanisms. By staying prepared, you can ensure both the security and accessibility of your belongings.