

Are you worried that your car’s airbag sensor isn’t working correctly? Don’t take any chances when it comes to your safety.

Testing an airbag sensor is a critical process to ensure the safety of a vehicle’s occupants. The airbag system relies on these sensors to detect sudden deceleration or impact, which triggers the deployment of the airbags in an emergency. A malfunctioning sensor can compromise the system and increase the risk of injury during an accident. Regularly testing and diagnosing airbag sensors ensures they function correctly and provide peace of mind while driving.
This guide on how to test airbag sensor will walk you through the basic steps and considerations for testing an airbag sensor effectively and safely. Let’s get started!
What Are the Benefits of Testing Airbag Sensors?
Testing airbag sensors is crucial for ensuring the safety and effectiveness of your vehicle’s airbag system. By regularly testing these sensors, you can:
- Identify any potential malfunctions or issues with the sensor before they compromise its functionality during an accident.
- Ensure that the airbag system will deploy correctly in an emergency, reducing the risk of injury to yourself and passengers.
- Prevent unnecessary replacement costs by promptly catching any problems and addressing them promptly.
- Maintain peace of mind while driving, knowing that your vehicle’s safety features are functioning correctly.
These benefits are essential to keeping you and your passengers safe on the road. Additionally, regular maintenance of vehicle sensors can also improve overall vehicle performance and efficiency.
What Will You Need?
To properly perform sensor diagnostics, you will need the following tools and materials:
- A Diagnostic Tool: This can be a handheld scanner or an OBD-II (On-Board Diagnostics) code reader. These tools are used to retrieve data from the vehicle’s computer system.
- The Vehicle’s Manual: This will provide information on specific sensors, their locations, and how they should function.
- Protective Gear: Working on a car’s airbag system can be dangerous, so wearing gloves and safety glasses is essential.
- A Clean Work Area: Make sure to do your diagnostics in a well-lit and clean space to prevent the contamination of sensitive electronic components.
- Basic Knowledge of Electronics: Although not necessary, having a basic understanding of electronics will make it easier to interpret data and troubleshoot any issues with the airbag system.
- Diagnostic Tool Software Updates: It is important to periodically update the software for your diagnostic tool to ensure accurate readings and compatibility with new vehicle models.
Once you have completed all necessary diagnostic procedures, saving and backing up the data for future reference is essential.
9 Easy Steps on How to Test Airbag Sensor
Step 1. Park the Vehicle Safely:

Begin by ensuring the vehicle is parked on level ground in a safe and secure location. Engage the parking brake to prevent any movement during the testing process. This step is crucial as it minimizes the risk of accidents while you work on the vehicle.
Additionally, if the car is located on a public road or other areas with heavy traffic, use hazard lights or safety cones to alert others to your presence. Double-check that all passengers and unnecessary occupants have exited the vehicle to maintain safety throughout the procedure.
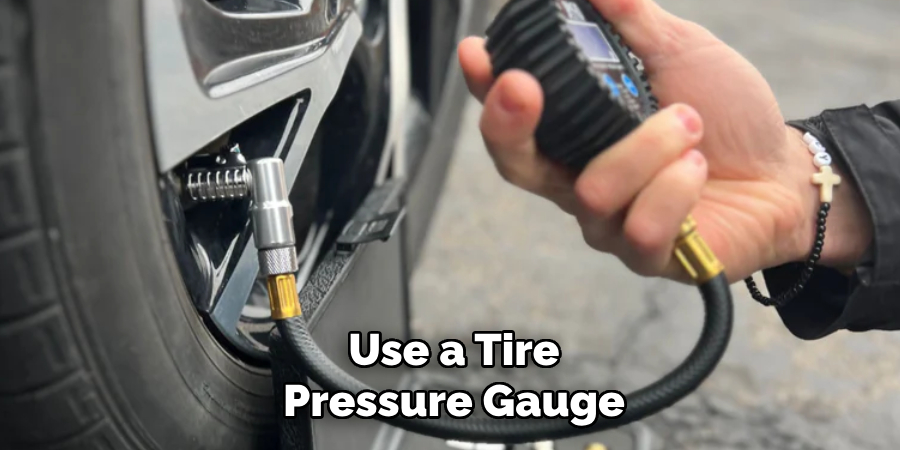
Step 2: Inspect the Tire Pressure and Tread
Check the tire pressure using a reliable tire pressure gauge. Refer to the vehicle’s owner manual or the information label (usually inside the driver’s side door) for the recommended pressure level. If the tire pressure is too low or too high, adjust it accordingly. Next, inspect the tire tread depth to ensure it meets safety standards. Worn or uneven tread may compromise the vehicle’s grip and stability. Use a tread depth gauge or the penny test to verify that the tires are in good condition before proceeding.
Step 3: Check Fluid Levels
Inspect all essential fluid levels under the hood to ensure your vehicle is ready for operation. Start by checking the engine oil using the dipstick; ensure the oil level is between the minimum and maximum markers and that the oil appears clean. Next, the coolant level in the reservoir should be assessed, as proper coolant levels prevent the engine from overheating.
Review the brake fluid, transmission fluid, and windshield washer fluid levels, topping them off if necessary. Refer to the vehicle’s owner manual for specific guidance on fluid types and recommended levels.
Step 4: Inspect the Tires
After checking all fluid levels, it is essential to inspect the tires. Check for any visible signs of wear or damage, such as cracks, bulges, or punctures. Use a tire pressure gauge to check the air pressure in each tire and compare it to the recommended pressure listed in the owner’s manual. Properly inflated tires not only improve vehicle handling and fuel efficiency but also help prevent blowouts while driving.
Step 5: Test the Lights
Testing the lights is crucial to ensure safety while driving, especially during nighttime or in poor visibility conditions. Begin by turning on the headlights and checking the low and high beams to confirm they function correctly. Next, test the brake lights by having someone observe them as you press the brake pedal or by using a reflective surface to see the lights yourself.
Don’t forget to check the turn signals and hazard lights by activating them individually. Additionally, inspect the reverse lights by shifting into reverse and ensuring they illuminate properly. Replace any burnt-out or malfunctioning bulbs immediately and clean the light covers if they appear dim or cloudy, as clear lights are essential for visibility and communication with other drivers.
Step 6: Inspect the Tires
Tires are a critical component of vehicle safety and performance. Begin by checking the tire pressure using a reliable gauge, ensuring it matches the manufacturer’s recommended levels found in the owner’s manual or on the placard inside the driver-side door.
Next, examine the tread depth to confirm adequate traction by using a tread depth gauge or the penny test—insert a penny into the tread with Lincoln’s head facing down, and if you can see the top of his head, it’s time to replace the tire. Lastly, inspect the tires for visible damage, such as cracks, bulges, or embedded objects, which could lead to a blowout. Regular tire maintenance ensures safe handling and helps extend the lifespan of your tires.
Step 7: Check the Engine Oil
Maintaining proper engine oil levels is crucial for the efficient operation of your vehicle. Begin by parking your car on a level surface and ensuring the engine is off and cool. Locate the oil dipstick, which is typically marked with a bright handle, and pull it out. Wipe the dipstick clean with a lint-free cloth, reinsert it fully, and then remove it to check the oil level.
The oil should be within the marked range on the dipstick—if it’s low, top it off with the appropriate grade of oil as recommended in your car’s owner’s manual. Regularly checking your engine oil helps prevent potential damage and keeps your engine running smoothly.
Step 8: Inspect the Air Filter
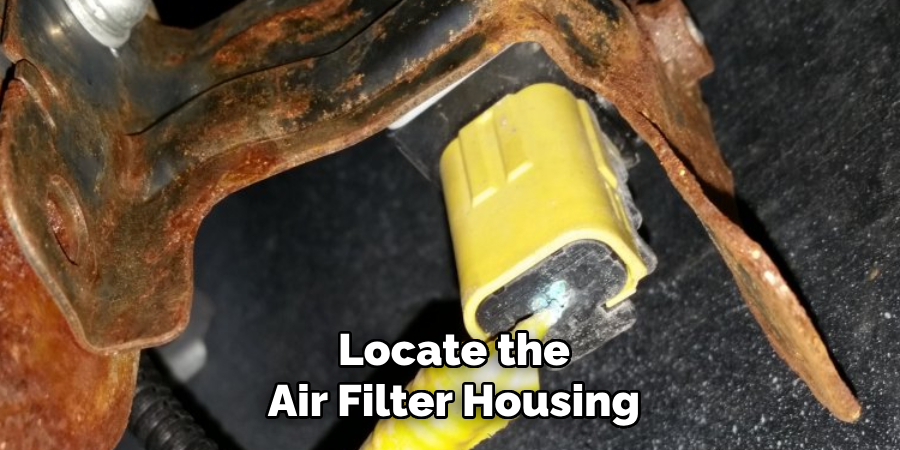
Locate the air filter housing, usually a plastic or metal box near the top of the engine compartment. Open the housing by unclipping or unscrewing it, as needed. Carefully remove the air filter and check its condition. If the filter appears heavily clogged with dirt, debris, or oil, it’s time for a replacement. A clean air filter ensures optimal airflow to the engine, improving fuel efficiency and performance. Always consult your vehicle’s owner’s manual for the correct filter type specifications.
Step 9: Check and Replace Spark Plugs
Spark plugs are an essential component of a vehicle’s ignition system. They are responsible for igniting the air-fuel mixture in the engine, which keeps the car running smoothly. Over time, spark plugs can become worn out or dirty, causing them to lose efficiency.
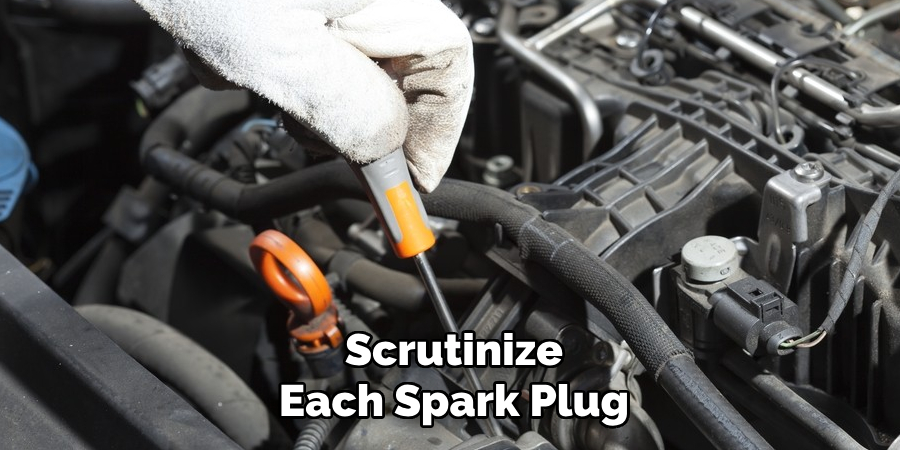
You will need a spark plug socket and a ratchet to check your spark plugs. Locate the spark plug wires, which are usually attached to the top of the engine. Follow each wire to its corresponding spark plug and remove it using the socket and ratchet.
Scrutinize each spark plug for any signs of wear or fouling. If they appear damaged or heavily coated with dirt or oil, it may be time to replace them. It’s essential to replace all the spark plugs at once, even if only one appears faulty.
By following this guide and regularly maintaining your vehicle’s spark plugs, you can ensure that your engine runs smoothly and efficiently.
Conclusion
How to test airbag sensor is a critical step in ensuring the safety of your vehicle’s occupants during a collision.
Begin by consulting your vehicle’s service manual to locate the airbag sensor and understand specific procedures for your car model. Use a diagnostic scanner compatible with your vehicle to check for error codes related to the airbag system. If any codes are present, they will help pinpoint potential issues with the sensor.
Additionally, visually inspect the sensor and its wiring for signs of damage, corrosion, or loose connections. If you suspect the sensor is faulty or if error codes persist, it is recommended that the system be inspected and repaired by a qualified professional.
Regular checks and proper testing of the airbag sensor help guarantee the functionality of this critical safety component.