
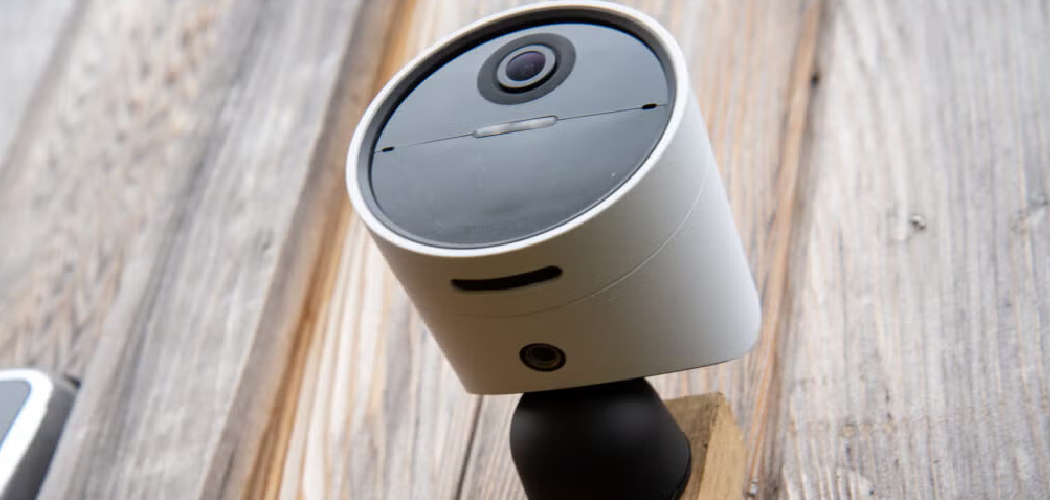
Are you tired of worrying about the safety of your outdoor space? Don’t worry; installing a wifi camera outdoors is an easy and effective solution. You can have added security and peace of mind with just a few simple steps.

How to install wifi camera outdoor can enhance your home security and allow you to monitor your property remotely. Whether it’s to deter intruders, keep an eye on deliveries, or simply ensure the safety of your loved ones, outdoor WiFi cameras are a convenient and effective solution. This guide will walk you through the steps required to set up and install an outdoor WiFi camera, ensuring proper placement, connectivity, and functionality.
With the right tools and a little preparation, you can have your camera up and running quickly.
What Are the Benefits of Outdoor WiFi Cameras?
Before we dive into the installation process, let’s take a look at some of the benefits of using outdoor WiFi cameras:
- Remote Monitoring: As mentioned earlier, outdoor WiFi cameras allow you to monitor your property remotely. This means you can monitor things while you’re away from home or inside your house.
- Easy Installation: Unlike traditional wired security cameras, setting up and installing outdoor WiFi cameras is relatively easy. You don’t need technical expertise or complicated wiring – just a stable internet connection and a power source.
- Convenience: With outdoor WiFi cameras, there’s no need for cables or additional equipment. They are compact and wireless, making them easy to install and move around as needed. This makes them a convenient option for homeowners who want to change the location of their cameras or take them with them when they move.
- Cost Savings: Outdoor WiFi cameras can be more cost-effective than traditional wired security systems in the long run. You don’t have to pay monthly monitoring fees; some cameras come with free cloud storage options for your recorded footage.
What Will You Need?
When it comes to setting up an outdoor WiFi camera, there are a few things you will need:
- WiFi Connection: The most important thing you will need is a stable WiFi connection. Without a strong and reliable internet connection, your outdoor WiFi camera won’t be able to function correctly.
- Power Source: Most outdoor WiFi cameras are powered by electricity, either through a direct power source or using batteries. Make sure you have access to a power outlet or have enough batteries on hand for continuous operation.
- Mounting Equipment: Depending on where you plan to install your outdoor WiFi camera, you may need mounting equipment such as screws, brackets, and anchors.
- Smartphone and App: To access your outdoor WiFi camera’s live feed, receive notifications, and control settings remotely, you will need a smartphone and the accompanying app. Make sure to download the app compatible with your specific camera.
8 Easy Steps on How to Install Wifi Camera Outdoor
Step 1: Choose the Right Camera
When choosing the right outdoor WiFi camera, several factors must be considered to ensure it meets your needs. Start by assessing the camera’s resolution—higher resolution cameras, such as those with 1080p or 4K capabilities, provide more straightforward and detailed images. Next, consider the camera’s field of view; a wider field allows the camera to cover a larger area, reducing the need for multiple cameras.
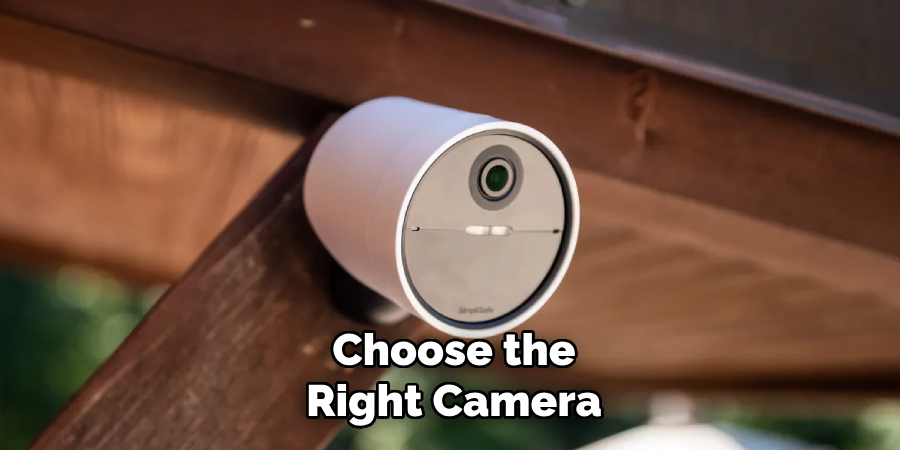
You should also ensure the camera has night vision or infrared capabilities to monitor your property effectively in low-light or nighttime conditions. Additionally, check for weatherproof features, such as IP ratings, to ensure the camera can withstand varying outdoor elements like rain, dust, and extreme temperatures. Finally, consider advanced features such as motion detection, two-way audio, and cloud storage options for a comprehensive security solution. Proper research and understanding the features you need will help you select the ideal camera for your home or business.
Step 2: Plan Your Location
When planning your location, identify the critical areas requiring surveillance. Common locations include entry points such as front doors, back doors, and garage doors, as well as areas like driveways, yards, and windows that potential intruders could access. Ensure your camera placement provides a clear view of these areas without obstructions such as trees, walls, or outdoor furniture. Additionally, consider the height and angle of installation.
Ideally, Cameras should be mounted at least 8-10 feet above the ground to prevent tampering while providing a clear field of view. It’s also essential to think about lighting conditions in the chosen location. If the area is poorly lit, you might need cameras with low-light or infrared capabilities to capture footage effectively during nighttime. Properly planning your location ensures maximum coverage and effectiveness for your security cameras.
Step 3. Turn off the Lights
Another tip to consider when installing security cameras is turning off any unnecessary lights in the area. Bright lights can sometimes cause glare or wash out images, making it difficult for cameras to capture clear footage. By turning off or adjusting nearby lights, you can reduce these issues and improve the quality of your camera’s recordings.
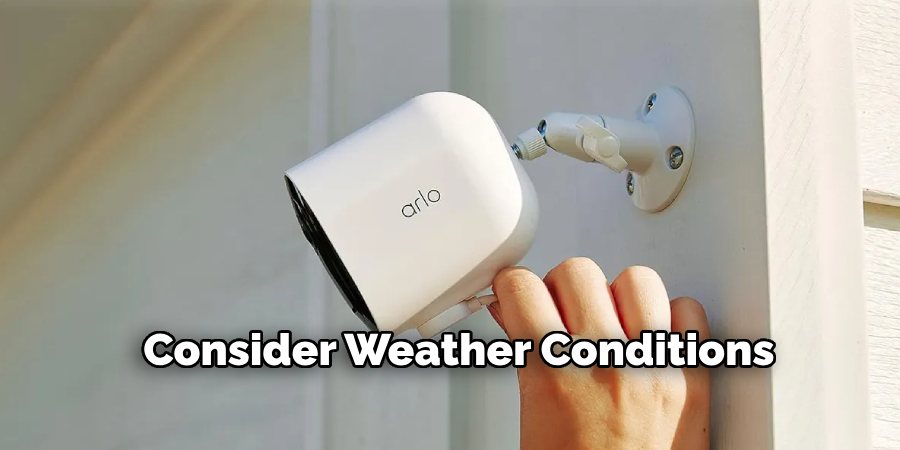
Step 4. Consider Weather Conditions
Weather can greatly affect the performance of your security cameras. Extreme temperatures, heavy rain, snow, and strong winds can all impact camera functionality and result in poor footage quality. When choosing a camera for outdoor use, ensure it is designed to withstand harsh weather conditions and has waterproofing and protective housing features.
It’s also important to regularly check and maintain your cameras to ensure they are still functioning correctly. Extreme weather can cause damage over time, so inspecting and cleaning your cameras periodically is important.
Also, consider the lighting conditions where your camera will be installed. If there are frequent changes in lighting, such as bright sunlight during the day and darkness at night, ensure your camera has features like infrared or low-light capabilities to ensure clear footage in all lighting situations.
Step 5: Positioning Matters
The proper positioning of your security camera is crucial for effective surveillance and maximizing its capabilities. Start by identifying the key areas you want to monitor, such as entry points, driveways, or common areas. Ensure the camera is positioned at a height that is out of reach from potential tampering yet provides a clear view of the target area. Shifting the camera slightly can help capture more details and minimize blind spots.
Avoid obstructions like trees, walls, or other objects that could block the view. Additionally, avoid pointing your camera directly at a light source, such as the sun or bright lights, to prevent glare or washed-out footage. Proper placement enhances the camera’s functionality and ensures comprehensive coverage and peace of mind.
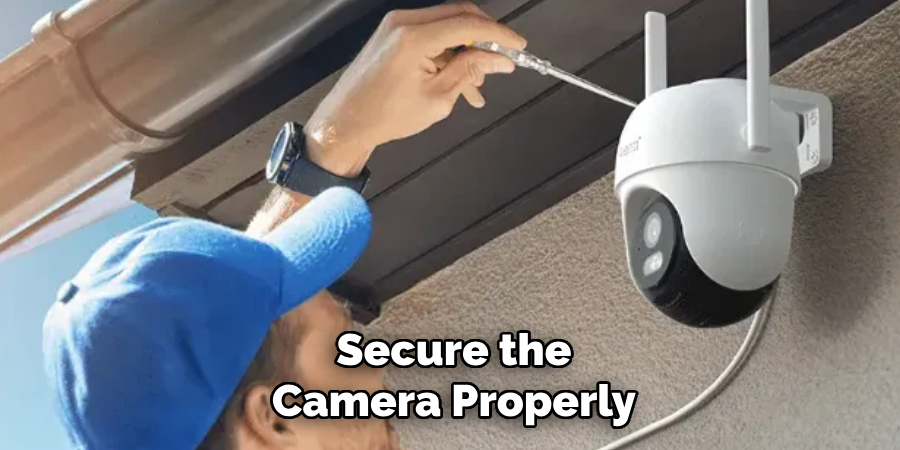
Step 6: Secure the Camera Properly
Once you’ve identified the optimal placement for your camera, it’s crucial to secure it firmly to avoid vibrations or accidental dislodging. Use the appropriate mounting hardware, such as screws or brackets, designed to support the camera’s weight and type. Ensure the camera is level and tightly fastened to maintain the desired angle and prevent it from shifting over time. For outdoor installations, weatherproof mounts are recommended to protect against harsh conditions. A stable and secure setup guarantees reliable performance and clear footage.
Step 7: Adjusting the Camera Angle
It’s important to have the camera angled in the right direction for optimal coverage. This means that any potential blind spots are minimized, and the camera captures a clear view of the designated area.
To adjust the camera angle, first loosen any screws or brackets holding it in place. Then, carefully tilt or rotate the camera to your desired position. Once you’ve found the right angle, tighten everything to keep it secure.
Keep in mind that different areas may require different angles, so it’s worth experimenting with adjustments until you find the best one for your specific needs.
Step 8: Testing and Fine-Tuning
After installation and positioning, it’s crucial to test your security camera to ensure it is working correctly. This includes checking for clear image and sound quality and testing additional features like motion detection or remote access.
If you notice any issues with the camera’s performance, refer to the manufacturer’s instructions or contact customer support for assistance. Researching online for troubleshooting tips specific to your camera model may also be helpful.
Once you have tested and fine-tuned your security camera, you can rest assured that your property will now have an added layer of protection. Regularly check on and maintain your cameras to ensure they continue functioning effectively.
By following these steps and setting up your security camera properly, you can have peace of mind knowing that your home or business is being monitored and protected around the clock.
Conclusion
How to install wifi camera outdoor may seem daunting at first, but by breaking it into transparent and manageable steps, the process becomes straightforward.
Always start by choosing the right location that offers optimal coverage and ensures reliable network connectivity. Carefully secure the camera, protect it from weather conditions, and connect it to your power source or battery. Finally, through its app or software, the camera performs tests to ensure proper functionality.
By paying attention to these details and maintaining your equipment, you can reliably enhance the security of your outdoor spaces.