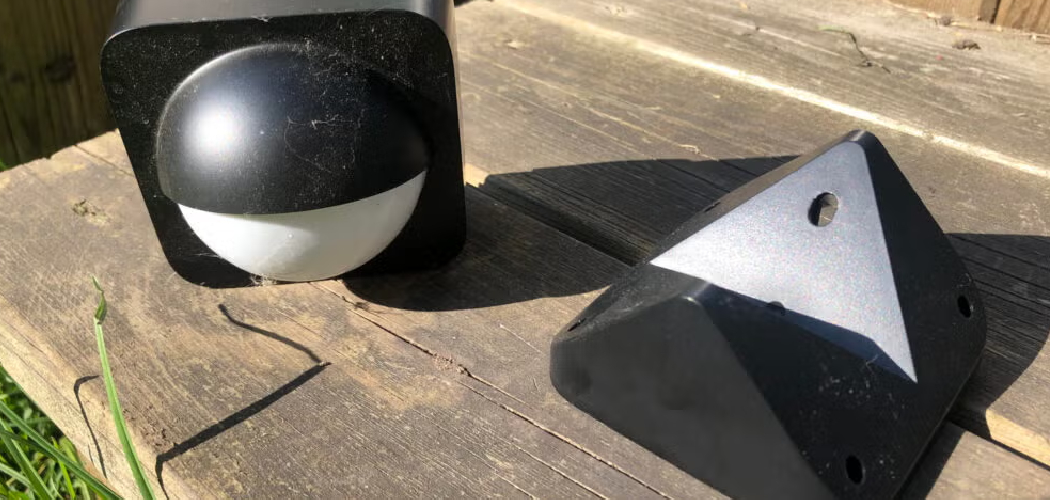
Are you tired of constantly having to turn off your motion sensor light every time you walk by?

Motion sensor lights are handy for enhancing security and convenience, but there may be times when you want to turn them off temporarily or permanently without using a switch. Whether you’re dealing with a faulty sensor, need to disable the light for a specific reason, or don’t have easy access to the switch, alternative methods exist. Understanding the process can be helpful in managing your motion sensor light effectively while maintaining flexibility in its operation.
This guide on how to turn off a motion sensor light without switch will walk you through practical ways to turn off a motion sensor light without relying on a traditional wall switch.
What Are the Benefits of Turning Off a Motion Sensor Light without a Switch?
You may want to turn off a motion sensor light without a switch for several reasons. Some of these benefits include:
- Energy Savings: By turning off your motion sensor light when not in use, you can save energy and reduce your electricity bill.
- Privacy and Security: Turning off the light can provide privacy or security if you do not want it to turn on automatically.
- Longer Lifespan for Bulbs: Keeping the lights off when they’re not needed can prolong the lifespan of the bulbs, saving you money in replacement costs.
What Will You Need?
To install a motion sensor light, you will need the following equipment:
- Motion sensor light kit
- Screwdriver
- Drill (if necessary)
- Wire cutters and strippers
- Electrical tape
- Wire connectors
It is important to ensure all equipment is safe for use with electrical wiring. If you are unsure about using any tools or equipment, consult a professional electrician.
8 Easy Steps on How to Turn Off a Motion Sensor Light Without Switch
Step 1. Identify the Power Source:
Begin by determining where the motion sensor light gets its power. This could be from a direct wired connection to your home’s electrical system or from a battery source. The power source is typically connected to your circuit breaker for wired connections. Locating the circuit breaker that controls the motion sensor light is crucial, as you may need to shut off the power during the process. If the light is battery-operated, make sure to locate the battery compartment. Identifying the power source helps you proceed safely and ensures you are working on the correct device.

Step 2: Gather the Necessary Tools
Before working on the motion sensor light, gather all the tools needed for the task. Standard tools required include a screwdriver, a voltage tester, a ladder, and replacement bulbs or batteries if applicable. A voltage tester is vital for wired connections, ensuring the power is completely off and safe to work with. Having the tools ready beforehand saves time and minimizes interruptions as you move through the process. Always ensure your tools are in good condition and suitable for the job.
Step 3: Turn Off the Power
Before beginning any work on the motion sensor light, ensure the power to the fixture is completely turned off. Locate the correct circuit breaker in your electrical panel and switch it off. Use a voltage tester to double-check that no electricity flows to the light fixture. This step is crucial to avoid electrical shock and ensure safety during installation or maintenance.
Step 4: Remove Existing Fixture
To remove the existing fixture, unscrew the light bulb and set it aside in a safe location to avoid breakage. Next, use a screwdriver to carefully remove the screws or fasteners securing the fixture to the wall or ceiling. Once the fixture is loose, gently pull it away from the mounting surface to expose the wiring. If the wires are connected with wire nuts, twist them off to disconnect the fixture from the electrical system.
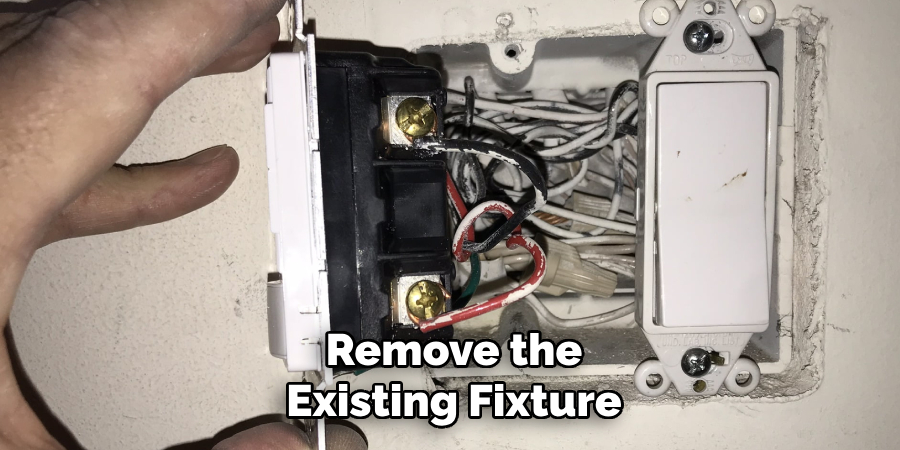
Be sure to note which wires are connected to each other—typically the black (hot), white (neutral), and green or bare (ground) wires. You may find it helpful to take a photo of the wiring for reference while installing the new motion sensor light. Finally, check the condition of the electrical box to ensure it is secure and free from damage. Dispose of the old fixture properly if it will not be reused.
Step 5: Check the Condition of the Electrical Box
Before installing the new motion sensor light, it’s essential to ensure the electrical box is in good condition. This will ensure a secure and safe installation.
First, check if the electrical box is securely attached to the wall or ceiling. If it feels loose or wobbly, tighten any screws or bolts to stabilize it.
Next, inspect the inside of the box for any damage, such as cracks or exposed wires. If you notice any issues, it’s best to address them before proceeding with the installation.
If everything looks good, you can install your new motion sensor light! However, if there are any concerns about the condition of the electrical box, it’s important to consult a professional electrician.
Step 6: Follow Safety Codes and Regulations
Adhering to safety codes and regulations is essential to ensure a safe and compliant installation. Begin by familiarizing yourself with local electrical codes, which can vary depending on your location. It’s necessary to comply with any standards set forth by governing bodies, as they are designed to prevent electrical hazards and ensure the integrity of your work. Additionally, confirm whether a permit is required for your installation project, as some municipalities may mandate one for significant electrical changes.
When working with wiring, ensure the proper use of approved materials such as wire connectors, junction boxes, and weatherproofing if the fixture is installed outdoors. Pay close attention to grounding requirements, as a properly grounded system is crucial for safety. If you’re unsure about any requirements or best practices, refer to the manufacturer’s instructions for the motion sensor light, as these often include step-by-step guidance on ensuring a compliant setup.

Step 7: Properly Ground All Equipment
Ensuring that all equipment is grounded correctly is a critical step in the installation process of a motion sensor light. Grounding provides a safe path for excess electrical current to travel in the event of a fault or short circuit, reducing the risk of electrical shock or potential fire hazards.
To properly ground the equipment, identify the ground wire, typically green or bare copper. Attach the ground wire from the light fixture to the grounding screw or grounding wire within the electrical box using a wire connector. If the junction box is metal, ensure it is also grounded by securely connecting the ground wire to the box itself. After establishing solid connections, double-check that all wires are tightly secured and insulated to prevent accidental contact or disconnection.
For outdoor installations, installing a grounding rod or verifying that the home’s grounding system is up to current electrical codes may be necessary. If you are not confident in completing this step, consider consulting a licensed electrician to ensure compliance with local regulations and the system’s safety. Proper grounding is not just a requirement; it is a crucial element in creating a safe and reliable lighting setup.
Step 8: Troubleshooting
When troubleshooting your lighting system, start by addressing the most common issues. First, check all connections to ensure wires are secured and no loose connections are present. Loose or improperly connected wires can disrupt the flow of electricity and cause systems to malfunction. Next, inspect the bulbs to ensure they are correctly installed and have not burned out. Replacing faulty bulbs can often resolve the problem quickly.
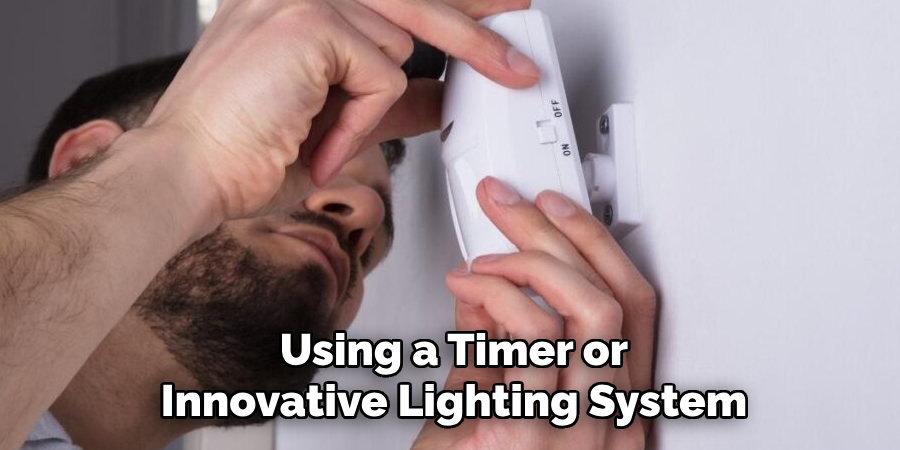
Additionally, verify the power supply by checking the circuit breaker or fuse box for tripped or blown fuses that may need resetting or replacement. If using a timer or innovative lighting system, ensure that the programming or device settings are not altered. Double-check that any remote controls or apps that control the system function correctly with fresh batteries or proper configurations.
By following these steps, you can turn off a faulty circuit breaker and prevent potential hazards. It is always important to prioritize safety and take necessary precautions when dealing with electricity, as it can be dangerous if mishandled.
Conclusion
If you need to turn off a motion sensor light without a switch, the most reliable method is to cut off its power source.
This can typically be done by locating the circuit breaker that controls the light and turning it off. Alternatively, you can temporarily disable the motion sensor by covering it with opaque material, such as tape or a cloth, to prevent it from detecting movement. Always ensure safety when working with electrical systems by using insulated tools and avoiding contact with live wires. If you’re unsure or uncomfortable performing these actions, consult a professional electrician for assistance.
Hopefully, the article on how to turn off a motion sensor light without switch has provided you with useful information that will help you in managing your home’s security and energy efficiency.

