

Are you tired of constantly having to switch on lights when you enter a room? Don’t worry, motion sensor lights are here to save the day!

Motion sensor lights are a convenient and energy-efficient way to illuminate spaces without manual control. However, there may be situations where you want these lights to remain on continuously, such as during outdoor gatherings, home maintenance tasks, or when extra security is needed. Understanding how to override the motion sensor to keep the lights on can ensure they serve your specific needs without hassle. Additionally, knowing how to adjust the sensitivity of motion sensor lights properly can help avoid nuisance activations and save even more on energy costs.
This guide on how to keep motion sensor lights on will provide simple tips and methods to help you achieve that.
What Are the Causes of Motion Sensor Light Malfunction?
Before we dive into the steps to keep motion sensor lights on, it’s essential to understand the common causes of malfunction. This will help troubleshoot and find a solution that works best for your situation.
Here are some potential reasons why your motion sensor light may not be staying on:
- Power Outage: If there is a power outage, the motion sensor light will not function until power is restored.
- Dead Batteries: If you have battery-operated motion sensor lights, check if the batteries need to be replaced.
- Obstructions: Make sure no physical obstructions are blocking the motion sensor’s view. If objects or debris are in front of the sensor, it may not be able to detect motion accurately.
- Sensitivity Settings: Some motion sensor lights have adjustable sensitivity settings. If the sensitivity is too low, it may not pick up on smaller movements and turn off prematurely.
- Weather Conditions: Extreme weather conditions, such as heavy rain or snow, can affect the performance of motion sensor lights. Check for any damage or water intrusion that could be affecting its function.
- Distance and Coverage: Make sure the motion sensor is installed at an appropriate height and angle to cover the desired area. The range and coverage of a motion sensor can vary, so choosing one that fits your specific needs is important.
What Will You Need?
To install a motion sensor light, you will need the following tools and materials:
- Motion sensor light kit (which usually includes the light fixture, motion sensor, mounting hardware, and wires)
- Screwdriver
- Drill (if necessary for mounting)
- Electrical tape
- Wire strippers
- Wire connectors
- Voltage tester or multimeter
- Ladder or step stool (if installing at a high location)
Before beginning the installation process, ensure you have all these items readily available. It’s also important to read through the instructions the manufacturer provides before starting.
8 Easy Steps on How to Keep Motion Sensor Lights on
Step 1: Turn Off the Power

Before starting any electrical work, turning off the power to the fixture you plan to work on is crucial. This ensures your safety and prevents accidental electric shocks. Locate the circuit breaker panel in your home and switch off the breaker that supplies power to the motion sensor light. Once the breaker is off, confirm the power is cut using a voltage tester or multimeter on the light fixture. This step is vital to ensure no current is running through the wires while you work. Always double-check because electrical work can be dangerous without proper precautions.
Step 2: Remove the Existing Motion Sensor Light Fixture
Carefully detach the existing motion sensor light fixture from its mounting base. Depending on the design and installation, you may need a screwdriver or other tools to remove screws or brackets holding it in place. Once the fixture is loose, gently pull it away from the wall or ceiling to expose the wiring. Take note of how the wires are connected, as you will need to connect the new fixture similarly. Use your smartphone to take a picture of the wiring configuration for reference. After disconnecting the wires, set the old fixture aside. Ensure the area remains safe and organized as you prepare for the next steps.
Step 3: Prepare the New Fixture
Before installing the new fixture, carefully read the manufacturer’s instructions included in the packaging. Identify all necessary components, such as mounting brackets, screws, and wire connectors. Assemble any parts of the fixture that require pre-installation assembly. Next, ensure the wires on the new fixture are stripped to the appropriate length, if needed, to match the existing wires. Double-check that the power remains off at the circuit breaker before proceeding to the next step.
Step 4: Connecting the Wires

Carefully match the fixture’s wires to the electrical box’s corresponding cables. Typically, black connects to black (hot wire), white connects to white (neutral wire), and green or bare copper connects to the ground wire. Use wire connectors to securely join the cables, ensuring there are no exposed ends. Gently push the connected wires back into the electrical box, being cautious not to dislodge any connections.
Step 5: Attaching the Fixture
Once the wires are securely connected, it’s time to attach the new fixture. Follow the manufacturer’s instructions for attaching the fixture base or mounting plate to the electrical box. This may involve screws or other hardware.
Next, carefully attach the light fixture to the base or mounting plate, again following any specific instructions from the manufacturer. Make sure all screws are tightened and the fixture is securely in place before moving on to the next step.
Step 6: Installing Light Bulbs
Once the fixture is securely mounted, it’s time to install the light bulbs. Start by checking the fixture’s specifications to determine the appropriate type and wattage of bulbs required. Using bulbs that exceed the recommended wattage can cause the fixture to overheat and pose a safety risk.
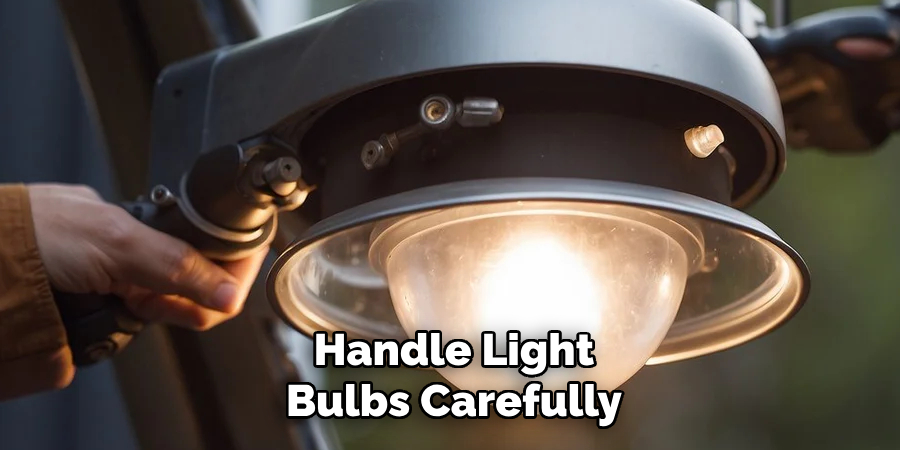
Handle light bulbs carefully, as many are made from fragile glass. Screw each bulb into its socket gently but firmly, ensuring it is securely in place without overtightening, which could damage the bulb or socket. If you’re using LED or specialty bulbs, make sure they are compatible with the fixture to ensure optimal performance.
After installing all the bulbs, test the fixture by flipping the light switch to ensure everything functions correctly. If the fixture does not light up, double-check the bulb installation and ensure that the power to the circuit is turned on before troubleshooting any further issues.
Step 7: Clean Up
Once the new lighting fixtures are installed and tested, cleaning up any debris or packaging materials left behind is important. This will not only make the space look tidier and organized, but also ensure safety by removing any potential tripping hazards.
If necessary, use a vacuum or broom to sweep up any dirt or dust that may have accumulated during the installation process. Dispose of any packaging materials properly according to local regulations.
Step 8: Enjoy Your New Lighting
Congratulations on successfully installing your new lighting fixtures! Take a step back, admire your hard work, and enjoy your space’s improved ambiance and functionality with the new lighting. Remember to regularly check and maintain your lighting fixtures by dusting them and replacing any burnt-out bulbs. Consider adding dimmer switches or innovative lighting options to enhance the versatility of your new lighting. With proper care and maintenance, your new lighting will continue to brighten up your space for years.
By following these steps, you can keep your lighting looking great and functioning at its best. Additionally, don’t be afraid to experiment with different types of lighting and placement to find the perfect balance for your space.
5 Things You Should Avoid
- Obstructing the Sensor
Avoid placing objects or furniture in front of the motion sensor, as this can block its ability to detect movement. Keep the sensor clear to ensure it functions properly and responds to motion effectively.
- Improper Sensor Placement
Ensure that the motion sensor is installed in an optimal location. Placing it too high, too low, or facing areas with little activity can result in poor performance. Position it strategically to cover the desired range of motion.
- Ignoring Environmental Factors
Motion sensors can be sensitive to environmental conditions, such as extreme temperatures, excessive humidity, or direct sunlight. Avoid installing them in areas that might compromise their effectiveness due to these factors.
- Using Incorrect Settings
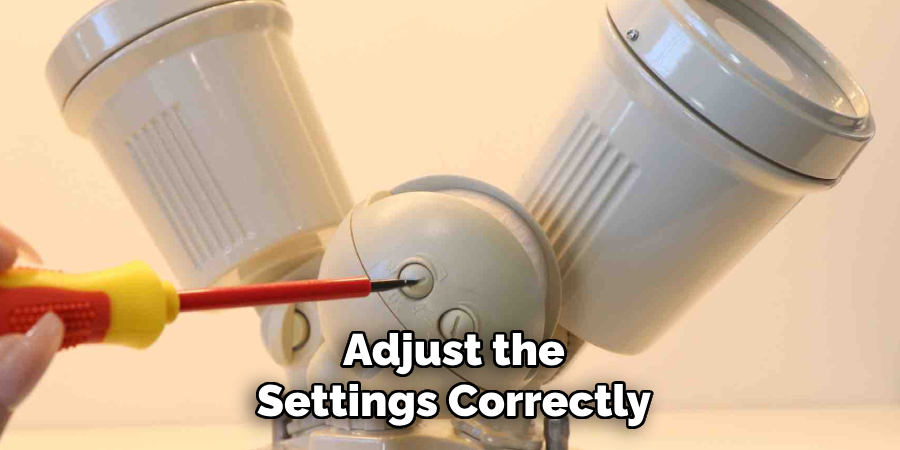
Improperly configuring the sensitivity, light duration, or detection range can lead to inconsistent performance. Take the time to adjust the settings correctly based on your specific needs and environment.
- Neglecting Regular Maintenance
Failing to clean the sensor lens or check for damage can lead to malfunctioning lights. Regularly inspect and maintain your motion sensor lights to ensure they operate smoothly and efficiently.
Conclusion
To ensure your motion sensor lights remain on when needed, it is essential to properly configure their settings, perform regular maintenance, and consider the specific needs of your environment.
Adjust sensitivity, light duration, and detection range to match the area you intend to cover. Regular cleaning and inspections will also prevent dirt or damage from interfering with the sensor’s functionality.
By following these steps on how to keep motion sensor lights on, you can enhance the performance and reliability of your motion sensor lights, providing consistent illumination and added security.
About
Safety Fic is a distinguished figure in the world of Diy design, with a decade of expertise creating innovative and sustainable Diy solutions. His professional focus lies in merging traditional craftsmanship with modern manufacturing techniques, fostering designs that are both practical and environmentally conscious. As the author of diy, Safety Fic delves into the art and science of Safety Fic-making, inspiring artisans and industry professionals alike.
Education RMIT University
(Melbourne, Australia) Associate Degree in Design (Safety Fic) Focus on sustainable design, industry-driven projects, and practical craftsmanship. Gained hands-on experience with traditional and digital manufacturing tools, such as CAD and CNC software.
Nottingham Trent University
(United Kingdom) Bachelor’s in diyfastly.com and Product Design (Honors) Specialized in product design with a focus on blending creativity with production techniques. Participated in industry projects, working with companies like John Lewis and Vitsoe to gain real-world insights.
Publications and Impact
In diy, Safety Fic his insights on indoor design processes, materials, and strategies for efficient production. His writing bridges the gap between artisan knowledge and modern industry needs, making it a must-read for both budding designers and seasoned professionals.