
Are you tired of your Leviton Motion Sensor constantly turning on and off, even when you don’t want it to? You may want to turn it off for a specific period for privacy reasons.

The Leviton motion sensor is a convenient device that enhances energy efficiency and automates lighting control. However, there might be situations where you want to turn off the motion-sensing feature, such as during prolonged activities in a space where constant movement is unnecessary. Whether you want to disable it temporarily or completely, understanding the steps to turn off your Leviton motion sensor can help you tailor its functionality to meet your needs.
This guide on how to turn off leviton motion sensor will walk you through the simple process of turning off the motion sensor to suit your preferences.
What Are the Causes of False Triggers?
False triggers are a common issue with motion sensors, and Leviton motion sensors are no exception. These false triggers can be caused by a variety of factors, including:
- Changes in lighting conditions (e.g., shadows)
- Movement from objects other than humans (e.g. pets)
- Interference from heating or cooling systems
- Placement of the motion sensor in high-traffic areas
Understanding these potential causes can help you troubleshoot any issues you may be having with your Leviton motion sensor’s sensitivity.
What Will You Need?
Before you begin troubleshooting your Leviton motion sensor, make sure you have the following items on hand:
- A step stool or ladder (if your motion sensor is ceiling mounted)
- A clean, dry cloth
- A Phillips head screwdriver
You may also need additional tools depending on the installation of your specific motion sensor model. Refer to the user manual for more information.
8 Easy Steps on How to Turn Off Leviton Motion Sensor
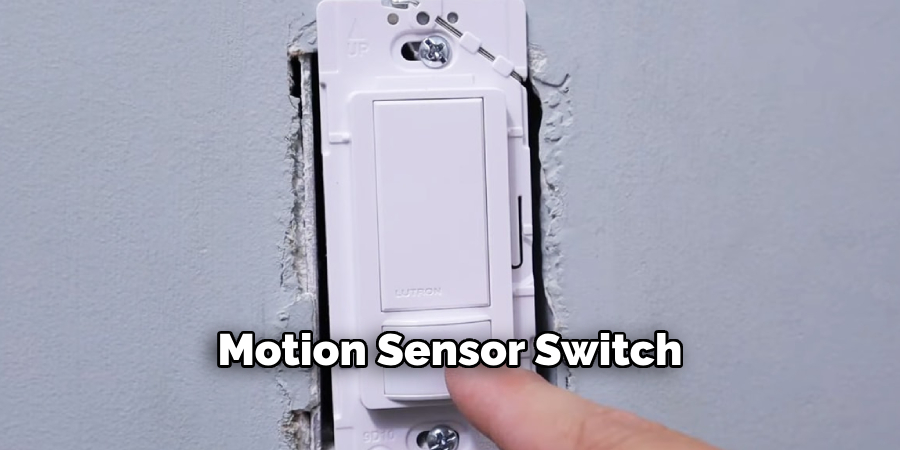
Step 1: Locate the Motion Sensor Switch
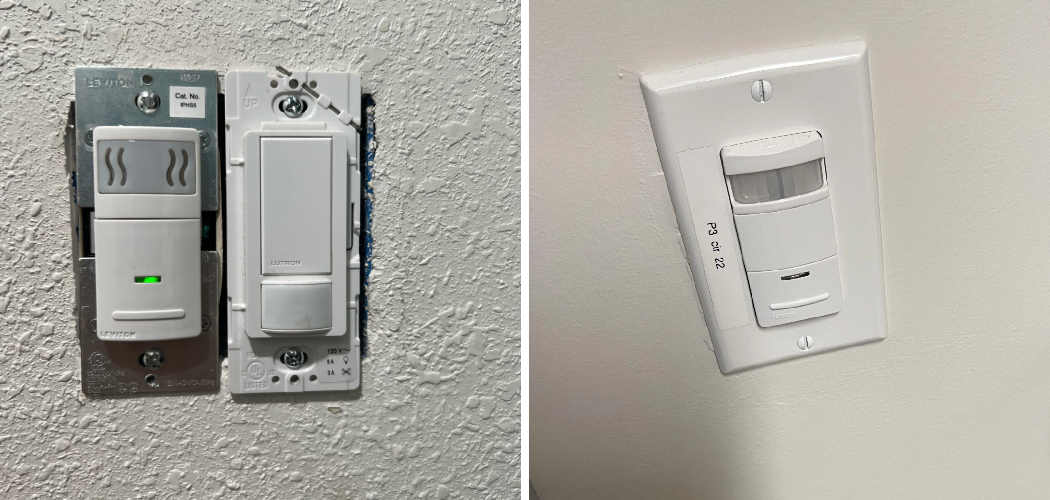
The first step in turning off your Leviton motion sensor is to locate the motion sensor switch on your device. Depending on the model, the motion sensor switch may be installed on a wall, a ceiling, or integrated into a lighting fixture. Carefully inspect the area where the motion sensor is placed.
If it’s wall-mounted, check alongside standard light switches, as it may look similar but have additional settings or labels indicating it is a motion sensor. Use your step stool or ladder to get a closer look at the device for ceiling-mounted sensors. The switch might be hidden under a small panel or cover. Refer to your user manual for detailed diagrams or instructions specific to your model to ensure you’re identifying the correct component.
Step 2: Adjust the Motion Sensor Settings
Examine the available settings once you’ve located the motion sensor and switch. Many motion sensors have dials or switches that allow you to adjust sensitivity, light duration, and detection range. If needed, use a small flathead screwdriver to turn the dials gently. Make sure to follow the instructions in your user manual to configure the settings properly for optimal performance. Test the adjustments by triggering the motion sensor to ensure it functions as expected.
Step 3: Secure the Motion Sensor
Once you’ve adjusted the motion sensor settings, it’s time to secure the device in its designated position. Begin by ensuring the mounting surface is clean and dry, free from any debris or moisture that could interfere with proper installation. If the motion sensor comes with a mounting bracket, attach it securely according to the manufacturer’s instructions. Use screws or anchors suitable for the surface material, such as wood, brick, or concrete, to ensure a sturdy and reliable hold.
Position the sensor to face the desired detection area, keeping in mind the recommended height and angle for optimal performance. The optimal height typically ranges between 6 and 10 feet, depending on the specific model, which allows for better detection while minimizing potential false triggers from small animals or environmental factors. If applicable, tighten any adjustment screws to lock the sensor into place once you’re satisfied with its positioning.
Step 4: Test the Sensor

Once the sensor is securely installed and properly positioned, test its functionality. Activate the sensor according to the manufacturer’s instructions, which may involve turning on a power switch or selecting a specific mode. Walk through the detection area to ensure the sensor responds accurately to motion or changes as intended. Adjust sensitivity settings if necessary to fine-tune its performance and reduce false alarms. Repeat the testing process until the sensor operates consistently and meets your requirements.
Step 5: Finalize Installation
Once the sensor’s functionality has been tested and adjusted, secure all connections and ensure that the device is firmly mounted in its designated position. Double-check that all screws, wires, and components are properly secured to prevent future malfunctions. Finally, review the user manual to confirm that the installation adheres to the manufacturer’s recommendations and safety guidelines. Your sensor is now ready for use.
Step 6: Regular Maintenance
Establish a routine maintenance schedule to ensure optimal performance and longevity of the sensor. Regularly inspect the sensor for dust, debris, or damage that could affect its accuracy. Clean the device and the surrounding area as needed, using materials the manufacturer recommends. Additionally, test the sensor’s functionality periodically to verify that it provides accurate readings. Replace any worn or damaged components promptly to maintain reliability and prevent potential issues. Following these maintenance practices will help extend the life of your sensor and ensure consistent operation.
Step 7: Calibrate the Sensor
Begin by calibrating the sensor according to the manufacturer’s instructions. Calibration helps ensure that the sensor provides accurate readings and functions as intended. Use the recommended calibration tools and follow all provided guidelines carefully. Regular calibration is essential, especially if the sensor is exposed to significant environmental changes or heavy usage.

Step 8: Train Personnel on Proper Handling
Proper personnel training is critical to ensure the safe and effective use of the sensor. Begin by familiarizing the team with the sensor’s purpose, key features, and operating principles. Provide hands-on demonstrations to safely handle, install, and maintain the sensor.
Additionally, emphasize the importance of following the manufacturer’s guidelines to prevent mishandling or damage. Include training on recognizing potential issues, such as irregular readings or signs of wear, and instruct on reporting these problems. Regularly update training sessions to account for technological advancements or updates to the sensor’s operation.
By following these steps, employees will be well-equipped to handle the sensor effectively and efficiently.
5 Things You Should Avoid
- Forgetting to Cut Power Before Adjusting Settings
Always ensure the power to the motion sensor is turned off before attempting to adjust any settings or wires. Working on the device with the power still on can pose safety risks and may damage the sensor.
- Using Excessive Force When Adjusting Controls
The adjustment dials and switches on the Leviton motion sensor are delicate. Too much pressure can break or misalign components, rendering the sensor ineffective.
- Ignoring the Manufacturer’s Instructions
Skipping the user manual or ignoring the manufacturer’s guidelines can lead to improper handling, which might void the warranty or result in the device malfunctioning.
- Covering or Blocking the Sensor
Placing objects or tape over the sensor to prevent it from detecting motion is ineffective and may lead to overheating or decreased functionality over time.
- Overlooking Environmental Factors When Making Adjustments
Adjusting the motion sensor’s sensitivity and settings without considering environmental factors, such as light sources or reflective surfaces, may hinder its efficiency and cause it to turn off unintentionally or not respond as needed. Continually assess the surrounding area before making alterations.
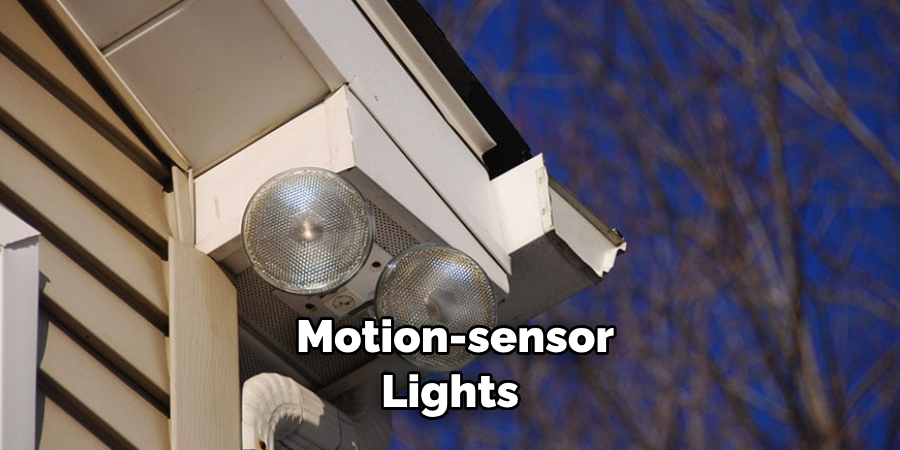
How to Trick Motion Sensor Lights?
Motion sensor lights are a great addition to any home or commercial space for security and convenience. However, sometimes these lights can be overly sensitive or not responsive enough, making them less effective. In this case, you may wonder if there’s a way to “trick” motion sensor lights to work better.
Before attempting any tricks or hacks, it’s essential to understand how motion sensors work. These devices use passive infrared (PIR) technology to detect changes in heat signatures within their range. When a moving object enters the sensor’s field of view, the light turns on.
Can Motion Sensors Be Fooled?
The short answer is yes, motion sensors can be fooled. However, it’s not as easy as simply waving your hand in front of the sensor to turn on the lights. PIR technology is designed to detect changes in heat signatures, so any movement that does not produce a change in heat will not trigger the sensor.
Some ways people have tried to “trick” motion sensor lights include using a mirror or reflective surface to redirect heat signatures, creating false heat sources with hair dryers or space heaters, or even wearing a costume to mimic an animal or person.
However, these tricks are often unreliable and may only work for certain motion sensors. They also require constant maintenance and may not be feasible in certain situations.
Conclusion
How to turn off leviton motion sensor, you can typically use the manual override function. This is often achieved by quickly flipping the connected light switch on and off in a specific sequence, which disables the motion sensor and allows the lights to stay off or on as needed.
Refer to the device’s user manual for detailed instructions, as the exact steps may vary depending on the model. Some Leviton motion sensors also have adjustable settings or a dedicated switch that lets you disable the sensor permanently or temporarily.
Always ensure the power is off when adjusting to avoid electrical hazards.