

Creating a key mold can be a handy skill, especially when you need a duplicate key in an emergency or to save time and money. Whether for personal use, DIY projects, or as a backup solution, making a key mold requires precision and the right tools.
In this blog post we will show you how to make a key mold so that it functions properly. Read on to learn more about which components and tools are needed for the job as well as detailed instructions on completing the task!
Reasons for Making a Key Mold
There are several practical reasons for creating a key mold that make it a worthwhile skill to learn. First, having a spare key can be essential in case you lose or misplace your original key. This ensures you have a convenient backup without needing to call a locksmith or replace the lock entirely.
Second, making a key mold can save both time and money compared to visiting a professional key duplication service. Additionally, it can be particularly helpful for unique or older keys that are difficult or costly to replace. Lastly, creating a key mold can be an engaging and useful DIY project, allowing you to learn new skills and become more self-reliant when it comes to household maintenance.
Materials and Tools Needed
To create a key mold, you will need a few essential materials and tools. Here’s what you’ll need to get started:
- Soft Moldable Material (such as clay, wax, or silicone): This will be used to capture the shape of the key.
- Key to Duplicate: The original key you want to make a mold of.
- Mold Release Agent (optional): To prevent sticking and ensure the mold comes out cleanly.
- Casting Material (such as epoxy resin or metal alloy): Used to replicate the key from the mold.
- Mixing Tools (if using liquid casting materials): For properly blending and pouring components.
- Small Container or Frame (to hold the moldable material): Provides structure during the molding process.
- Protective Gear (such as gloves): To keep your hands safe and clean while working.
Having these materials and tools ready will streamline the key duplication process and ensure a more successful outcome.
Choosing the Right Mold Material
Selecting the appropriate mold material is essential for creating an accurate and durable key replica. Several factors should be considered when making your choice, including the material’s flexibility, curing time, and resistance to wear.
Silicone is a popular option due to its excellent flexibility, which allows for intricate details to be captured while also making it easier to release the key from the mold. For a faster process, fast-curing epoxy putties can be used, although these may not capture as much fine detail.
If durability and repeated use are necessary, harder mold materials such as thermoplastic might be ideal. Always ensure the mold material is compatible with your casting material to achieve the best results.
10 Methods How to Make a Key Mold
1. Using Silicone Mold Putty
Silicone mold putty is a quick and efficient way to make a key mold. Begin by mixing equal parts of the putty until it forms a uniform color. Press the key into the putty and ensure all details are captured.
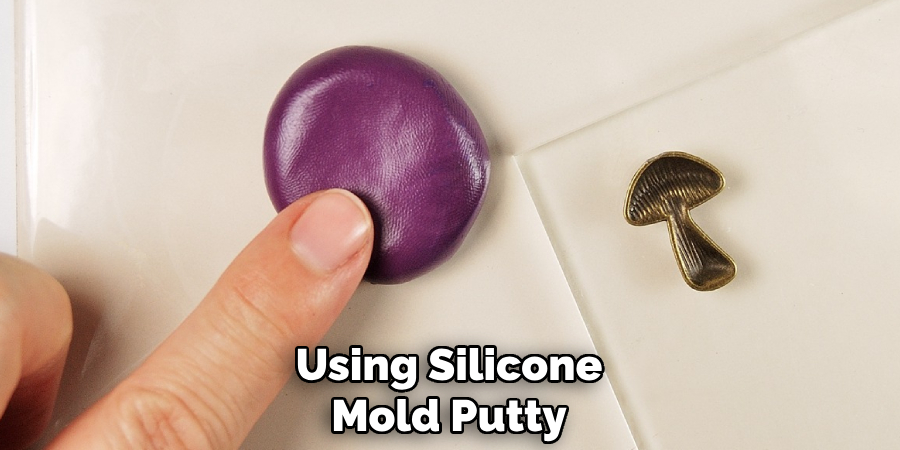
Let it set for the recommended curing time (typically 10-30 minutes). Once hardened, carefully remove the key, leaving a detailed mold that can be used for casting resin or low-melting-point metal replicas.
2. Plaster of Paris Mold
Plaster of Paris is another easy method for creating a key mold. Prepare a small container and pour a layer of wet plaster. Before it fully hardens, press the key into the material, making sure it is fully embedded. Let it dry for at least an hour. Carefully remove the key and let the mold fully cure before using it for casting purposes.
3. Clay Mold Method
Soft, non-drying clay provides a temporary but effective key molding method. Flatten a piece of clay, then press the key firmly into it. Carefully remove the key to leave a detailed imprint. This method works best for temporary duplication and wax casting, though it lacks the durability of other molding techniques.
4. 3D Scanning and Printing
For a modern approach, a 3D scanner can capture the precise dimensions of a key. The scanned file is then printed using a 3D printer with mold-making materials such as silicone or resin. This method provides high accuracy and allows for easy duplication with minimal manual effort.

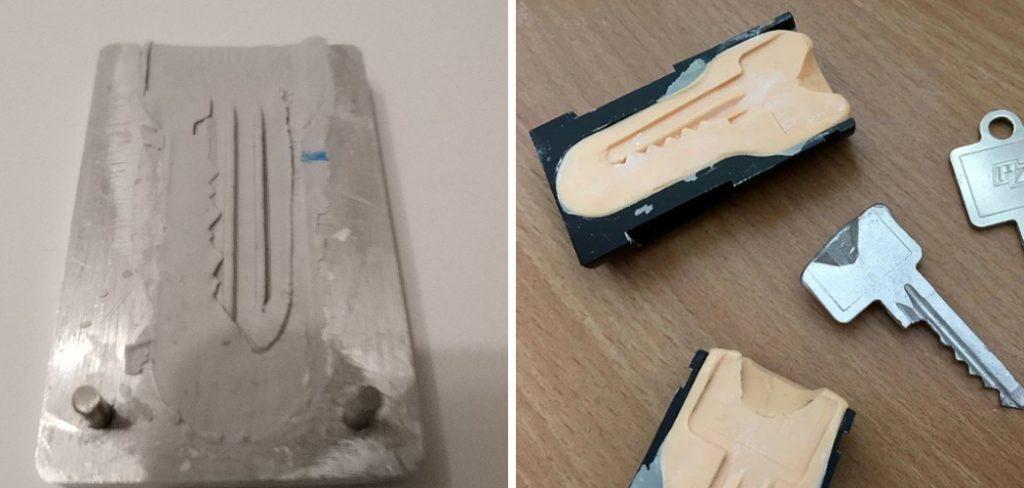
5. Metal Casting with Sand Molding
Sand casting is a traditional method used for creating metal parts. Fine casting sand is packed into a container, and the key is pressed into the sand to create a detailed impression.
The mold is then heated to remove moisture before pouring molten metal into the cavity. Once cooled, the duplicate key is removed, cleaned, and finished.
6. Wax Mold for Metal Casting
A wax mold is useful for making metal key duplicates. Melt some wax and pour it into a silicone or plaster mold. Once hardened, the wax key can be coated with a ceramic slurry, then heated to burn out the wax. Molten metal is then poured into the cavity, forming a solid metal key.
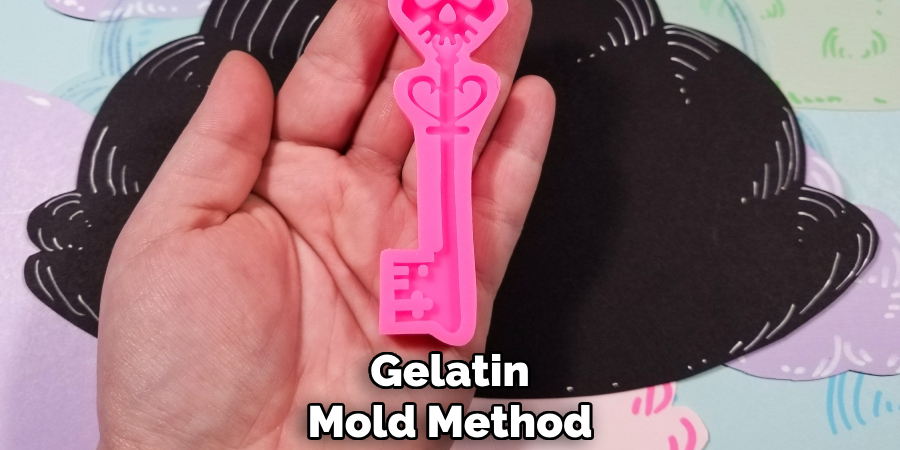
7. Gelatin Mold Method
Using food-grade gelatin as a molding material is a quick and inexpensive method. Heat and pour gelatin into a shallow dish, then press the key into the soft material. Once cooled and solidified, remove the key to reveal a flexible mold that can be used for wax or resin casting.
8. Rubber Latex Mold
Rubber latex is a flexible and durable molding material. Coat the key with several thin layers of liquid latex, allowing each layer to dry before applying the next. Once sufficiently thick, peel the latex mold off carefully. This mold can be used repeatedly for wax or resin casting.
9. Hot Glue Mold
Hot glue provides a fast, temporary mold-making method. Coat the key with a release agent, then pour hot glue over it, ensuring full coverage. Once cooled, carefully remove the glue mold. Though not as durable as silicone, hot glue molds work well for quick duplications.
10. Polyurethane Rubber Mold
Polyurethane rubber creates a durable and reusable mold. Mix the components and pour the liquid rubber over the key in a mold box. Allow it to cure for 24 hours, then remove the key. This mold can be used for wax, resin, or low-temperature metal casting.
Maintenance and Upkeep
Proper maintenance of molds ensures longevity and consistent performance. Clean molds thoroughly after each use to remove any residue from casting materials. For rubber molds, apply a release agent before every casting to prevent sticking and deterioration.
Store molds in a cool, dry place away from direct sunlight to avoid warping or degradation due to heat and UV exposure. Periodically inspect molds for any signs of damage, such as cracks or tears, and repair them with appropriate patching materials if possible. Taking these steps can significantly extend the life of your molds and maintain their quality over time.
Troubleshooting Common Issues
When working with molds, several common issues may arise that can affect the quality of your final product. Below are a few troubleshooting tips to address these challenges:
Bubbles in Castings
Bubbles can form if air gets trapped during the casting process. To minimize bubbles, pour materials slowly and consider using a vacuum chamber or pressure pot to remove trapped air before the material cures.
Incomplete Casts
An incomplete cast may occur if material does not fully fill the mold. Ensure you are using the correct volume of casting material and carefully tilt or vibrate the mold to allow the material to flow into all details of the mold.

Mold Sticking to the Casting
If your casting sticks to the mold, it may be due to insufficient release agent or improper application. Clean the mold thoroughly and reapply a high-quality release agent evenly before every use.
Tearing or Cracking of Molds
Over time, molds can become brittle or damaged. This is often due to improper storage or degradation from repeated use. Regularly inspect molds for signs of wear and replace them when necessary. For minor damage, use compatible patching materials to extend the mold’s usability.
Surface Imperfections
Imperfections such as uneven textures or streaks may result from dust, dirt, or uneven mixing of the casting material. Always clean your mold before use and mix materials according to manufacturer instructions to achieve uniform results.
By identifying and addressing these issues early, you can enhance the quality of your finished castings and optimize the longevity of your molds.
Conclusion
Each of these methods offers a unique approach to making a key mold, depending on the required durability, accuracy, and intended use. Whether using traditional casting techniques or modern 3D printing, selecting the appropriate method ensures a successful key duplication process.
Now that you know how to make a key mold, try it yourself today and feel good about completing such a big DIY job!