
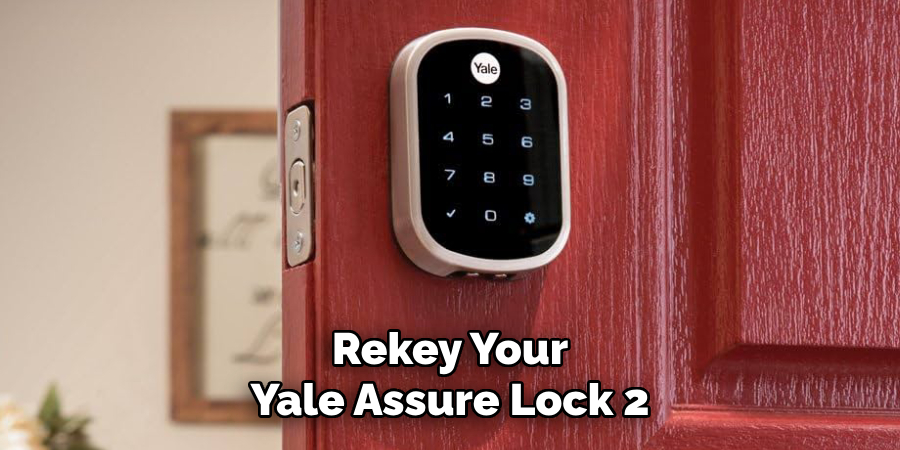
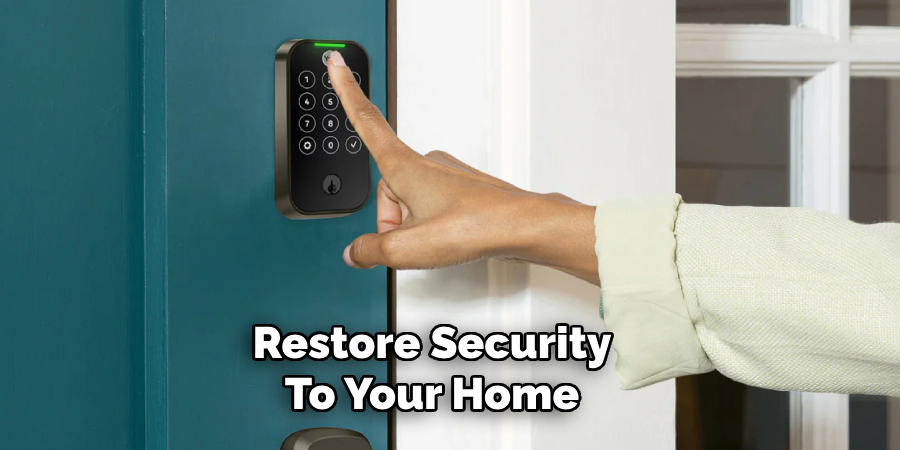
Rekeying your Yale Assure Lock 2 allows you to update your lock’s key cylinder to work with a new key, ensuring enhanced security and convenience. This process is useful if you’ve recently moved into a new home, lost your keys, or simply wish to consolidate multiple keys into one.

With the right tools and a step-by-step guide on how to rekey yale assure lock 2, rekeying your smart lock can be a straightforward and efficient task, giving you peace of mind and control over your home’s security.
Why Rekey Your Yale Assure Lock 2
Rekeying your Yale Assure Lock 2 provides several key benefits that enhance both security and convenience. One of the primary reasons is to maintain control of who has access to your home. If you’ve recently moved into a new residence, there is a possibility that previous tenants or owners may still have access to the original key. Rekeying eliminates this risk by rendering the old key ineffective.
Additionally, rekeying is an excellent solution if you’ve misplaced your keys or suspect they may have fallen into the wrong hands. It’s a proactive measure to safeguard your home and loved ones. Furthermore, consolidating multiple keys into a single key for all compatible locks in your home can simplify your daily routine, reducing the hassle of managing a bulky keyring.
Rekeying is not only a cost-effective alternative to replacing the entire lock but also a practical way to maintain security without compromising convenience.
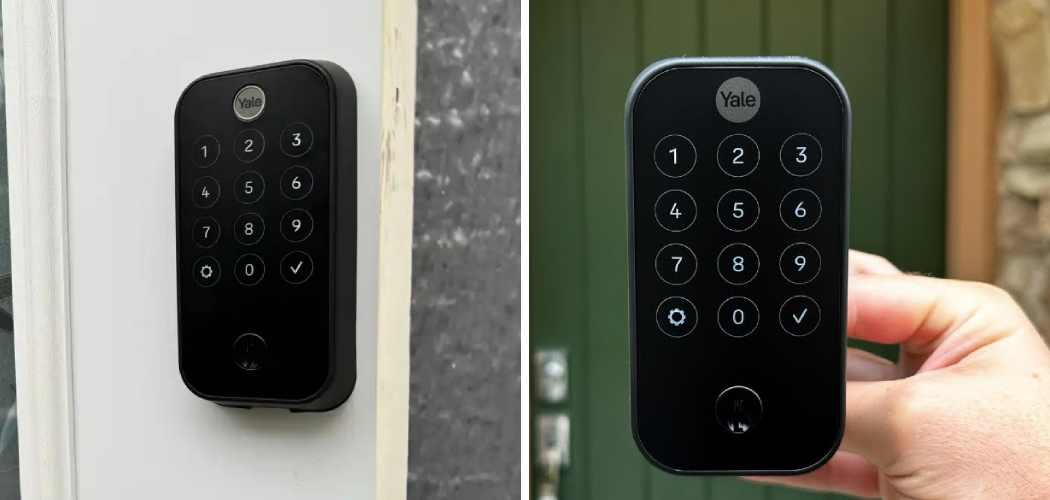
Is Your Yale Assure Lock 2 Rekeyable?
Yes, the Yale Assure Lock 2 is rekeyable, offering homeowners flexibility and enhanced security options. This feature allows you to reconfigure the lock’s cylinder to work with a new key, rather than replacing the entire lock. Whether you’ve recently moved into a new home, experienced a security concern, or simply want to streamline key usage across multiple locks, rekeying your Yale Assure Lock 2 is a practical solution.
To ensure the rekeying process is performed correctly, you can consult a locksmith or follow the detailed instructions provided by Yale. This capability ensures that your smart lock continues to provide both convenience and peace of mind.
10 Methods How to Rekey Yale Assure Lock 2
1. Understand the Rekeying Process
Before attempting to rekey your Yale Assure Lock 2, it’s crucial to understand the basics of the process. Rekeying involves altering the internal pins within the lock cylinder so that the old key no longer operates the lock. Instead, a new key, cut to match the reconfigured pins, will work.
Yale Assure Lock 2 models often combine electronic smart lock features with traditional keyways, meaning you will need to address both the digital and mechanical components. Familiarizing yourself with your specific model will save time and reduce errors during the rekeying process.
2. Gather the Necessary Tools
To successfully rekey your Yale Assure Lock 2, gather the essential tools: a rekeying kit, which includes new pins and keys, a screwdriver, a plug follower, and some lubricant. Yale rekeying kits are often lock-specific, so ensure you purchase one that is compatible with your model.
Additionally, having a soft cloth on hand will help you keep track of small components and maintain cleanliness throughout the process. It’s also wise to have your new key on hand to test the lock after rekeying.
3. Remove the Lock from the Door
Start by carefully removing the Yale Assure Lock 2 from the door. Use the screwdriver to detach the exterior and interior lock assemblies. Be mindful of any electronic components and wiring, especially if your lock model has a touchscreen or keypad. Carefully disconnect any wiring harnesses before removing the lock completely.
Place the screws and components in a safe spot to ensure no parts are lost during reassembly. This step allows you to access the cylinder, which houses the pins that will be reconfigured.
4. Disassemble the Cylinder
After removing the lock, locate the lock cylinder within the assembly. Use your existing key to turn the plug slightly (about a quarter turn) to align it properly for removal. Utilize the plug follower to push the plug out of the cylinder while keeping pressure on the pins to prevent them from scattering.
As you push the plug out, maintain a steady grip to prevent losing any small parts. Disassembling the cylinder correctly ensures that you can easily access the old pins and replace them with new ones.
5. Remove Old Pins
Once the plug is out, you will see a series of small pins inside the cylinder. These pins correspond to the old key, and removing them is essential for rekeying. Carefully dump the old pins onto a cloth, making sure to note their varying lengths. Cleaning the cylinder with a soft brush and applying a bit of lubricant will prepare it for the new pins.
Taking this step ensures that no old pins or debris interfere with the new configuration, which can lead to jamming or malfunction.
6. Install New Pins According to the New Key
Your rekeying kit should include a key gauge to match the new pins to the cuts on the new key. Use the gauge to measure the depth of each cut on the new key, and select the corresponding pins from the kit. Place the new pins into the cylinder in the correct order, making sure they sit flush when the key is inserted.
Proper pin alignment is crucial; if the pins are not correctly matched, the lock will not function smoothly. Double-check each pin’s height before proceeding to the next step.
7. Reassemble the Lock Cylinder
After installing the new pins, carefully slide the plug back into the cylinder, using the plug follower to maintain pressure and alignment. Ensure that the new pins do not shift during reinsertion. Once the plug is securely in place, test the new key to confirm that it turns smoothly.
If the key does not turn properly, you may need to recheck the pin heights or ensure that the plug is correctly aligned within the cylinder. Reassembling the cylinder with precision is key to maintaining the lock’s integrity.
8. Test the Rekeyed Cylinder
Before reinstalling the lock, conduct a thorough test of the rekeyed cylinder. Insert the new key and turn it several times to check for smooth operation. Also, test the old key to confirm that it no longer works. This step ensures that the rekeying process was successful and that the lock is secure.
Any resistance or sticking could indicate a misplaced pin or an issue with the plug alignment. Identifying problems at this stage saves you from reinstalling a malfunctioning lock.
9. Reinstall the Lock on the Door
Once you are confident that the cylinder operates correctly, begin reinstalling the lock on the door. Start with the interior assembly, reattaching it securely with the original screws. Reconnect any electronic components carefully, ensuring that all wires are properly seated and undamaged.
After the interior assembly, secure the exterior components. Test the lock again after reinstallation to confirm that it locks and unlocks with ease. Taking care during reinstallation ensures that your lock functions as intended.
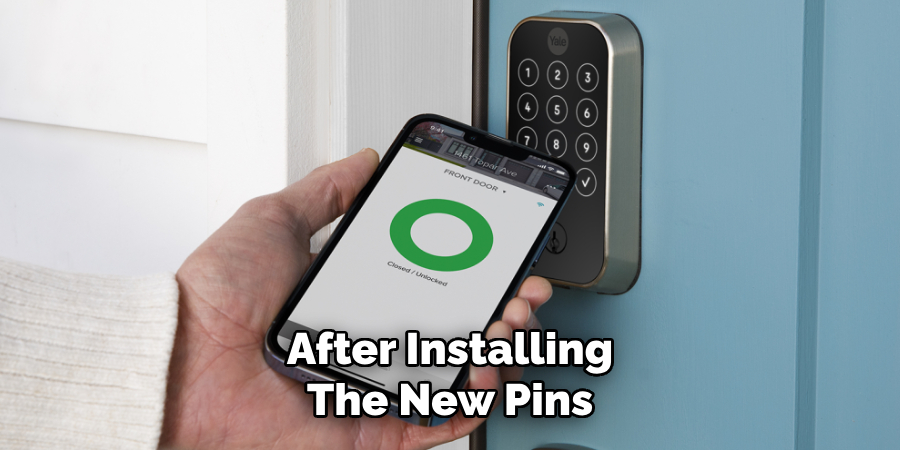
10. Reconfigure the Digital Lock Settings
Since the Yale Assure Lock 2 also has electronic features, you may need to update or reset the digital settings after rekeying. Access the digital interface through the keypad or touchscreen and follow the manufacturer’s instructions to reprogram access codes if necessary.
Some models may automatically recalibrate once the battery is reconnected. Confirm that both the digital and manual functions work seamlessly before considering the job complete. This final step ensures that your lock is not only mechanically sound but also electronically secure.
Things to Consider When Rekeying a Lock
Rekeying a lock requires careful attention to detail to ensure both security and functionality. First, always verify that you have the correct tools and replacement parts for your specific lock model. Using incompatible components may damage the mechanism or compromise security.
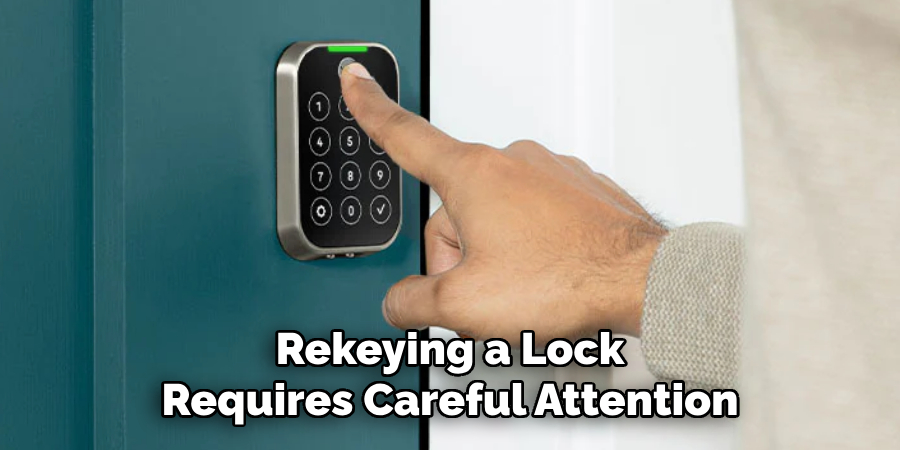
Second, assess the condition of the lock hardware before rekeying—if the lock is worn or damaged, it may be better to replace it entirely. Additionally, consider the skill level required; while some locks are simple enough for DIY rekeying, others might need professional expertise to avoid errors.
Finally, make sure to test the lock thoroughly after rekeying, checking both the mechanical and digital functionality if applicable, to confirm that it operates smoothly and securely.
Conclusion
Rekeying your Yale Assure Lock 2 can seem daunting due to the combination of electronic and mechanical components. However, by following these ten detailed methods, you can efficiently replace the lock’s internal pins and restore security to your home. Always take the time to diagnose the issue accurately, gather the proper tools, and work carefully through each step.
Rekeying rather than replacing the entire lock saves money while maintaining the lock’s functionality and security. Thanks for reading our blog post on how to rekey yale assure lock 2! We hope you found it helpful and informative.