
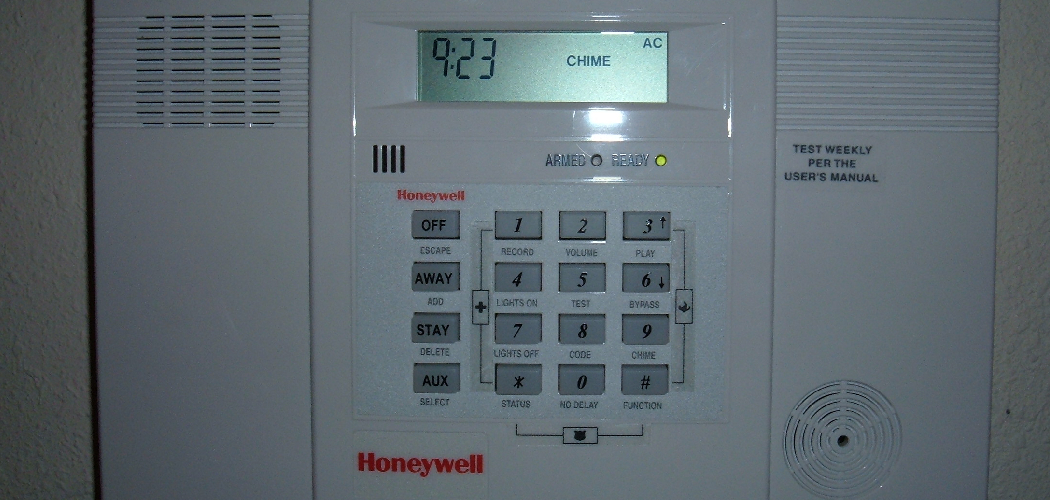
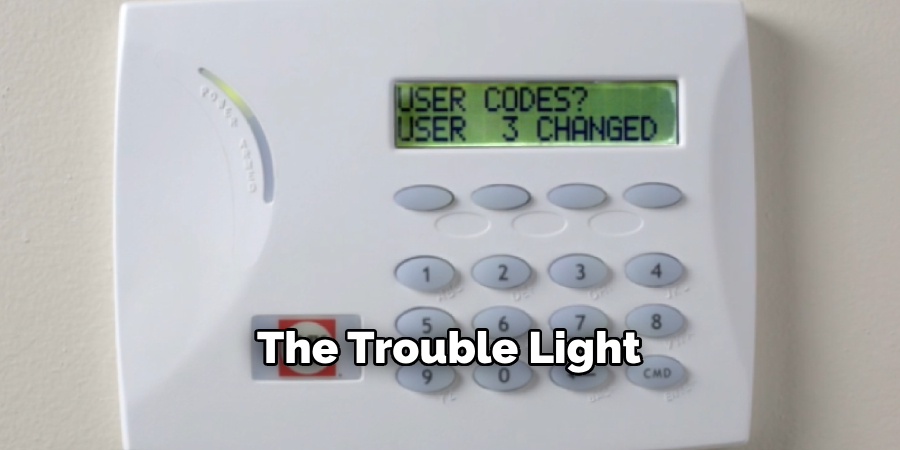
When a trouble light appears on your ADT alarm system, it typically indicates an issue that needs your attention to ensure the system is functioning properly.
This could be due to various reasons, including low battery, power failure, or a communication issue. Understanding how to identify and resolve the cause of the trouble light is essential for maintaining the security and reliability of your alarm system.
This guide on how to turn off trouble light on adt alarm will walk you through the necessary steps to turn off the trouble light on your ADT alarm.
Understanding the Trouble Light
The trouble light on your ADT alarm system serves as an alert, indicating that there is an issue that requires your attention. It is an essential feature designed to ensure the system remains operational and effective in protecting your home or business. The trouble light can signal various problems, such as a malfunction in a specific zone, a low backup battery, a disruption in power supply, or an issue with communication to the monitoring center.
By understanding the specific reason behind the trouble light activation, you can take the appropriate steps to address the problem and restore your system to full functionality. Most alarm panels have a way to display error codes associated with the trouble light, which can help pinpoint the cause and guide you in resolving it.
Identifying the Cause of the Trouble Light
To identify the cause of the trouble light, start by consulting your alarm system’s user manual. Most manuals provide a list of error codes or indicators that correspond to specific issues. If your alarm panel has an LCD display, it may show a code or message explaining the problem. Pressing the system’s “trouble” or “status” button (if available) can also reveal more details.
Common causes include low or disconnected batteries, incomplete system setup, tampered sensors, or disruptions in communication with the monitoring service. If the manual and panel do not provide sufficient information, contact your alarm service provider for assistance in diagnosing the issue.
Things to Consider Before Purchasing a Home Security System
Type of System:
Decide between a professionally monitored system and a self-monitored one. Professionally monitored systems often offer more comprehensive support but may require long-term contracts, while self-monitored systems provide flexibility without monthly fees.
Compatibility and Expandability:
Ensure the system is compatible with your existing smart home devices, such as smart locks, cameras, or thermostats. Consider whether you may need additional sensors, cameras, or features in the future.
Installation Requirements:
Determine if the system requires professional installation or if it can be set up on your own. DIY options may save money but could require technical know-how.
Connection and Power Options:
Evaluate whether the system relies on Wi-Fi, cellular connectivity, or hardwired connections. Additionally, check if the system has backup power options to keep it running during outages.
Cost:
Look beyond the initial purchase price and consider long-term costs, such as subscription fees for monitoring services, maintenance, and potential upgrades.
Coverage Needs:
Assess the size of your home and the areas you want to secure. Make sure the system has enough sensors, cameras, or components to cover all vulnerable entry points.
Privacy and Security Features:
Ensure the system uses encryption to protect your data and offers safeguards against hacking. Review the company’s privacy policies and data handling practices.
By considering these factors, you can choose a home security system tailored to your needs and priorities, ensuring peace of mind and effective protection.
7 Simple Steps on How to Turn Off Trouble Light on Adt Alarm
Step 1: Check for the Cause of the Trouble Light
The first step to turning off the trouble light on your ADT alarm system is to identify the root cause. Trouble lights usually indicate issues such as a low battery, power failure, or communication errors. Begin by consulting your alarm panel’s display, which should provide a code or message detailing the specific problem.
Refer to your system’s user manual or ADT support resources to interpret the code if necessary. Addressing the underlying issue is essential before proceeding to reset the system.
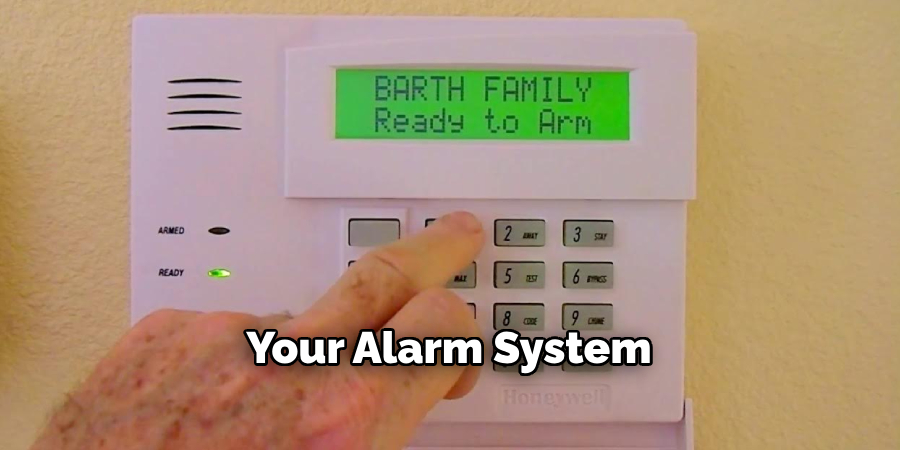
Step 2: Enter Your Code to Silence the Alarm
Once you have identified and addressed the issue causing the trouble light, the next step is to enter your security code into the alarm system. This step is crucial to silence any alerts and clear temporary trouble notifications.
On the alarm keypad, input your unique user code carefully. If entered correctly, the system should acknowledge the command and cease sounding any warnings. Note that silencing the alarm does not resolve the root issue unless it has already been fixed. If the trouble light remains on, double-check that all necessary repairs or adjustments have been completed.
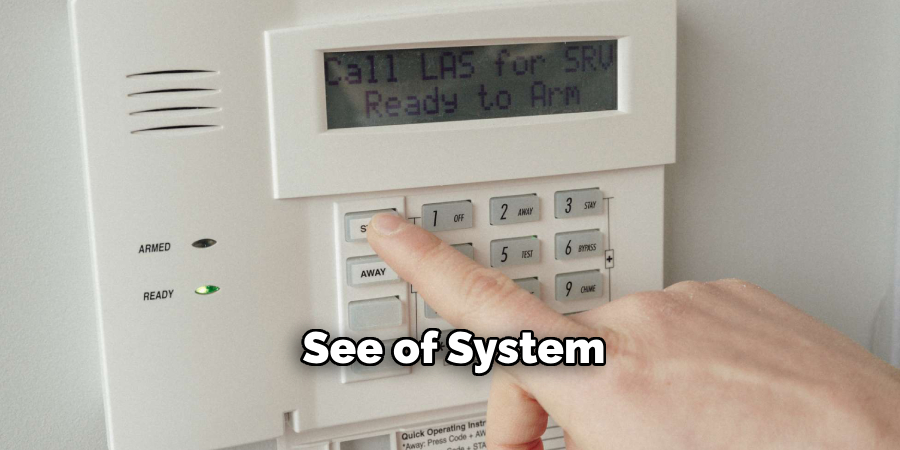
Step 3: Navigate to “System Status”
Once the alarm is silenced, proceed to check the “System Status” on the keypad. This feature provides detailed information about any existing issues or notifications within your alarm system. Press the designated “System Status” button on the keypad or refer to your specific system’s user manual for instructions on accessing this menu.
Carefully review the displayed messages to identify any unresolved problems that require further attention. Addressing these alerts promptly ensures the system continues to operate efficiently and securely.
Step 4: Check for Specific Trouble Conditions
Trouble conditions are specific alerts that indicate problems within your alarm system, such as low battery, power failure, or sensor malfunctions. To check for these conditions, look for any illuminated trouble indicators on your keypad, such as a flashing light, a warning icon, or an audible beep.

Next, consult the system’s display or follow the prompts to view the trouble condition details. Refer to your alarm system’s user manual to understand the nature of the indicated issue and follow the recommended steps to resolve it. Addressing these troublesome conditions promptly will help maintain the system’s reliability and security.
Step 5: Address Any Identified Issues
Once you have identified the specific trouble condition, take the necessary steps to resolve it. Common issues may include a low backup battery, loss of power, or a sensor malfunction. Replace batteries or faulty components as needed, following the guidelines provided in your user manual.
If the issue is related to connectivity or a wiring problem, ensure all cables are securely connected and inspect for any physical damage. For more complex issues or those that you are unable to address on your own, it is advisable to contact your alarm system provider or a professional technician for assistance. Resolving these issues promptly will ensure your alarm system continues to operate effectively.
Step 6: Test the System
Once all necessary repairs or adjustments have been made, it is essential to thoroughly test your alarm system to ensure it is functioning correctly. Begin by activating the system and triggering its various sensors to confirm they respond as expected. Check for proper communication with monitoring services, if applicable, and verify that alerts or notifications are being received accurately.
Pay close attention to any error messages or unusual behavior, as they may indicate unresolved issues. Regular testing of your alarm system is a critical step in maintaining its reliability and ensuring the safety of your property.
Step 7: Contact Your Alarm System Provider if Needed
If you encounter any issues during the testing process or notice that your alarm system is not functioning as expected, do not hesitate to contact your alarm system provider. Most providers offer dedicated customer support to help troubleshoot problems or guide you through advanced settings.
Be prepared to provide detailed information about the issue, including any error messages or irregular behavior you’ve observed. Prompt communication with your provider can help resolve potential problems quickly and ensure your system is fully operational.
Following these steps on how to turn off trouble light on adt alarm system, you can successfully troubleshoot and resolve any issues with your alarm system. Remember to always test your system regularly to ensure it is functioning properly and address any problems as soon as they arise.
Tips for Preventing Trouble Alerts
Perform Regular Maintenance
Schedule routine maintenance for your ADT alarm system to ensure all components are functioning correctly. This includes checking sensors, batteries, and wiring for any signs of wear or damage.
Replace Batteries as Needed
Low or dead batteries are a common cause of trouble alerts. Regularly check the battery status of your system and replace it promptly when necessary to avoid disruptions.
Keep Sensors Clean and Unobstructed
Dust, dirt, or objects blocking your alarm system’s sensors can lead to malfunction or false alerts. Gently clean your sensors periodically and ensure they remain unobstructed in their installed locations.
Test Your System Regularly
Conduct routine system tests to verify that all components are working properly. Many alarm systems include a test mode, allowing you to check performance without triggering emergency responses.
Update Communication Settings
If your alarm system relies on a landline or cellular connection, ensure your service provider information is up-to-date. Make necessary adjustments if you change phone services or network providers to prevent communication failures.
Monitor Environmental Changes
Be aware of environmental factors such as extreme temperatures, humidity, or power surges that might affect your alarm system’s performance. Take precautions to mitigate these risks as needed.
By following these tips, you can minimize the occurrence of trouble alerts and ensure your ADT alarm system continues to provide reliable protection.
Conclusion
Maintaining your ADT alarm system ensures that it operates effectively and provides the security your home or business needs.
By staying proactive with regular maintenance, system updates, and careful monitoring of any alerts or environmental factors, you can have peace of mind knowing your system is functioning optimally. A well-maintained security system is key to protecting what matters most.
Thanks for reading this article on how to turn off trouble light on adt alarm system. We hope this guide has been helpful in troubleshooting and resolving any issues with your ADT security alarm. Remember to always refer to the user manual for specific instructions and contact ADT customer support for any further assistance. Stay safe and secure!