
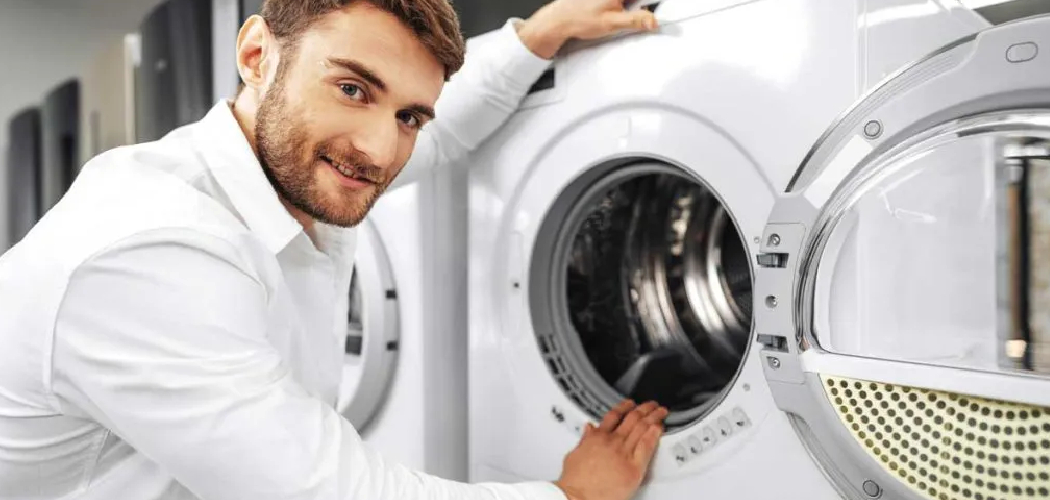
Are you aware that your clothes dryer can be a potential fire hazard? You are in the right place to learn how to inspect your dryer for potential fire hazards and keep your home safe.
Dryers are an essential household appliance, but they can pose significant fire risks if not properly maintained. Lint buildup, faulty components, and improper installation are common culprits behind dryer-related fires. Regular inspection and maintenance ensure your dryer operates safely and efficiently.
This guide on how to inspect your dryer for fire hazards will walk you through the steps to inspect your dryer for potential fire hazards, helping you protect your home and loved ones while extending the lifespan of your appliance.
What Are the Benefits of Inspecting Your Dryer for Fire Hazards?
Regularly inspecting your dryer for fire hazards can bring several benefits. Some of the most significant advantages include:
- Safety: The primary benefit of inspecting your dryer for fire hazards is safety. By identifying potential issues and addressing them promptly, you can prevent dangerous and potentially deadly fires in your home.
- Efficiency: A properly maintained appliance operates more efficiently. When lint and debris buildup are removed, your dryer can dry clothes faster and use less energy, saving you money on utility bills.
- Longer Lifespan: Neglecting to inspect and maintain your dryer can lead to premature wear and tear, shortening its lifespan. Regular inspections help identify potential issues and allow for repairs to be made before they become too costly or require a replacement.
- Preventing Mold and Mildew: Excess moisture buildup in a clogged dryer vent can also breed mold and mildew. This poses health risks and can damage your dryer and its components, leading to expensive repairs or replacements.
- Reduced Risk of Carbon Monoxide Poisoning: Gas dryers release carbon monoxide during operation, which is safely vented outside through the dryer vent.
What Will You Need?
To clean your dryer vent, you will need the following materials:
- A vacuum cleaner with a long hose attachment
- Dryer vent brush or cleaning kit
- Screwdriver
- Gloves and safety goggles
- Duct tape
Once you have gathered all the necessary materials, you can proceed with cleaning your dryer vent.
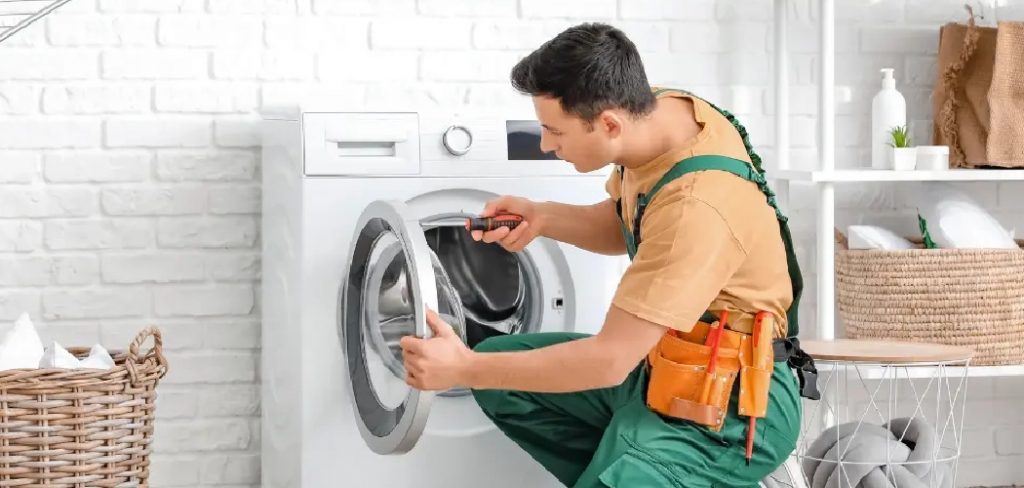
10 Easy Steps on How to Inspect Your Dryer for Fire Hazards
Step 1. Unplug the Dryer
Before starting any inspection or cleaning process, always ensure that your dryer is completely unplugged from the power outlet. This is a crucial safety precaution to prevent any risk of electrical shock while working on the appliance. If your dryer is a gas dryer, in addition to unplugging it, turn off the gas supply to eliminate any potential gas leaks during the process.
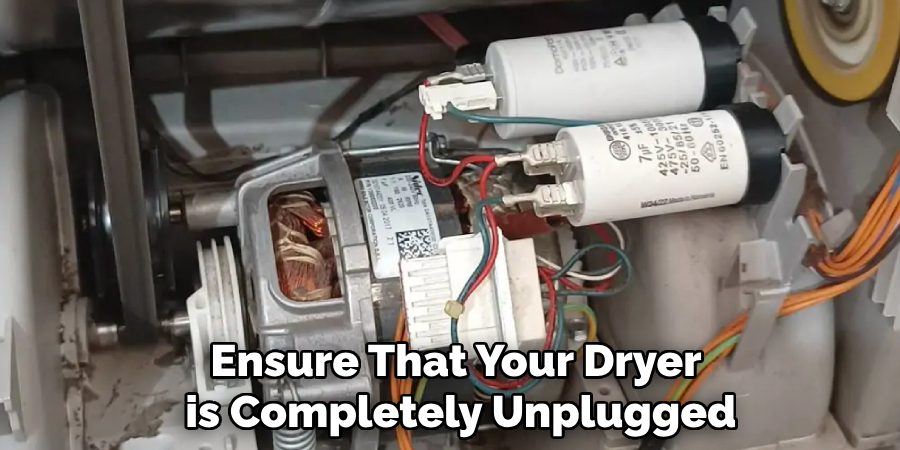
Taking these steps guarantees a safer environment as you begin your inspection and reduces the risk of accidents. Always verify that the dryer is fully powered down before proceeding to the next step.
Step 2. Examine the Dryer Vent
A clogged or obstructed dryer vent is one of the most common causes of inefficiency and potential fire hazards. Begin by carefully disconnecting the vent hose from the back of the dryer. Inspect the vent for any visible lint buildup, debris, or obstructions. Use a vacuum cleaner or a specialized vent cleaning brush to thoroughly remove lint and dirt from both the vent hose and the dryer’s exhaust port.
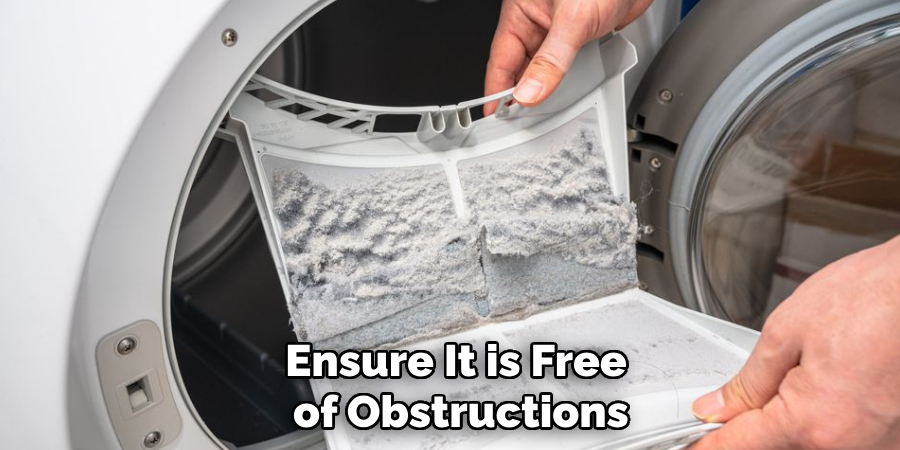
Step 3. Check the Lint Trap
The lint trap is a critical component of your dryer that helps capture lint and debris produced during the drying cycle. Remove the lint trap after each cycle to maintain optimal dryer performance and clear away any accumulated lint. Wash the screen with warm, soapy water at least once a month to remove any fabric softener or dryer sheet residue, which can clog the mesh over time. Allow the lint trap to dry completely before reinstalling it.
Regular maintenance of the lint trap ensures efficient drying and reduces the risk of fire hazards caused by lint buildup.
Step 4. Inspect the Exhaust Duct
Over time, the exhaust duct can accumulate lint and debris, which can significantly restrict airflow and reduce the efficiency of your dryer. To inspect the exhaust duct, disconnect it from the back of the dryer and check for any visible blockages. Use a vacuum or a long-handled brush to remove any built-up lint, ensuring that the entire duct length is clear.
Additionally, inspect the exterior vent cover to ensure it is free of obstructions, such as dirt, leaves, or bird nests, as these can also hinder proper ventilation. It’s essential to perform this task at least once a year, or more frequently if you notice a decrease in drying performance.
Step 5. Assess the Dryer Hose
The dryer hose plays a crucial role in properly functioning your dryer by channeling hot, moist air safely out of your home. Over time, however, the hose can become kinked, crushed, or clogged with lint, restricting airflow and reducing the dryer’s performance. Begin by visually inspecting the hose for visible damage, such as cracks, tears, or crimps. If the hose appears worn out or compromised, it is essential to replace it promptly to ensure safe operation.
Next, carefully disconnect the hose from the dryer and the wall vent to check the interior for built-up lint or debris. Use a vacuum cleaner or a specialized dryer vent cleaning brush to clean out the hose thoroughly. Ensure that the connections on both ends of the hose are secure and that the installation allows for smooth, unobstructed airflow with no sharp bends or unnecessary twists.
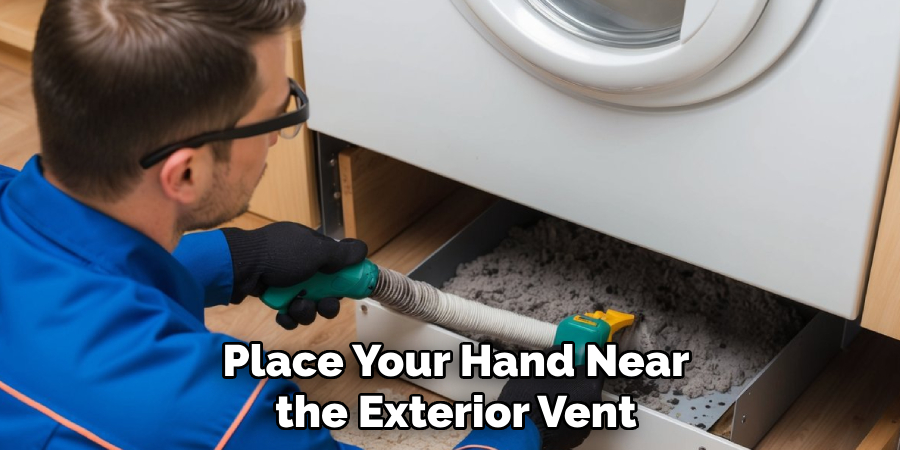
Step 6. Feel for Excessive Heat
Place your hand near the exterior vent while the dryer runs to check for excessive heat or unusually high airflow. If you notice that the air is overly hot or has minimal airflow, this could indicate a blockage or an issue with the dryer’s heating element. Excessive heat can be inefficient and a potential safety hazard, so addressing this promptly is crucial. Cleaning the vent system or inspecting the dryer’s internal components may help resolve the problem. Always ensure proper ventilation to promote safe and efficient dryer operation.
Step 7. Inspect the Drum and Filters
The drum and filters are vital to the dryer’s performance, so regular inspection is essential. Start by opening the dryer door and examining the drum for any signs of damage, such as dents, cracks, or uneven surfaces, which could interfere with its rotation or cause clothes to snag. Next, check the lint filter and ensure it is free of debris. A clogged lint filter restricts airflow, reducing efficiency and increasing the risk of overheating.
Carefully remove any lint buildup, and consider rinsing the filter with water if it is filthy. Allow it to dry completely before reinserting it. Routine inspection and cleaning will not only extend the lifespan of your dryer but also enhance its safety and effectiveness.
Step 8. Test for Proper Airflow
To test for proper airflow, start by disconnecting the dryer vent from the back of the appliance. Turn on the dryer to the air-dry or no-heat setting and check the airflow coming from the exhaust port. It should feel strong and consistent. If the airflow is weak, inspect the vent hose for any obstructions or kinks that may be restricting the airflow.
Also, ensure that the exterior vent is clear of debris, such as lint or leaves, which can block proper ventilation. Restoring efficient airflow is crucial for the dryer’s performance and helps prevent potential fire hazards caused by poor ventilation.
Step 9. Check for Flammable Objects
Inspect the area around the dryer for any flammable objects or materials. Items such as cleaning supplies, clothing, paper, or cardboard should be stored safely away from the machine. Additionally, ensure the dryer drum is free of forgotten garments or items that could catch fire, such as synthetic fabrics or rubber materials. Maintaining a clear and safe environment around your dryer significantly reduces the risk of fire hazards and ensures safer operation.

Step 10. Schedule Regular Maintenance
Regular maintenance is crucial to keeping your dryer functioning efficiently and safely. Schedule periodic inspections by a qualified technician to ensure all components, such as the drum, motor, and heating elements, are in optimal condition. Professional maintenance can help identify potential issues early, such as worn-out parts or lint buildup in areas that are hard to reach.
Additionally, check your dryer’s manufacturer guidelines to meet specific maintenance requirements. Keeping up with regular servicing not only prolongs the life of your appliance but also minimizes the risk of malfunctions or fire hazards.
By completing these steps, you can reduce the risk of dryer-related fires and keep your home safe.
Conclusion
How to inspect your dryer for fire hazards is an essential step to ensure the safety of your home and loved ones.
You can significantly reduce the risks associated with dryer-related fires by cleaning the lint trap after every use, checking and cleaning the vent system periodically, and staying attentive to any signs of wear or unusual performance. Remember to follow the manufacturer’s guidelines and schedule professional inspections when needed.
A proactive approach to dryer care not only prevents fire hazards but also promotes efficient operation and extends the life of your appliance. Stay vigilant and prioritize safety to create a secure home environment.