
How to set up tapo camera may seem intimidating if you’ve never worked with smart home technology before, but it’s actually simpler than you might think. Whether you’re installing it for home security, baby monitoring, or keeping an eye on your pets, the Tapo Camera offers a smart, user-friendly solution for enhancing safety and convenience in your daily life.
To begin the setup process, ensure that you have the necessary items ready, including your Tapo Camera, the power adapter, and a stable Wi-Fi connection. First, plug in the camera and wait for the LED indicator to start blinking orange and green, signaling that it is ready for configuration. Next, download the Tapo app on your smartphone from the Apple App Store or Google Play Store. Once installed, open the app, create an account or log in, and follow the in-app instructions to connect the camera to your Wi-Fi network. With just a few simple steps, your Tapo Camera will be up and running, ready to provide clear video feeds and smart alerts.
Designed with ease of use in mind, Tapo Cameras can be quickly configured via an intuitive app to meet modern smart home needs. From connecting it to your Wi-Fi to customizing its settings for optimal performance, the process is straightforward for beginners. This guide breaks down exactly how to set up tapo camera, covering every step in clear, simple terms. By the end, you’ll feel confident and ready to enjoy the full benefits of this handy device.
Why Setting Up Tapo Camera Matters
A Tapo Camera isn’t just another gadget; it’s a tool that offers convenience, peace of mind, and increased security for your home. Proper setup ensures you get the most out of its advanced features, such as HD video quality, motion detection, and two-way audio. To enjoy these features fully, an accurate and complete setup is crucial.
Home automation is no longer a luxury but a necessity for many households, and Tapo Cameras are designed to integrate seamlessly with popular smart ecosystems. By setting up the camera correctly, you’re enabling real-time alerts, remote monitoring, and secure footage storage.
Skipping proper configuration can lead to connectivity issues or subpar performance, which defeats the camera’s purpose. This guide ensures that your Tapo Camera functions as intended, making your home safer and smarter while allowing you to monitor from virtually anywhere.
Step-by-Step Guide on How to Set Up Tapo Camera
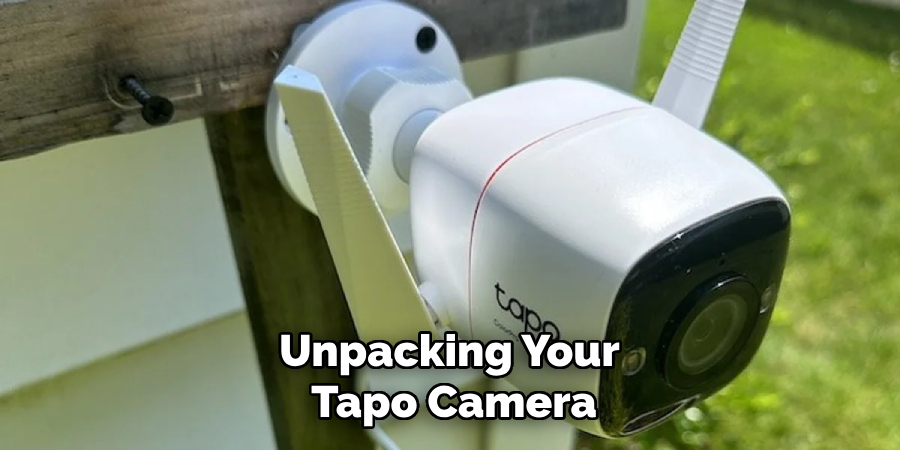
Step 1: Unbox Your Tapo Camera
Begin by unpacking your Tapo Camera from the box. The package typically includes the camera unit, power adapter, mounting accessories, and a quick start guide. Check that all items are accounted for and undamaged. This initial step ensures you don’t miss any key components needed for installation.
Step 2: Download the Tapo App
Next, download the Tapo app on your smartphone or tablet. The app is available for both iOS and Android devices and serves as the control center for your camera. Search for “Tapo” in your app store, and tap the download button to install it. This central platform allows you to manage the camera’s setup and operation.
Step 3: Create or Log Into Your Tapo Account
Open the app and either log into an existing Tapo account or create a new one if you’re a first-time user. To create an account, provide your email address, set a secure password, and verify your email. This step is essential for syncing your device and accessing your camera settings remotely.
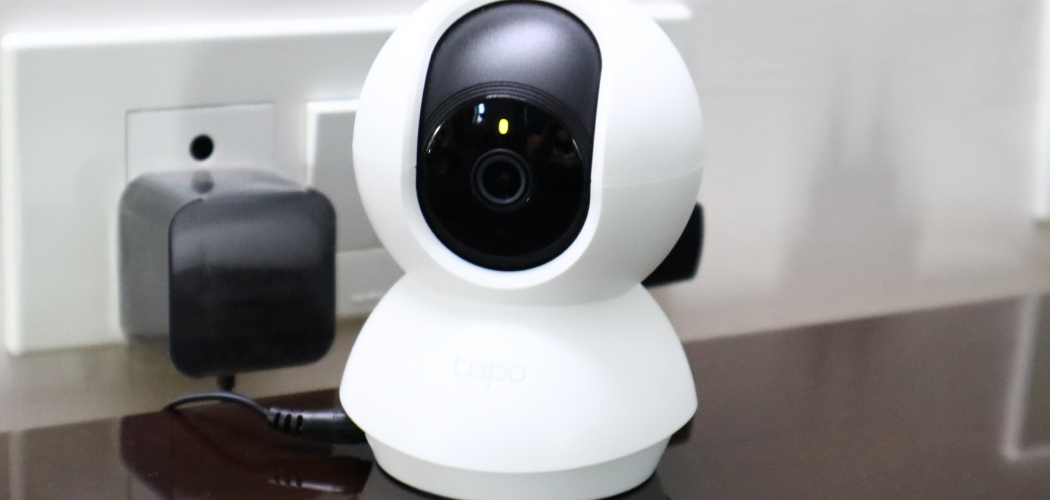
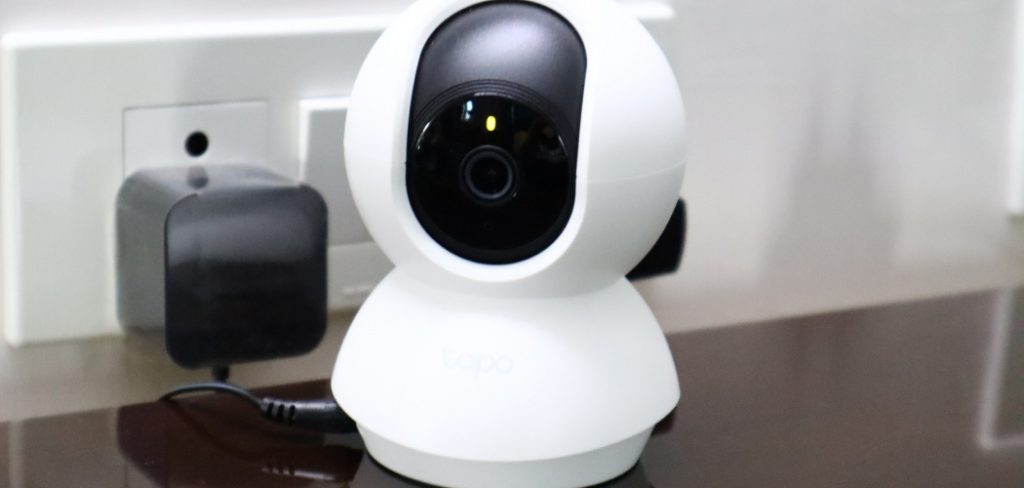
Step 4: Plug in the Camera
Connect your Tapo Camera to power using the supplied adapter. Make sure that it’s placed near a power outlet for convenience. A small LED indicator on the camera will start blinking, signaling that the camera is ready for configuration. Positioning is crucial at this stage since accessing power is integral to its continuous operation.
Step 5: Connect to Your Wi-Fi
Back in the Tapo app, select the option to add a device, and choose your Tapo Camera model from the list. The app will prompt you to connect the camera to your home Wi-Fi network. Enter your Wi-Fi credentials carefully; the camera operates best on a 2.4 GHz network. This step establishes the connection between your camera and your wireless network for seamless operation.
Step 6: Pair the Camera in the App
After joining your Wi-Fi network, the app scans for the camera. Once detected, the device pairs with your account, syncing its basic settings. The LED indicator on the camera will turn solid green, signaling successful pairing. Pairing ensures that your camera is linked to your account, enabling you to control it entirely through the app.
Step 7: Adjust Placement and Mounting
Now that your Tapo Camera is configured, find an optimal spot for its placement. Consider positioning it near an entry point for security monitoring or in your baby’s nursery for parenting purposes. If wall-mounting is required, use the provided hardware to securely attach the camera. Proper placement ensures the camera captures the desired area without obstruction.
Step 8: Customize Settings
Within the Tapo app, take a moment to tailor the camera’s settings to your needs. You can adjust features like motion sensitivity, audio, and night vision. Explore options to enable notifications for motion detection or schedule recording times. These settings allow you to harness the full functionality of your device.
Step 9: Test Camera Functionality
Before finalizing the setup, test the camera to confirm that it’s working correctly. Use the live view feature in the Tapo app to check video quality, responsiveness, and audio clarity. Run through common features, such as motion alerts and two-way audio. Testing your Tapo Camera ensures that every feature works as intended and identifies any adjustments needed.
Step 10: Secure Your Device
Finally, take steps to protect your camera and data. Enable a strong password, activate two-factor authentication for your Tapo account if available, and keep the firmware updated regularly. These security measures ensure that your Tapo Camera remains safe from unauthorized access.
Step 11: Explore Advanced Camera Features
Once your Tapo Camera is set up and secured, you can start exploring its advanced features to maximize its potential. Many Tapo Cameras offer capabilities such as customizable activity zones, which allow you to focus on specific areas for motion detection, reducing unwanted alerts. Additionally, some models support detailed scheduling, enabling you to set times for the camera to automatically enable or disable monitoring.
Another advanced option is the use of cloud storage or local SD card recording, giving you flexible ways to save and access your footage. Understanding and utilizing these enhanced functionalities can greatly improve your surveillance experience and ensure the camera meets your specific needs.
Camera Troubleshooting Tips
When it comes to troubleshooting common issues with surveillance cameras, a few tips can help resolve most problems efficiently. First, ensure the camera is receiving power by checking the power adapter and cables for damage or loose connections. If the camera isn’t connecting to your network, verify the Wi-Fi credentials and ensure the router is within the recommended range.
For image quality issues, clean the lens carefully with a microfiber cloth and check the settings to ensure the resolution is correctly configured. If your camera isn’t recording, confirm that the storage solution, whether cloud or local, is correctly set up and not full. Additionally, restarting your camera or performing a factory reset can resolve many software-related issues. Always refer to the manufacturer’s manual for specific troubleshooting steps tailored to your device model.
Frequently Asked Questions
How do I reset my Tapo Camera if I encounter problems during setup?
To reset your Tapo Camera, locate the reset button on the device—usually on the back or underside. Press and hold the button for up to 15 seconds until the LED indicator blinks orange, indicating that the camera has been reset. Afterward, reconnect it to the Tapo app and repeat the setup process from the start.
Can I set up multiple Tapo Cameras under one account?
Yes, the Tapo app supports multiple devices under a single account. After completing the setup for your first camera, repeat the process to add additional cameras. You can toggle between devices within the app and assign unique settings or names to each to keep them organized.
Does the Tapo Camera support cloud storage?
Tapo Cameras support cloud storage for storing recorded footage securely. The feature often requires a subscription plan, but once activated, your videos are backed up to the cloud. This ensures that your footage remains accessible even if the camera is damaged or misplaced.
Can I access the Tapo Camera remotely while I’m not home?
Yes, you can access your Tapo Camera remotely through the Tapo app, provided the camera and your mobile device are both connected to the internet. Remote access allows you to check live footage, review recordings, and adjust settings from anywhere, ensuring constant monitoring.
What’s the maximum resolution the Tapo Camera can record?
Most Tapo Cameras support up to 1080p Full HD resolution, offering clear and detailed video footage. This high resolution is suitable for a wide range of applications, from security monitoring to keeping an eye on loved ones. For specific performance details, check your camera’s model specifications.
Conclusion
Setting up your Tapo Camera is a straightforward process that ensures you can take full advantage of its many features, from high-quality video to smart monitoring options. By following these simple steps, even beginners will be able to configure their device with ease.
With your Tapo Camera fully set up, you can now explore its advanced features to enhance your experience. Utilize the motion detection and notification settings to stay informed about any activity in your monitored area. Additionally, consider integrating the camera with smart home systems for seamless control and automation. Regularly update the firmware to ensure optimal performance and access to the latest features.
Proper setup not only enhances the performance of your camera but also provides you with peace of mind. Whether it’s monitoring your home, loved ones, or valuables, a well-configured system becomes an invaluable part of your security solution.
Now that you know how to set up tapo camera, it’s time to take action. Secure your home and enjoy the confidence that comes with having a reliable eye on what matters most!