
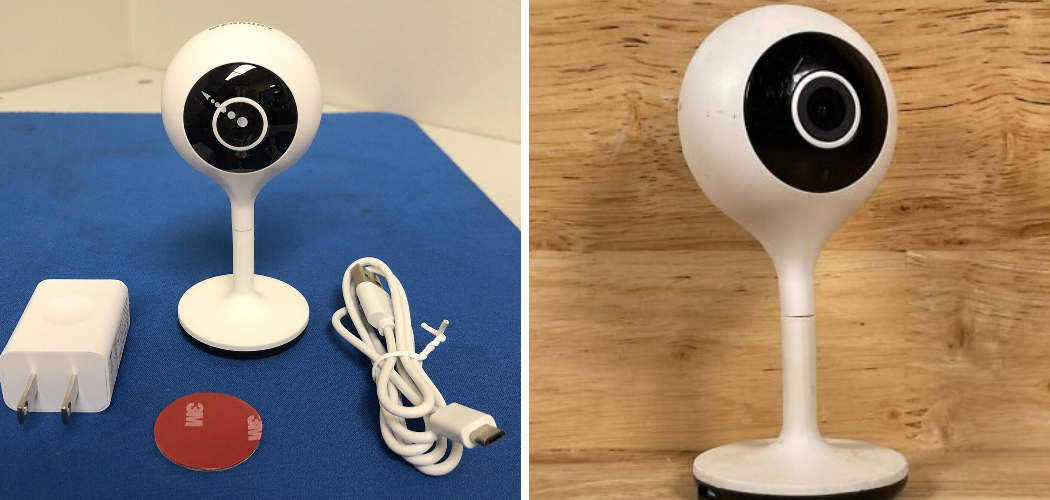
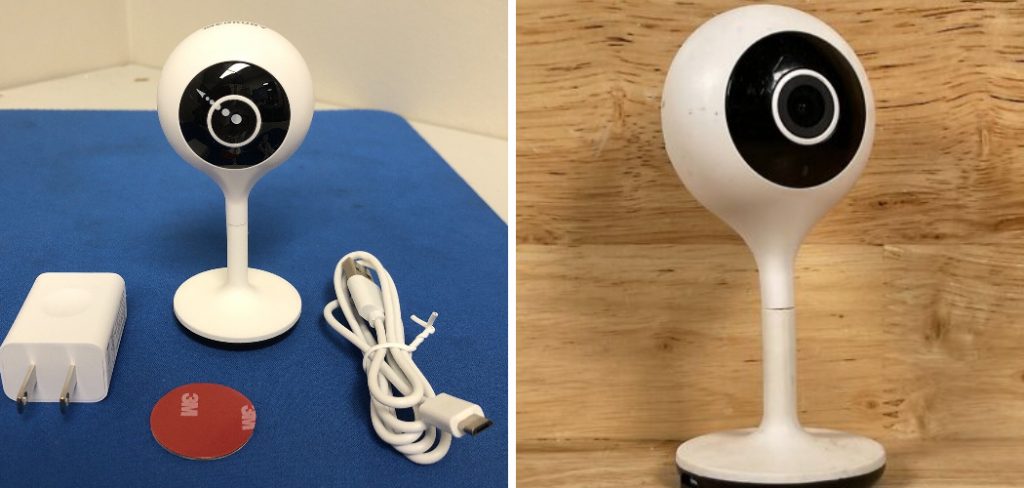
If you’re looking to enhance your home security or monitor daily activities in real-time, learning how to use Merkury camera is the perfect starting point. Merkury cameras are smart, user-friendly devices designed to integrate seamlessly into your home. Whether you’re setting up a new device or troubleshooting features, understanding how to operate these cameras can help you maximize their full potential.
To get started, download the Geeni app on your smartphone, as it serves as the control hub for your Merkury camera. Once installed, create an account or log in if you already have an existing one. Next, power on your camera and ensure it is in pairing mode; usually, this is indicated by a blinking light. Open the app, follow the on-screen instructions to connect the camera to your Wi-Fi network, and complete the pairing process. Make sure your camera and smartphone are connected to the same 2.4 GHz Wi-Fi network for uninterrupted functionality.
These compact yet powerful devices offer features like motion detection, cloud storage, and smart home compatibility, making them ideal for modern households. With this guide, you’ll discover how to set up your Merkury camera, customize its settings, and integrate it with other smart devices—all without feeling overwhelmed. Even if you’re new to smart home setups, this guide will walk you through the process step by step so you can monitor your home with confidence.
Why Using Merkury Cameras Matters
Merkury smart cameras are an incredibly useful addition to any home, offering convenience, security, and peace of mind. One of the standout advantages of this camera is its affordability without compromising on critical features. Whether you want to monitor a nursery, track pets, or keep an eye on your property while away, a Merkury camera simplifies the process.
Security is one of the primary concerns for any household, and these cameras provide an effective solution with motion detection, night vision, and smartphone updates. The ability to receive real-time notifications when motion is detected ensures you’re always kept in the loop.
Furthermore, Merkury cameras are designed to work within broader smart home ecosystems, giving you seamless control via mobile apps. This integration allows users to combine camera functionality with devices like smart lights or virtual assistants, creating a more dynamic and connected experience. Their ease of use and simple setup process make them accessible for both tech-savvy users and beginners alike.
Step-by-Step Guide: How to Use Merkury Camera
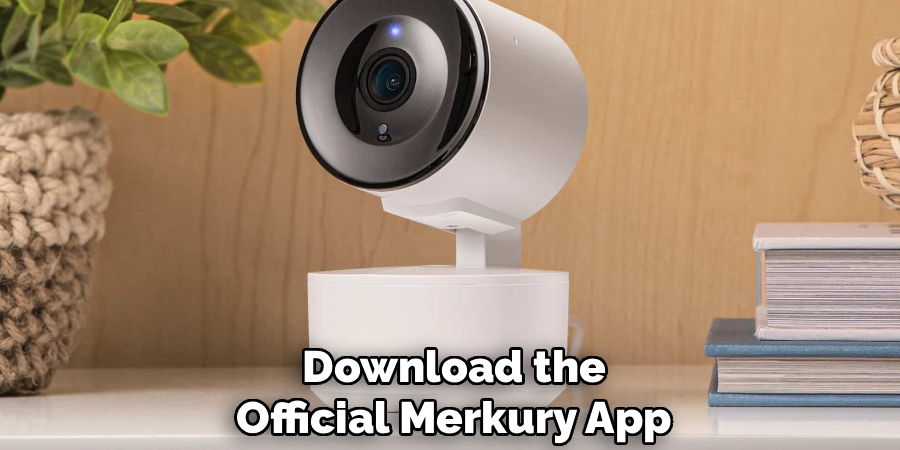
Step 1: Download the Merkury App
Before using your Merkury camera, the first step is to download the official Merkury app from your smartphone’s app store. The app acts as the central hub for managing your camera, enabling you to view footage, adjust settings, and receive notifications. Ensure you download the correct app by searching for “Merkury Smart” and verifying the publisher details.
Once the app is installed, create an account by entering your email address and creating a secure password. After registration, the app will prompt you to log in. Familiarize yourself with the app interface, paying attention to areas like “Device List” and “Settings,” as these will help you customize your camera usage later. A properly installed app sets the stage for an efficient and user-friendly experience.
Step 2: Connect the Camera to Wi-Fi
To enable seamless operation, you’ll need to connect the Merkury camera to your home Wi-Fi network. Plug the camera into its power source and wait for the indicator light to flash, signaling that it’s ready for pairing. Open the Merkury app and choose “Add Device,” then follow the on-screen prompts to connect the camera to your network.
Ensure you’re using a 2.4 GHz Wi-Fi signal, as many smart devices—including Merkury cameras—do not support 5 GHz networks. Enter your Wi-Fi credentials when prompted, double-checking for accuracy to prevent connection issues. Once connected, the app will indicate successful pairing, and you’ll see the camera listed under your devices. A stable Wi-Fi connection ensures that your camera operates smoothly and without interruptions.
Step 3: Position the Camera
Placement plays a critical role in how effectively your Merkury camera performs. Determine whether you want to use it indoors or outdoors, and select a location where the camera can capture a wide view of the desired area. For indoor use, ensure it’s placed on a stable surface like a shelf or mounted on a wall for optimal coverage.
If you’re using the camera outdoors, choose a spot under some form of cover to protect it from direct sunlight or heavy rain. Once positioned, adjust the camera’s angle manually to focus on the area you want to monitor. Using the camera’s app, preview the feed in real-time to guarantee the placement provides a clear and unobstructed view. Proper positioning maximizes the camera’s monitoring capabilities.
Step 4: Configure Motion Detection
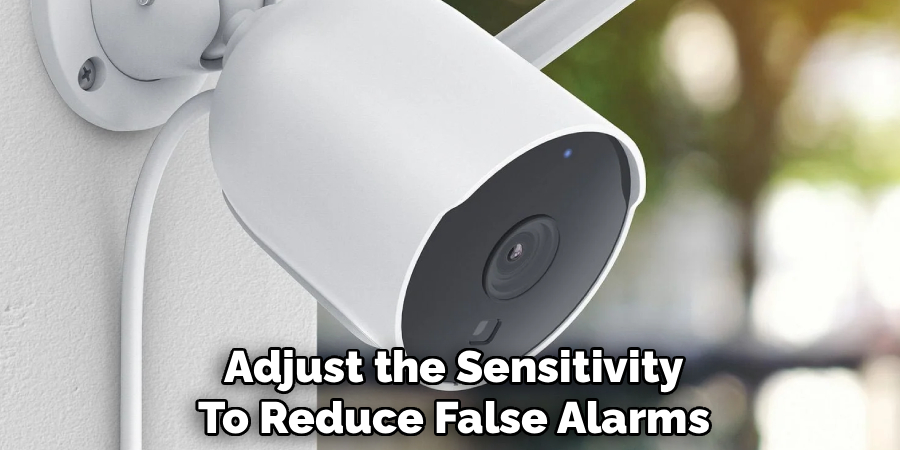
One of the standout features of the Merkury camera is motion detection, which alerts you to activity in specific areas. To set this up, open the app and select your camera from the device list. Navigate to the “Motion Detection” settings, where you can customize zones and sensitivity levels.
Define key areas within the camera’s view where movement triggers an alert, such as doorways or windows. Adjust the sensitivity to reduce false alarms caused by minor movements like shadows or pets. Configuring these features ensures the camera notifies you only when meaningful activity occurs, enhancing both effectiveness and usability.
Step 5: Enable Cloud Storage or Insert SD Card
Storing recorded footage is an essential part of using your Merkury camera effectively. While the app offers cloud storage plans for convenience, you can also insert a microSD card into the camera for local storage. If you choose cloud storage, subscribe to a plan through the app and enable automatic uploads to ensure video clips are saved securely online.
For SD card storage, simply insert the card into the designated slot on the camera and format it via the app. The app will automatically manage recording durations and overwrite old files when storage is full. Deciding your storage option upfront ensures you never miss crucial moments captured by the camera.
Step 6: Integrate with Smart Devices
Enhancing the capabilities of your Merkury camera is possible through integration with other smart devices. If you’re using virtual assistants like Google Assistant or Amazon Alexa, connect your camera to these platforms using the instructions available in the app settings.
Once integrated, you can use voice commands to view live camera feeds or manage settings. For instance, saying, “Show me the living room camera” can display real-time footage on an Alexa-enabled display. Expanding your smart home ecosystem allows for more efficient monitoring and control of your space.
Step 7: Test the Camera and Features
After setup, test the camera to ensure all systems are functioning correctly. Open the app and view the live feed, checking for issues like distorted video, lag, or blind spots in the viewpoint. Trigger motion detection manually by walking through monitored areas to confirm notifications are sent promptly and accurately.
Checking other features like night vision and two-way audio adds further assurance of the camera’s readiness. By thoroughly testing the device, you can confidently rely on your Merkury camera for day-to-day monitoring without worrying about technical glitches.
Step 8: Adjust Camera Settings as Needed
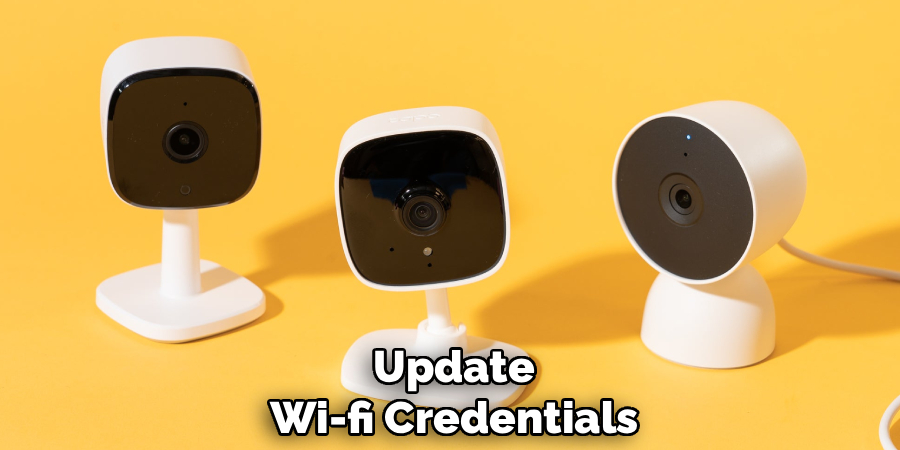
Over time, you may need to tweak the camera’s settings for better performance. Whether you want to change sensitivity levels, update Wi-Fi credentials, or fine-tune notification preferences, the Merkury app offers flexible options to suit your needs.
For example, if you notice too many false alarms, reducing the motion detection sensitivity or narrowing the monitored zones can help address the issue. Similarly, scheduling alerts during specific hours ensures the camera complements your lifestyle seamlessly. Regularly revisiting these settings ensures you’re getting the most from your Merkury camera.
Step 9: Maintain Your Camera
Like any device, routine maintenance keeps your Merkury camera operating effectively. Periodically clean the lens with a microfiber cloth to prevent dust from affecting video clarity. Ensure the power cable connections remain secure, and check your app for firmware updates to improve functionality.
Maintaining a clean, well-functioning camera extends its lifespan and ensures you continue enjoying reliable performance. Set reminders to inspect your device and its components regularly for optimal results.
Advanced Camera Features
Merkury cameras are equipped with advanced features designed to enhance your security and convenience. These include motion detection technology that alerts you to any activity within the camera’s range, ensuring you stay informed in real time. Many models also offer night vision capabilities, providing clear video footage even in low-light conditions. Additionally, two-way audio allows you to communicate directly through the camera, which is especially useful for interacting with visitors or deterring unwanted intruders.
Cloud storage and local storage options provide flexible ways to save your recordings securely. Some Merkury cameras are also compatible with voice assistants, enabling hands-free control through simple voice commands. These features combine to deliver a robust, user-friendly security solution tailored to your needs.
Frequently Asked Questions
What makes the Merkury camera beginner-friendly?
The Merkury camera’s intuitive mobile app interface, easy Wi-Fi setup, and simple step-by-step instructions make it ideal for first-time users. No technical expertise is required to get started.
Can I use the Merkury camera outdoors?
Yes, many Merkury camera models are designed for indoor and outdoor use. Ensure the camera is weather-resistant and positioned in a sheltered area for the best results.
How do I resolve connection issues during Wi-Fi setup?
Check that you’re using a 2.4 GHz Wi-Fi band, as Merkury cameras do not support 5 GHz networks. Restart both the camera and router if issues persist, and ensure the app has proper permissions.
Conclusion
Mastering how to use Merkury camera is not only easy but also incredibly rewarding for enhancing home security and monitoring. By following the setup steps outlined above, you’ll enjoy seamless operation, customizable features, and peace of mind.
Regular maintenance of your Merkury camera is crucial for ensuring its longevity and optimal functionality. Clean the lens periodically to avoid dust and smudges that may affect video quality. Additionally, check your network connection and power supply regularly to prevent interruptions in performance. Staying proactive with care guarantees reliable performance and continued security for your home.
Whether you’re monitoring your spaces for security or capturing everyday moments, a Merkury camera is a reliable and user-friendly tool. Start your setup today and experience the convenience, clarity, and confidence this device brings to your home!