

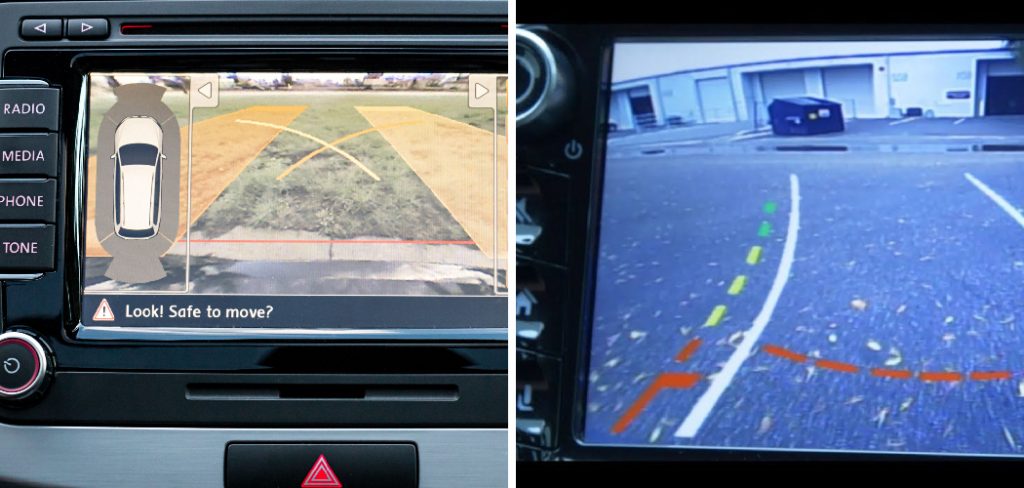
Learning how to turn on backup camera lines can drastically improve your parking accuracy and overall vehicle safety. Most modern vehicles come equipped with backup cameras featuring guide lines, which help drivers judge distances and alignment when reversing. These lines serve as a visual parking assistant, minimizing the chance of obstacles being in your blind spot.
To activate the backup camera lines, start by checking your vehicle’s owner manual for specific instructions, as the process may vary depending on the make and model. Typically, you can access the camera settings through the infotainment system. Navigate to the settings menu, look for the “camera” or “parking assist” options, and enable the guide lines feature. If the lines don’t appear immediately, ensure the camera lens is clean and free of obstructions, as dirt or debris can interfere with visibility.
Enabling these lines isn’t always straightforward, especially if you’re new to the technology or your car’s system isn’t intuitive. Thankfully, activating backup camera lines is a simple process that anyone can manage with the right steps. Whether you’re using a factory-installed system or an aftermarket camera, this guide will walk you through how to enable these helpful features and get the most out of your rearview display.
Why Backup Camera Lines Are Important
Backup camera lines are an essential safety and convenience feature for anyone driving a modern vehicle. They provide intuitive visual cues that help drivers better understand the position of their vehicle when reversing. These lines typically include green, yellow, and red zones to indicate safe, caution, and proximity areas, helping reduce the risk of a collision.
For individuals parking in tight spaces or navigating busy urban areas, backup camera lines are invaluable. They enhance situational awareness, especially in low-visibility conditions like rain or at night. Additionally, they assist drivers in aligning parallel or perpendicular to parking spots, ensuring precision and ease.
Beyond convenience, this feature significantly contributes to safety. Backup camera lines help detect unseen obstacles like pedestrians, pets, or curbs that might otherwise result in accidents. Their importance cannot be overstated for new drivers or those unfamiliar with reverse parking, making them a must-have tool in today’s driving experience.
Step-by-Step Guide: How to Turn on Backup Camera Lines
Step 1: Access the Camera Settings
To begin, locate your vehicle’s settings menu. This is usually accessible from the central infotainment screen or a similar control panel. Look for a section labeled “Camera Settings,” “Driver Assistance,” or something related to parking assistance. Every car manufacturer may name this menu slightly differently, so consulting your vehicle’s manual can be helpful at this stage.
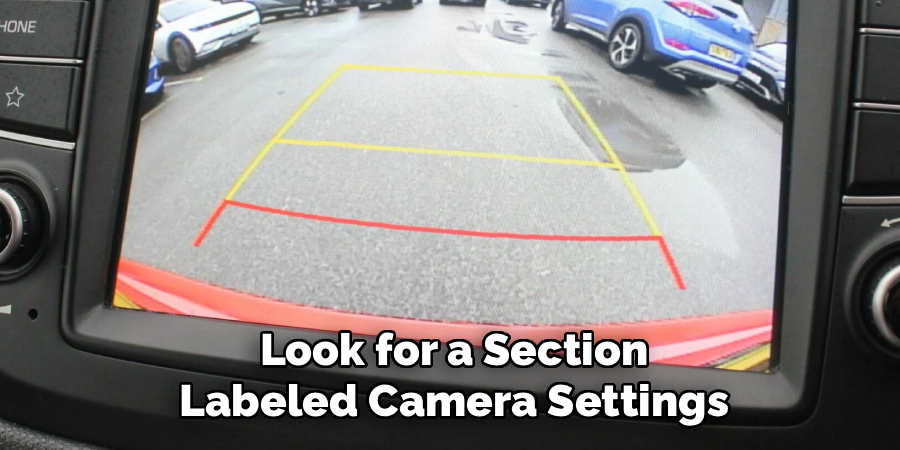
Select the option that corresponds to your backup camera. Once inside the camera settings, you’ll find various configurable features, including brightness, contrast, and guideline preferences. Finding and entering this section is the foundation for enabling backup camera lines. It ensures you’re in the right place to configure your system for optimal functionality.
Step 2: Navigate to the Guideline Feature
Within the camera settings menu, search for a subsection dedicated to “guidelines” or “parking aids.” This section controls whether guide lines are displayed on the rearview display when the camera is active. Depending on your vehicle’s system, this feature may appear as a checkbox, toggle switch, or drop-down menu.
If directed in the user interface, select “Enable Guidelines” or an equivalent option. Some systems may also offer different styles of guidelines, such as static, dynamic, or semi-transparent lines. Identifying these specific options ensures you have more control over how your backup camera performs.
Step 3: Test the Camera by Shifting to Reverse
After enabling the guidelines, it’s time to test the system. Slowly shift your car into reverse to activate the backup camera. Observe the rearview display to confirm whether the lines are visible and functioning as expected.
If the lines don’t appear immediately, check whether the option was applied or saved before testing. Some systems may require hitting a “Save” or “Apply” button to confirm the changes. Testing confirms not only that the lines are turned on but also that they stack up effectively with the camera’s view.
Step 4: Adjust the Camera Placement
If you’ve installed an aftermarket camera, the alignment of the camera itself may affect how the guide lines appear. Verify the camera’s positioning by stepping behind the vehicle and ensuring the lens is centered and angled to provide a balanced view of the area behind your car.
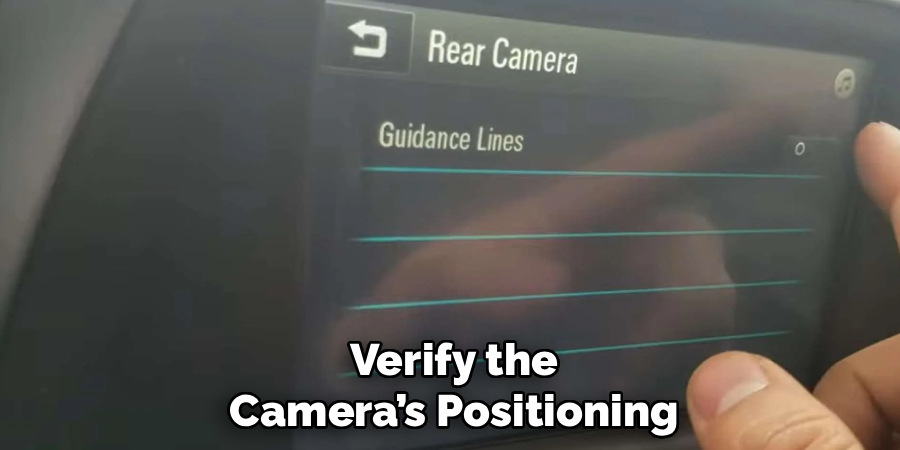
Reposition the camera as needed to ensure the guidelines align correctly with the ground and parking spaces. This step is critical for vehicles with manually-installed systems, as improper placement can skew perspective and reduce the effectiveness of the guide lines.
Step 5: Calibrate the Guidelines
Certain vehicles or camera systems allow for guideline calibration, a feature that adjusts the lines to match the dimensions of your car. This is especially useful if you feel the lines are not accurately representing your vehicle’s width or reversing path. Access the calibration settings through the same menu used to enable the lines.
Follow the on-screen instructions to set the guidelines correctly. You may need to measure distances on both sides of your car to ensure everything is aligned proportionately. Calibration establishes precision that is particularly important in narrow parking situations or complex maneuvers.
Step 6: Experiment with Dynamic Guidelines
Many modern backup cameras come equipped with dynamic guidelines, which adjust based on the steering angle. Ensure that such a feature, if available, is activated during your setup process. Depending on your car model, dynamic lines might require toggling an additional option in the settings menu.
Turn the steering wheel side-to-side while viewing the rearview display. Observe how the lines curve to indicate your car’s projected movement. This dynamic feature adds a layer of convenience and enhances safety by predicting vehicle trajectory.
Step 7: Ensure Software Updates Are Applied
Occasionally, backup camera systems require a software update to enable advanced features like guide lines. If your vehicle supports over-the-air updates or requires manual USB installation, check that your system has the latest firmware. These updates often resolve issues, expand functionality, or increase compatibility with new settings.
Follow your manufacturer’s instructions to search for updates and install them if necessary. Keeping your system up to date ensures it operates smoothly and unlocks the full potential of backup camera features, including guideline customization.
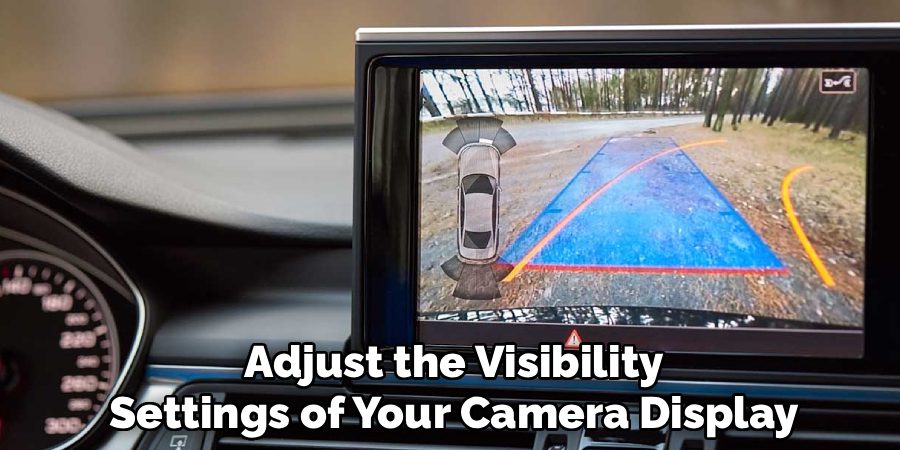
Step 8: Fine-Tune Visibility Settings
Adjust the visibility settings of your camera display, including brightness, contrast, and sharpness. Depending on lighting conditions and screen quality, these settings can significantly impact how well the guide lines are seen. Access the display settings through the same camera menu and make slight adjustments until the lines appear bold and clear.
Testing visibility during both daytime and nighttime conditions ensures consistent reliability of the guide lines. Well-adjusted settings contribute to a seamless driving experience and maximum safety.
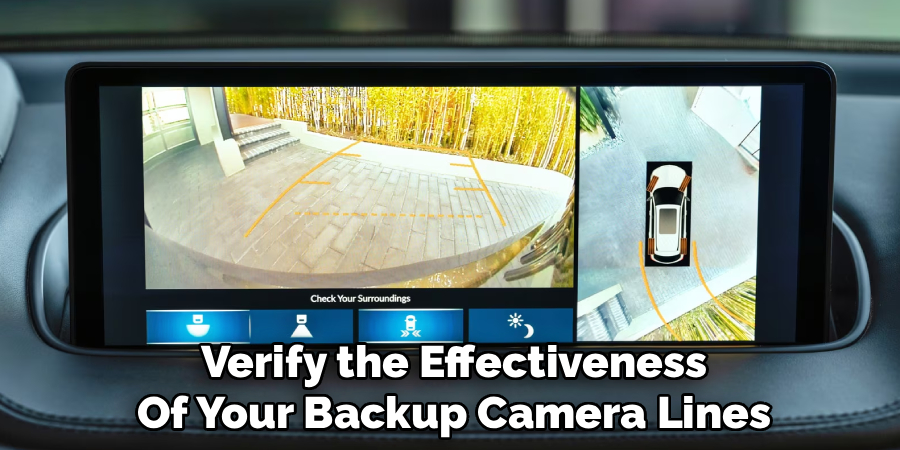
Step 9: Final Verification Drive
After completing the steps above, verify the effectiveness of your backup camera lines by conducting a drive simulation. Practice reversing into parking spaces or navigating a driveway to evaluate how accurately the guide lines assist your maneuvers.
This testing process allows you to identify potential minor adjustments that still need attention. Drive safely and observe whether the lines are providing the clarity and confidence they’re intended to bring. A properly functioning system reinforces the value of investing time in this setup process.
Common User Mistakes
Despite the utility of backup camera systems, there are several common mistakes users might make during installation and usage. One frequent error is relying solely on the camera view without incorporating visual checks of the surroundings. This overreliance can lead to blind spots being missed, especially in lower visibility conditions.
Another mistake is failing to properly calibrate the guidelines during setup, which can result in inaccurate distance perception. Additionally, some users neglect regular maintenance—such as cleaning the camera lens—which can significantly reduce the clarity of the display. Familiarizing oneself with the system’s capabilities and limitations, and routinely inspecting its functionality, can help minimize these errors and ensure a safer driving experience.
Frequently Asked Questions
Can I Enable Backup Camera Lines on All Vehicles?
Most factory-installed and aftermarket backup cameras have adjustable settings for enabling guide lines. However, some older or basic models may lack this functionality. Check your owner’s manual to confirm whether this feature is available for your system.
What Should I Do if the Guide Lines Don’t Appear After Setup?
First, ensure the guidelines feature is enabled and changes are saved in the settings. If that doesn’t resolve the issue, check for software updates or technical difficulties with the camera system. Reconsult installation instructions if dealing with an aftermarket setup.
Can Incorrect Camera Alignment Affect Guide Line Functionality?
Yes, improper alignment can lead to distorted or misaligned guide lines, making them less effective. Adjust the camera angle and lens placement to ensure the lines correspond accurately with the ground and vehicle dimensions.
Do Dynamic Guide Lines Require Calibration?
Dynamic guide lines operate based on steering inputs and generally do not require calibration. However, you should still verify consistency during different steering maneuvers to ensure optimal accuracy.
How Do I Know if My Backup Camera System Needs an Update?
Check for software update notifications on your infotainment system or visit the manufacturer’s website. They often provide access to details about firmware improvements, including added or optimized features like guide lines.
Conclusion
Learning how to turn on backup camera lines is an invaluable skill that enhances both your driving precision and vehicle safety. By enabling and configuring these settings, you unlock a valuable tool for parking and reversing with confidence.
Taking the time to familiarize yourself with your vehicle’s technology can make a significant difference in your driving experience. Whether it’s understanding the latest updates or learning to adjust settings, staying informed ensures you’re making the most out of the available features. This proactive approach not only improves convenience but also contributes to safer driving practices.
With the steps outlined above, you can enjoy a hassle-free setup and accurate visual guidance for safer driving. Start by accessing your camera settings today and experience the added safety and convenience that backup camera lines bring to every trip!
About
Safety Fic is a distinguished figure in the world of Diy design, with a decade of expertise creating innovative and sustainable Diy solutions. His professional focus lies in merging traditional craftsmanship with modern manufacturing techniques, fostering designs that are both practical and environmentally conscious. As the author of diy, Safety Fic delves into the art and science of Safety Fic-making, inspiring artisans and industry professionals alike.
Education RMIT University
(Melbourne, Australia) Associate Degree in Design (Safety Fic) Focus on sustainable design, industry-driven projects, and practical craftsmanship. Gained hands-on experience with traditional and digital manufacturing tools, such as CAD and CNC software.
Nottingham Trent University
(United Kingdom) Bachelor’s in diyfastly.com and Product Design (Honors) Specialized in product design with a focus on blending creativity with production techniques. Participated in industry projects, working with companies like John Lewis and Vitsoe to gain real-world insights.
Publications and Impact
In diy, Safety Fic his insights on indoor design processes, materials, and strategies for efficient production. His writing bridges the gap between artisan knowledge and modern industry needs, making it a must-read for both budding designers and seasoned professionals.